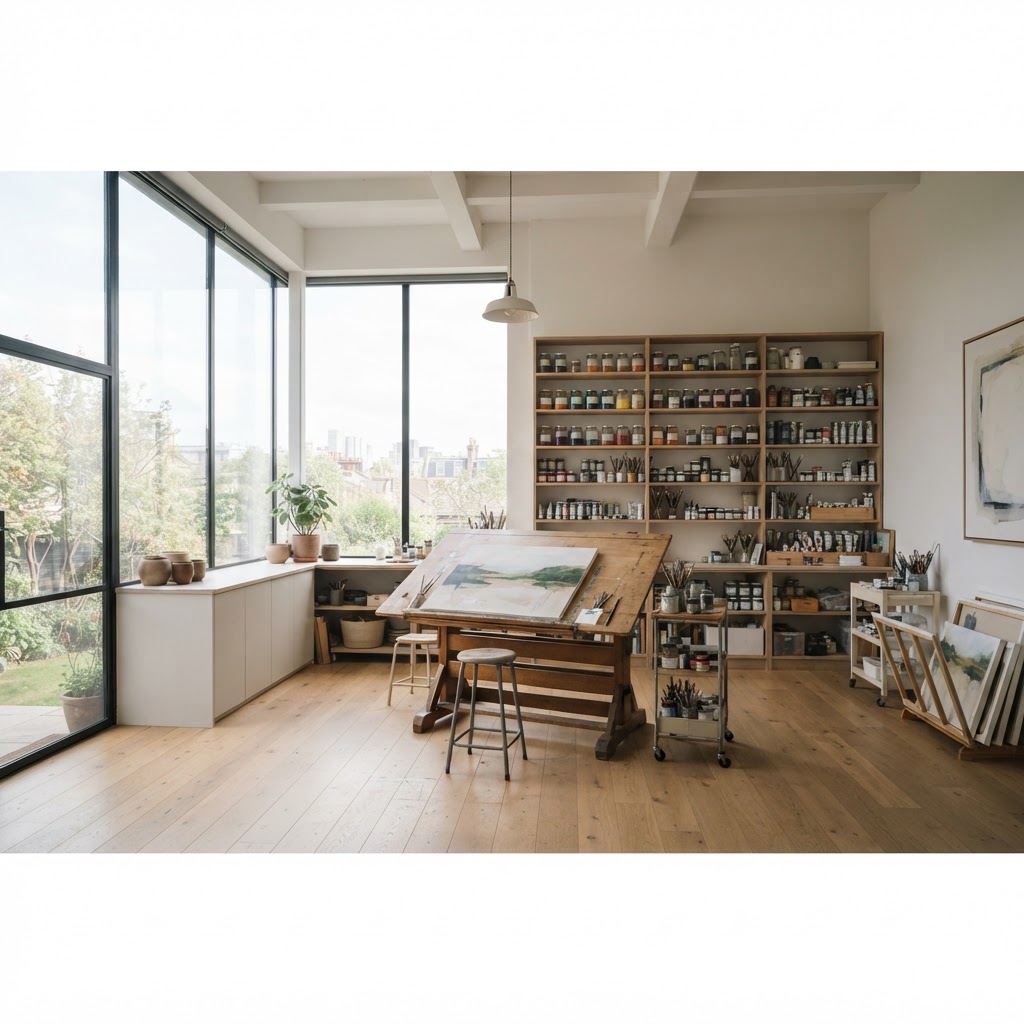
Dream Studio Spaces: How to Create an Artistic Sanctuary at Home
Transforming a spare room into a functional creative retreat is easier than you think. Learn how to balance professional studio needs with beautiful interior design to inspire your best work every single day.
Maximizing Natural Light for Color Accuracy
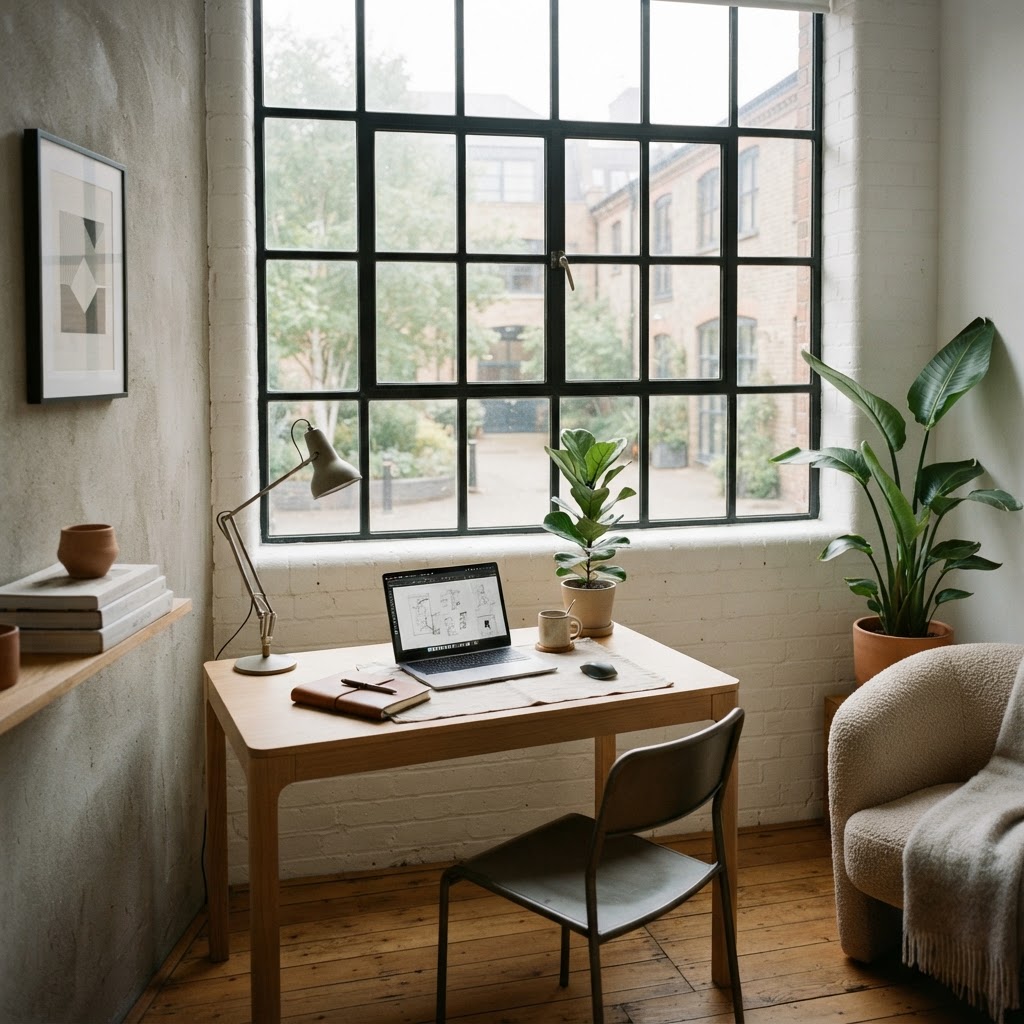
Honestly, if there is one thing that separates a good home studio from a truly great one, it is the light. And I am not just talking about slapping a ring light in the corner and calling it a day. Natural light changes everything, especially if you are a painter, illustrator, photographer, or anyone who needs to see color the way it actually is, not the way a warm halogen bulb decides to interpret it at 9pm.
North-facing windows are the gold standard for artists. They deliver consistent, indirect daylight without the harsh glare and shifting color temperatures that come with direct sunlight. If your studio space faces east or west, you can work with it, but you will need to think about sheer curtains or diffusing shades that soften the light during peak hours. South-facing rooms get the most sun overall, which sounds great until you are trying to match a subtle ochre and your workspace turns into a greenhouse at noon.
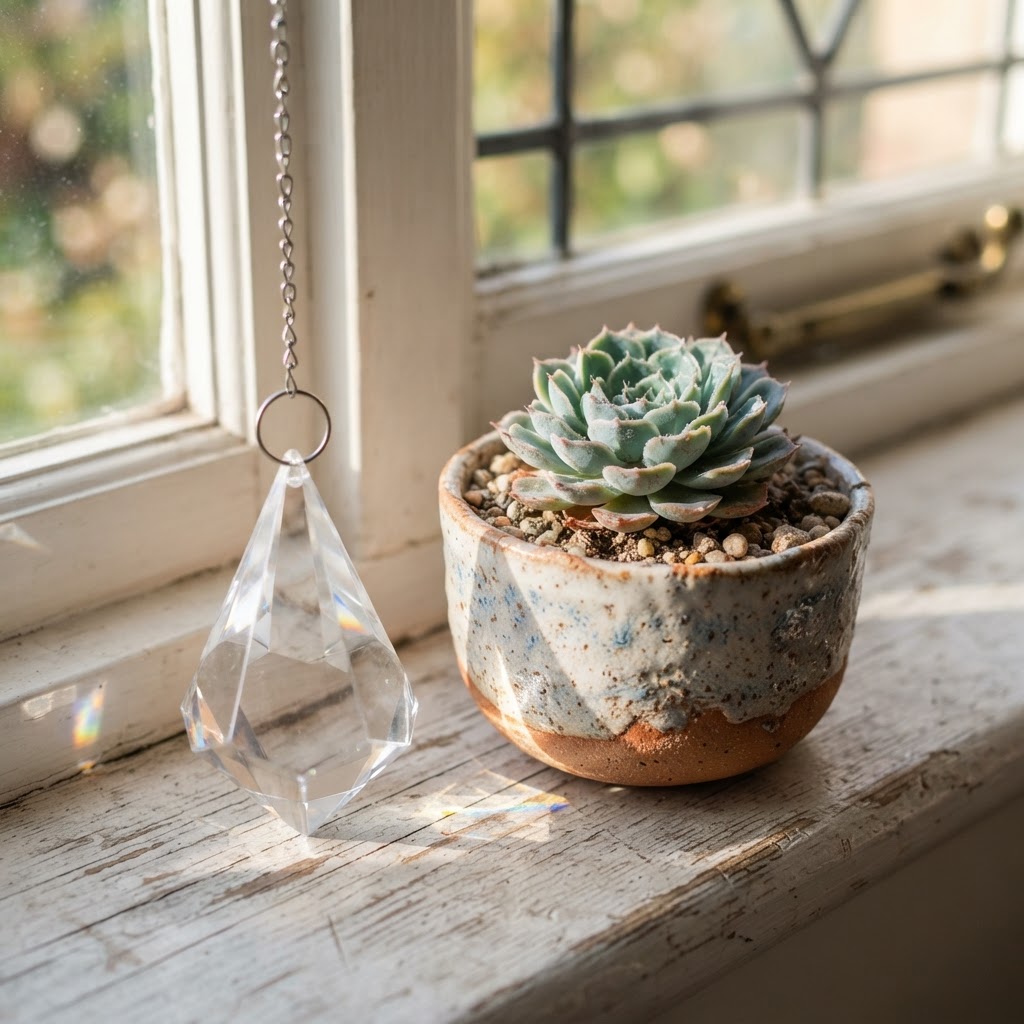
Here is the thing most people overlook: your wall color dramatically affects how natural light bounces around the room. Pure white walls are not always the answer. A warm white can cast a yellowish tint across your entire workspace. Many professional artists swear by a cool, neutral gray, something in the Benjamin Moore Pale Oak family or even a light Agreeable Gray from Sherwin-Williams. These tones reflect light without introducing color bias.
When natural light is not available, invest in daylight-balanced LED bulbs with a Color Rendering Index of 95 or higher. Trust me on this, that number matters more than the wattage. Position your artificial lighting sources to mimic where natural light would come from, slightly above and to one side, rather than blasting fluorescent panels from directly overhead. Your eyes will thank you, and so will your work.
- North-facing windows provide the most consistent indirect light throughout the day
- Sheer linen curtains diffuse harsh direct sun without eliminating natural light entirely
- Cool-toned wall paint prevents yellow or orange color casts on your work surface
- High-CRI daylight LEDs replicate the full color spectrum of natural sunlight
- Adjustable task lighting lets you control direction and intensity for different projects
Smart Storage Solutions for Clutter-Free Workflow
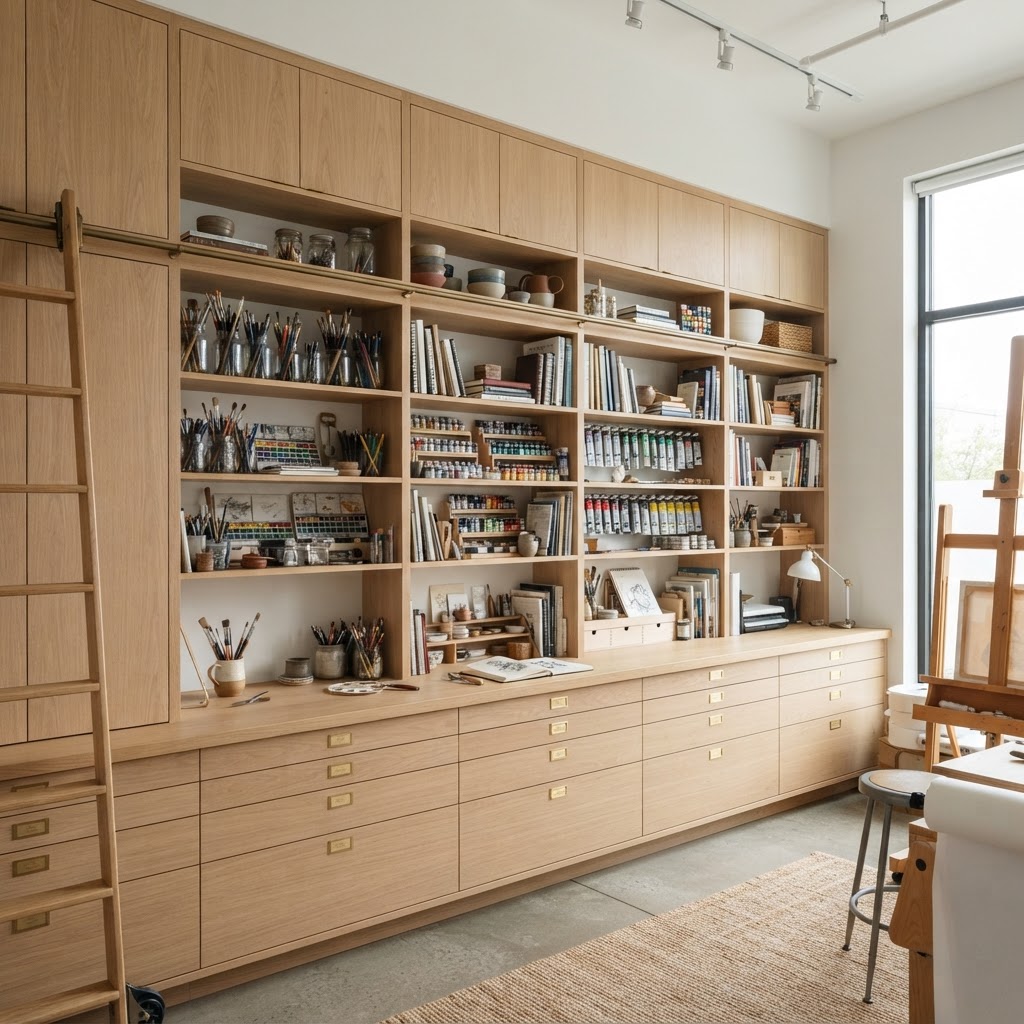
Real talk: clutter is creativity's worst enemy. I know there is this romantic idea of the messy artist surrounded by beautiful chaos, and look, some people genuinely thrive in that environment. But for most of us, a disorganized space is just a source of low-level anxiety that slowly kills the creative mood. When you cannot find your favorite brush or you are digging through three drawers to locate a specific color pencil, you lose momentum, and momentum is everything when you are in the zone.
The key to smart storage is thinking in categories and frequencies. Supplies you use every single day should live within arm's reach of your main work surface. Things you use occasionally, like specialty inks or that second set of watercolor palettes, can live in a cabinet or on a higher shelf. Things you rarely touch but need to keep, archival materials, reference books, seasonal supplies, can go in labeled boxes on the highest shelves or in a closet nearby. This sounds obvious, but most people just shove things wherever there is space and then wonder why their studio feels chaotic.
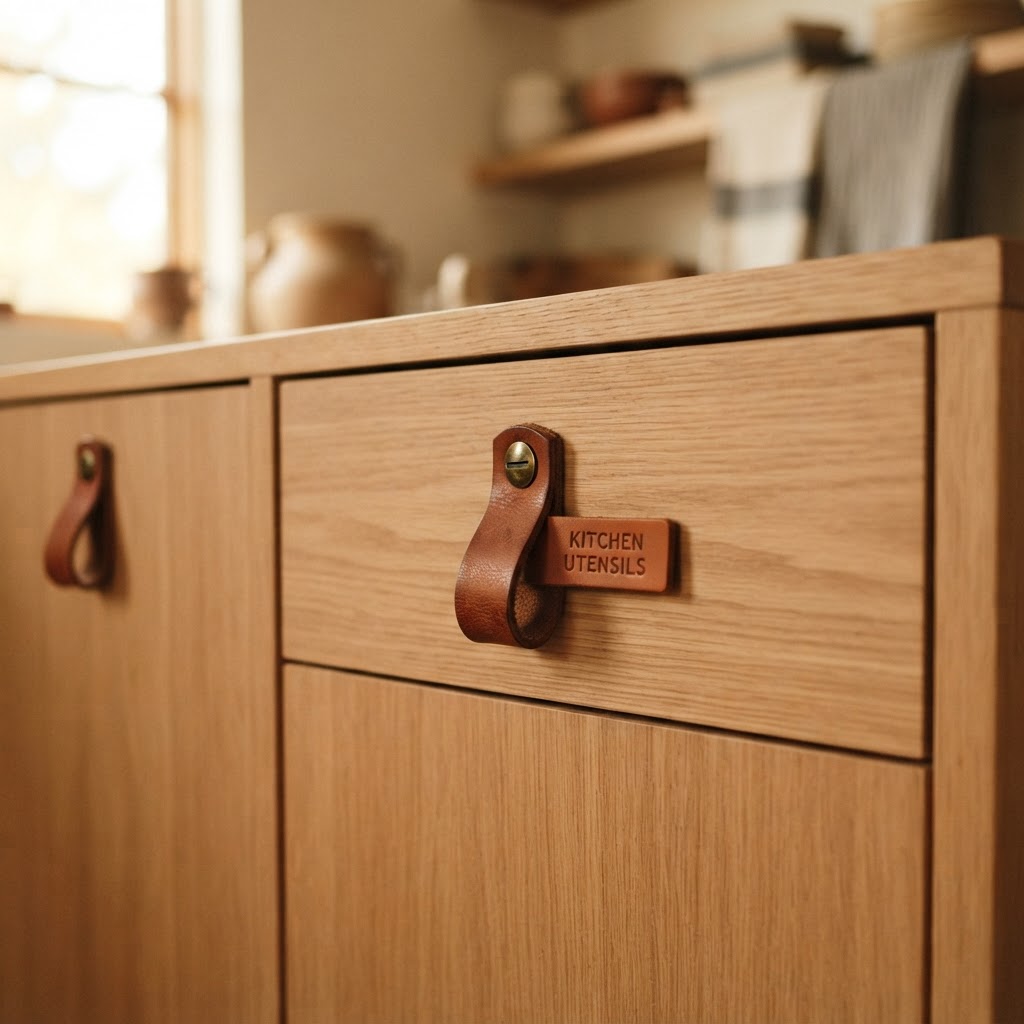
Vertical storage is your best friend in a home studio, especially if you are working with a smaller room. Pegboards are having a serious moment right now and for good reason. A well-organized pegboard above your desk can hold everything from scissors and rulers to paint jars and spray cans, all visible and instantly accessible. IKEA's SKADIS pegboard system is affordable and endlessly customizable. For a more elevated look, wooden pegboards with brass hooks feel genuinely beautiful and intentional rather than utilitarian.
Consider using glass jars for smaller supplies like pens, brushes, and markers. Seeing everything at a glance means you spend less time searching and more time making things. Rolling carts are another underrated storage hero. A simple three-tier cart can hold your current project's supplies and roll right next to wherever you are working, then tuck away when you need the floor space back. Storage does not have to be boring. It can genuinely be part of the studio's aesthetic.
Ergonomics Meets Aesthetic Design
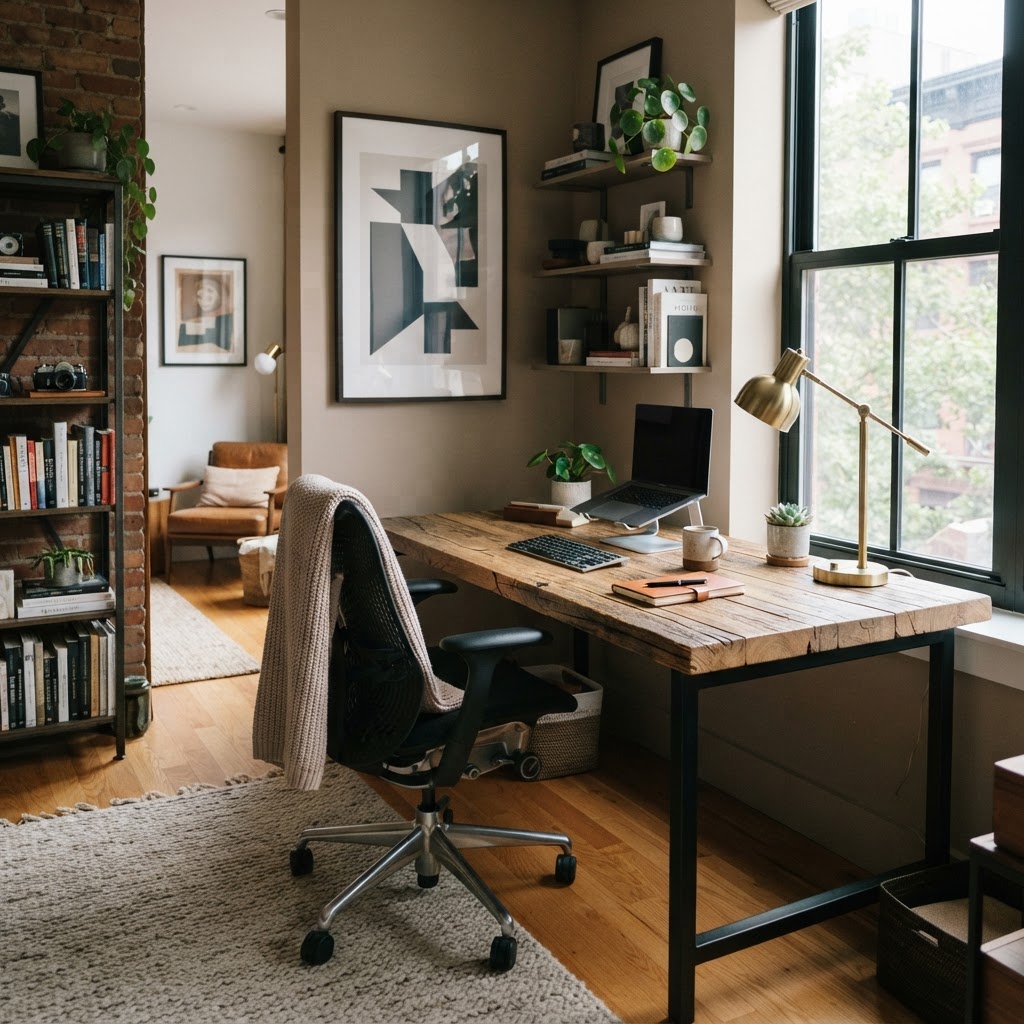
Here is something a lot of design blogs gloss over: your body matters as much as the aesthetics of your studio. You can build the most gorgeous creative space on the planet, but if your chair is wrecking your back or your drafting table is at the wrong height, you will not be able to work in it for more than an hour before everything hurts. And honestly, nothing kills creative flow faster than physical discomfort.
The good news is that ergonomic furniture has come a long way. You no longer have to choose between a chair that looks like it belongs in a call center and one that actually supports your spine. Brands like Branch, Autonomous, and HAG Capisco make chairs that are both properly ergonomic and genuinely attractive. The HAG Capisco in particular has become something of a darling in the studio design world because it accommodates both seated and perched positions, which is ideal for artists who need to move around and change their angle frequently.
Your desk height is equally important. For drawing and painting, many artists prefer a surface that sits slightly higher than a standard desk, somewhere between 28 and 36 inches depending on your height and whether you work standing or seated. A tilt-top drafting table is worth every penny if you do any kind of illustration or hand lettering. Being able to angle your work surface reduces neck strain dramatically, and it changes the relationship you have with your work in a really positive way.
Anti-fatigue mats are another addition that seems minor but makes a huge difference for artists who stand while working. Look for ones in neutral tones or interesting textures that feel intentional rather than afterthought-y. And please, get proper monitor arms if you work digitally. Having your screen at eye level and your keyboard at elbow height is not a luxury, it is just smart. Your future self will be grateful you prioritized this.
Curating an Inspiring Gallery Wall
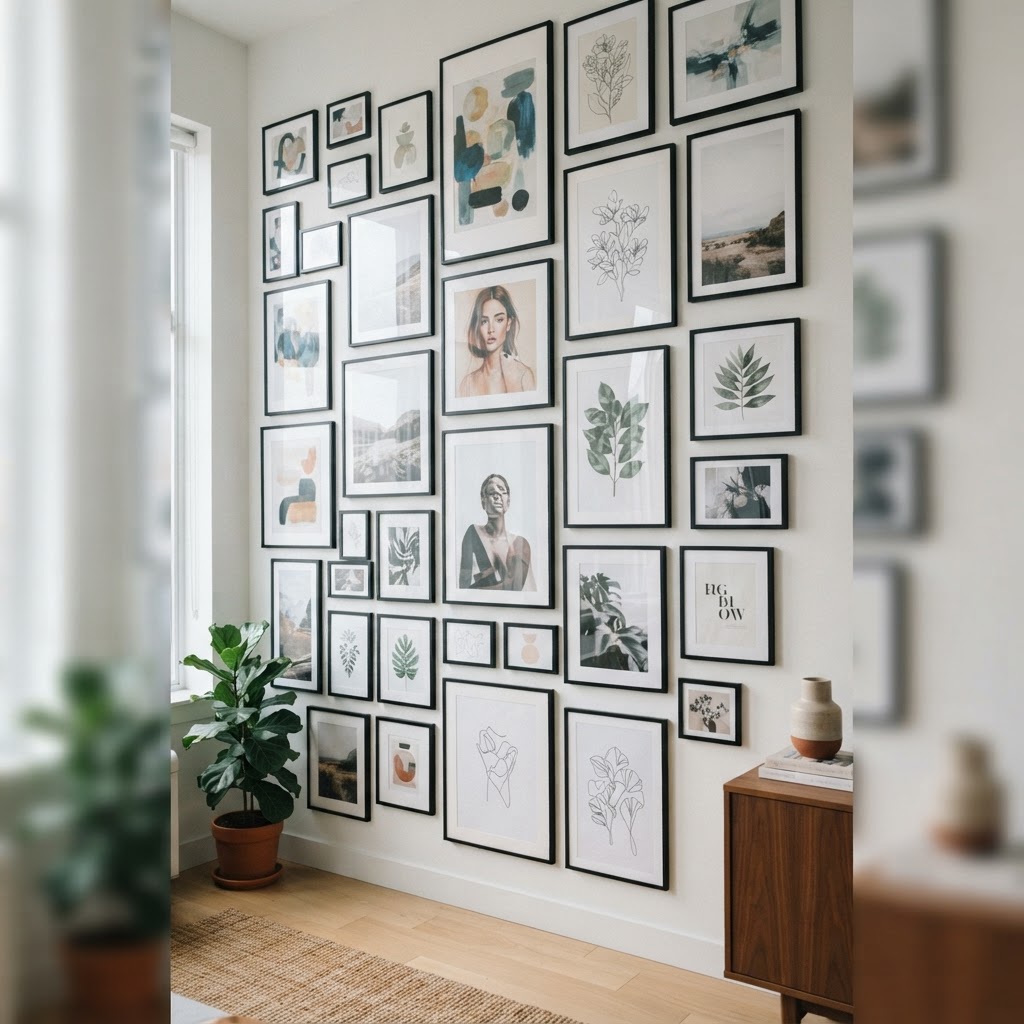
The walls of your studio are not just structural, they are one of the most powerful creative tools you have. A well-curated gallery wall is like a visual mood board that is always there, always feeding you reference, inspiration, and reminders of what moves you. Honestly, spending time getting your gallery wall right is one of the highest-return investments you can make in your creative environment.
Start by gathering everything that genuinely excites you: postcards from exhibitions, printouts of paintings you love, fabric swatches, hand-lettered quotes, your own sketches and works in progress. The best gallery walls mix mediums, textures, and frame styles. Rigid uniformity can look corporate and cold. A mix of clip frames, simple black frames, matted prints, and even frameless canvas pieces feels alive and personal. The goal is not perfection, it is resonance.
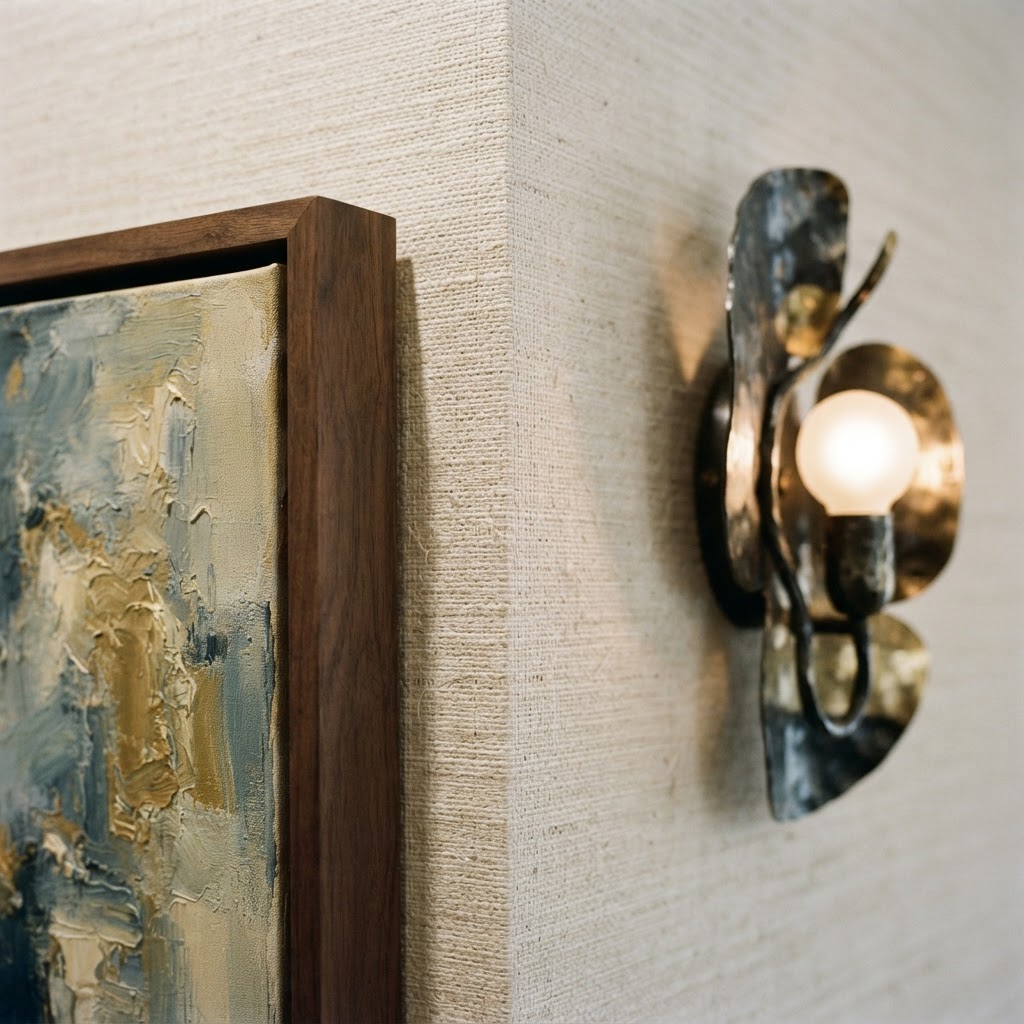
Before you start hammering nails, lay everything out on the floor first. Rearrange until the composition feels balanced but not rigid. A good trick is to anchor the arrangement with one or two larger pieces and build outward, filling in gaps with smaller works. Leave a little breathing room between pieces, overcrowding makes even beautiful work feel overwhelming and hard to absorb. Think of it like designing a page: white space is not wasted space.
Update your gallery wall seasonally or whenever your work evolves. Some artists pin inspiration directly to the wall with washi tape, which means nothing is ever truly permanent. This is actually freeing. Your studio walls can reflect where you are right now creatively, not where you were three years ago. Let it evolve with you. And do not be afraid to include work by artists who intimidate you a little. Having something aspirational in your eyeline every day is genuinely motivating.
Dedicated Zones for Different Creative Tasks
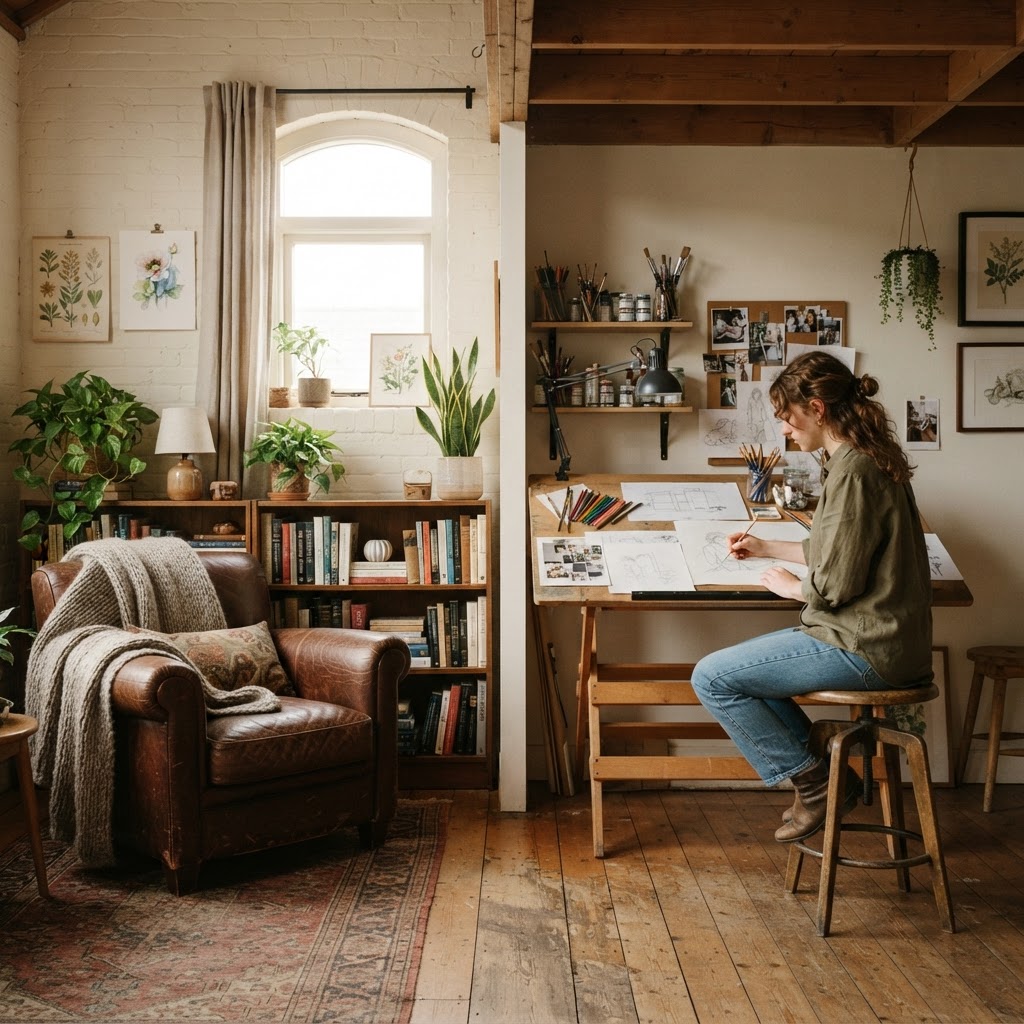
Look, even if your home studio is a single room, or honestly even just a corner of a room, the concept of zoning will transform how you use the space. Dedicated zones are essentially a spatial signal to your brain: when you sit here, you do this specific type of work. It sounds almost psychological because it is. Environment cues behavior, and separating your activities physically helps you enter the right mental mode much faster.
Think about the different types of creative work you do and what each one actually requires. Messy, hands-on work like painting, printmaking, or ceramics needs proximity to water, durable surfaces, and easy cleanup. Digital work needs a properly lit monitor, a stable desk, and minimal visual distraction. Sketching and ideation might benefit from a comfortable chair or even a soft seat on the floor with a lap desk. Reading and research might live in a small armchair with good overhead lighting near your reference books. Each of these is its own zone, even if the physical separation between them is just a few feet.
Use rugs, shelving units, or even a shift in furniture direction to visually and physically define each zone. A different rug under your painting table versus your digital desk, for example, communicates to your brain that these are distinct spaces with distinct purposes. Color can also do some of this work. A warm-toned corner with cozy lighting signals rest and ideation. A cooler, brighter zone signals focused production.
- Wet media zone: near a sink or with easy access to water, sealed or easy-clean flooring
- Digital work zone: proper monitor height, minimal glare, comfortable seating with back support
- Sketching and planning zone: portable and flexible, a lap desk or drafting table with good task lighting
- Research and reading zone: comfortable seating, reference books nearby, warm and calming atmosphere
- Display and critique zone: a wall or easel where you can step back and assess works in progress
The display and critique zone is one that a lot of home studio guides skip over, but it is genuinely important. Having a dedicated spot where you prop finished or in-progress work and then physically step back to look at it changes how you see your work. Many artists pin things to a wall or set them on an easel at the end of a session and look at them fresh the next morning. Distance, both physical and temporal, is part of the creative process. Build space for it literally.
Final Thoughts
Creating a home studio that actually works for you is one of the most personal design projects you can take on. There is no single right answer because every artist works differently, thinks differently, and needs different things from their environment. But the principles here, great light, smart storage, ergonomic comfort, visual inspiration, and intentional zoning, apply across the board.
Start with what bothers you most about your current setup and fix that first. Maybe it is the light, maybe it is that you can never find anything, maybe it is that your back aches after two hours of work. Solve the friction points one at a time and the rest tends to fall into place. The studio you build should feel like a place you genuinely want to spend time, a space that makes you feel like a serious creative person the moment you walk into it. That feeling matters. It is not vanity, it is fuel.
Your environment shapes your output more than most people realize. Invest in getting it right and you will absolutely see the difference in your work.
More in Commercial
Stay Inspired
Subscribe for new essays on architecture, design, and the spaces that shape us.