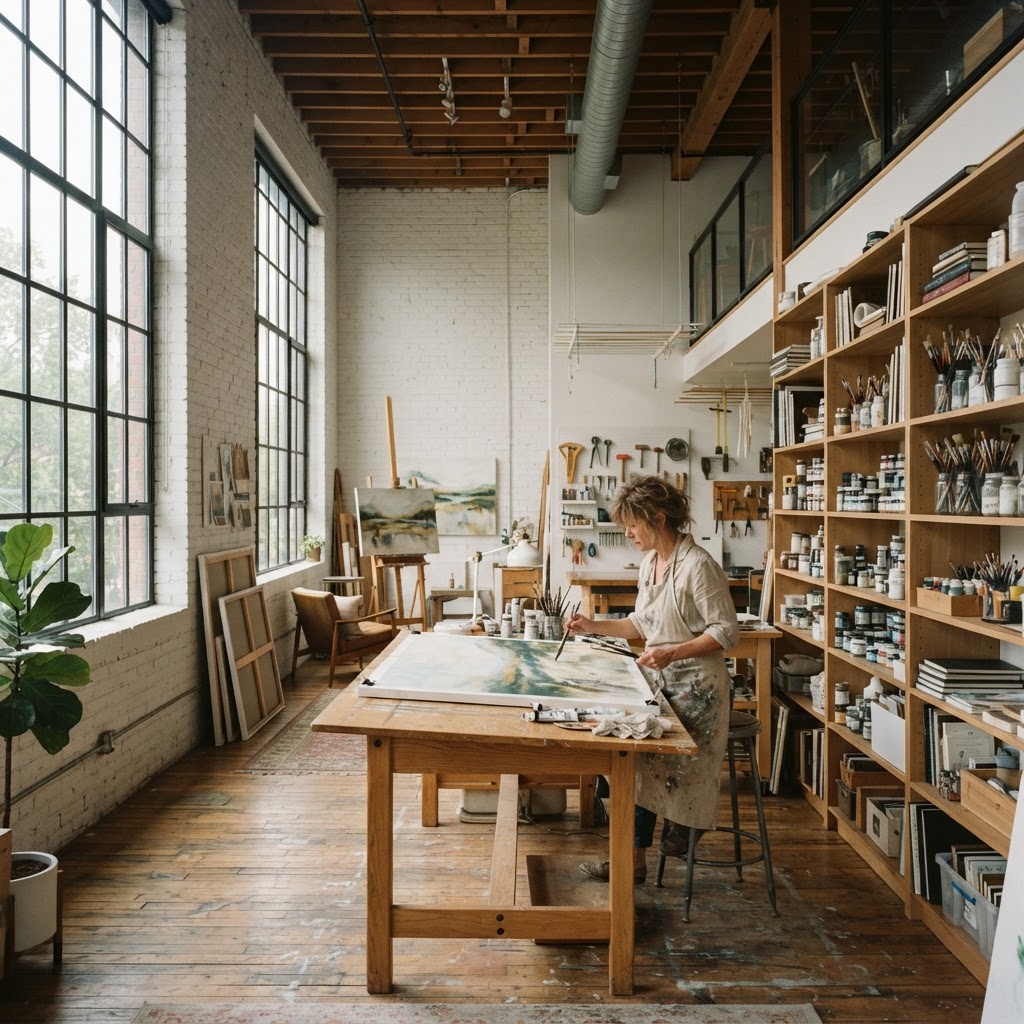
Dreamy Home Art Studios That Will Make You Want to Get Creative
Transforming a spare room into a dedicated sanctuary for your craft is easier than you think. Explore these inspiring gallery and studio designs that maximize natural light and functional storage for any creative pursuit.
Maximizing Natural Light for Color Accuracy
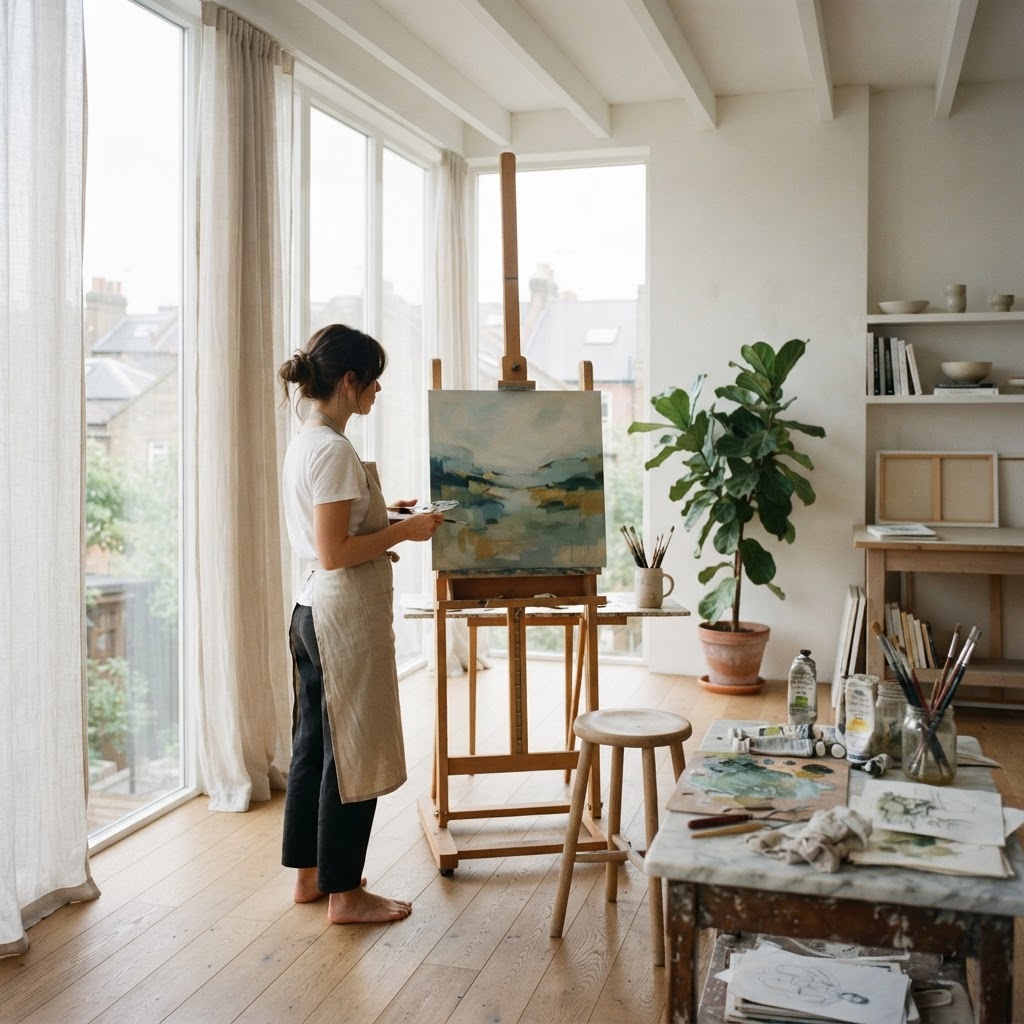
Honestly, if there is one thing that separates a good art studio from a truly great one, it is the light. Natural light is not just a nice-to-have. For painters, illustrators, textile artists, anyone working with color, it is basically non-negotiable. The reason is simple: artificial lighting, no matter how fancy and "daylight-balanced" the bulbs claim to be, never quite tells the truth about color the way the sun does. You could spend hours mixing the perfect shade of burnt sienna under warm LEDs and then take your canvas to a window and realize it looks completely different. It is the kind of heartbreak that happens way too often in poorly designed studios.
Here's the thing about north-facing windows specifically: artists have been obsessing over them for centuries, and for very good reason. North light in the northern hemisphere is indirect, consistent throughout the day, and does not blast you with harsh directional shadows the way south or west-facing light does. If you have a room with north-facing windows and you are not using it as your studio, honestly, you might want to reconsider your priorities. That said, not everyone has the luxury of choosing orientation, so the next best approach is layering your light sources strategically.
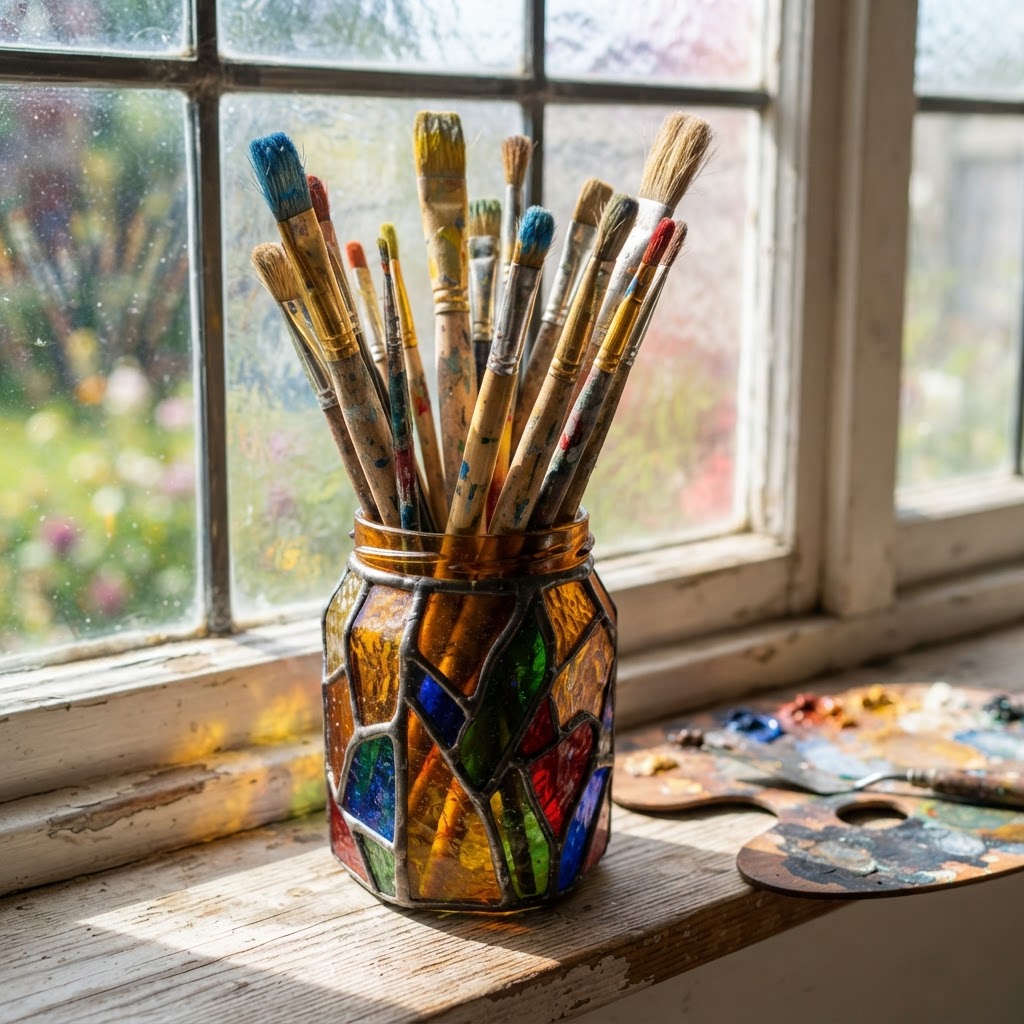
Sheer linen or cotton curtains are a game changer here. They diffuse harsh direct sunlight into something softer and more workable without blocking out the brightness entirely. Skylights are even better if you have the option, because overhead diffused light is genuinely the most flattering and accurate light you can work under. When natural light is not enough, supplement with high-CRI (Color Rendering Index) bulbs, ideally 95 or above, positioned to mimic the angle of natural light as closely as possible. Keep your walls light, ideally a warm white or very pale grey, so the space does not absorb light before it reaches your work surface.
Small details matter a lot too. Avoid placing your easel or drafting table directly in front of a window, because that creates glare and also means you are constantly squinting into the light source. Position your primary work surface perpendicular to the window instead. And if you can, invest in a good adjustable drafting lamp with a daylight bulb for detailed evening work. The studio spaces in these images are doing almost everything right, and you can see how open and inviting the light makes the whole environment feel. It genuinely makes you want to pick up a brush.
Smart Storage Solutions for Clutter-Free Workflow
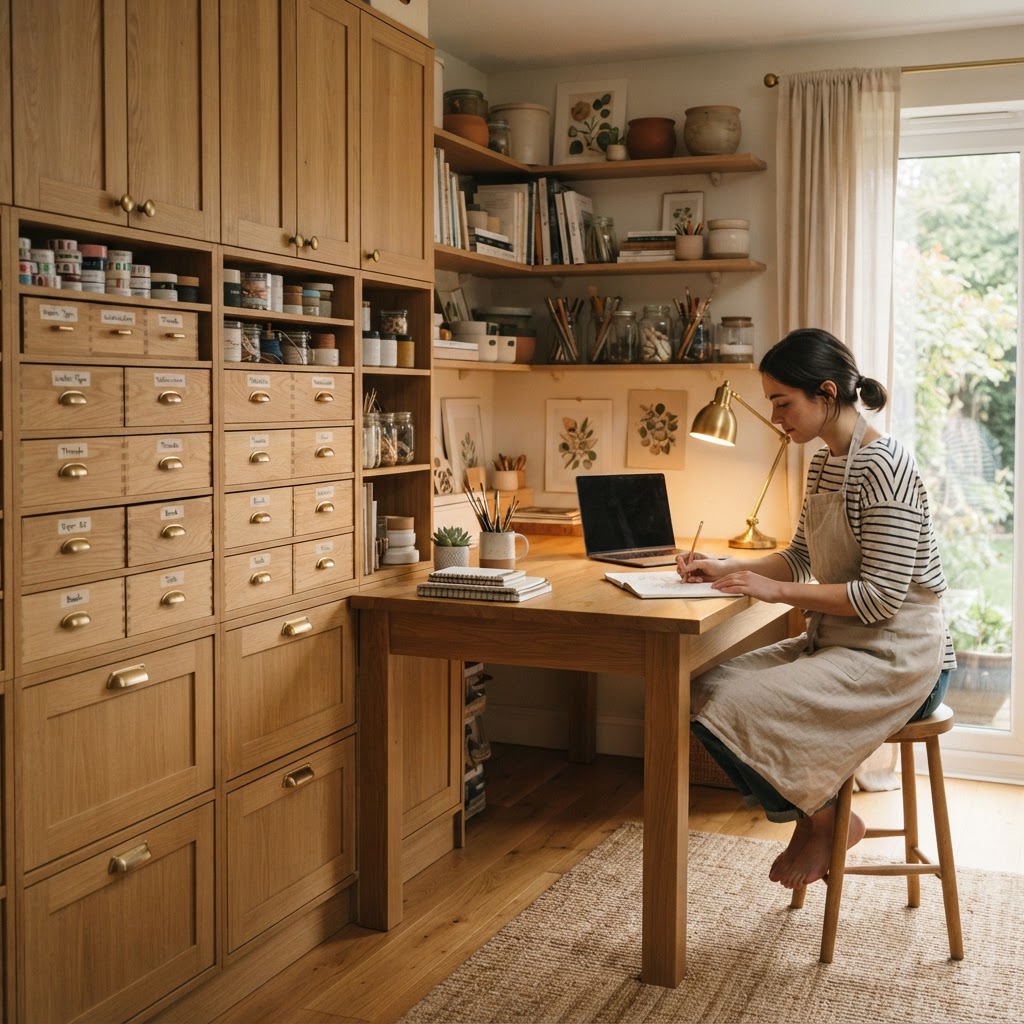
Real talk: creative clutter is a myth. Or rather, it is a comforting myth we tell ourselves when we have not figured out a storage system that actually works yet. There is a big difference between a space that feels creatively alive and one that is just a mess. The studios that genuinely inspire you, the ones you screenshot and save to folders on your phone, they almost always have excellent storage underneath all that beautiful chaos. The supplies are accessible, the tools are visible, but everything has a home.
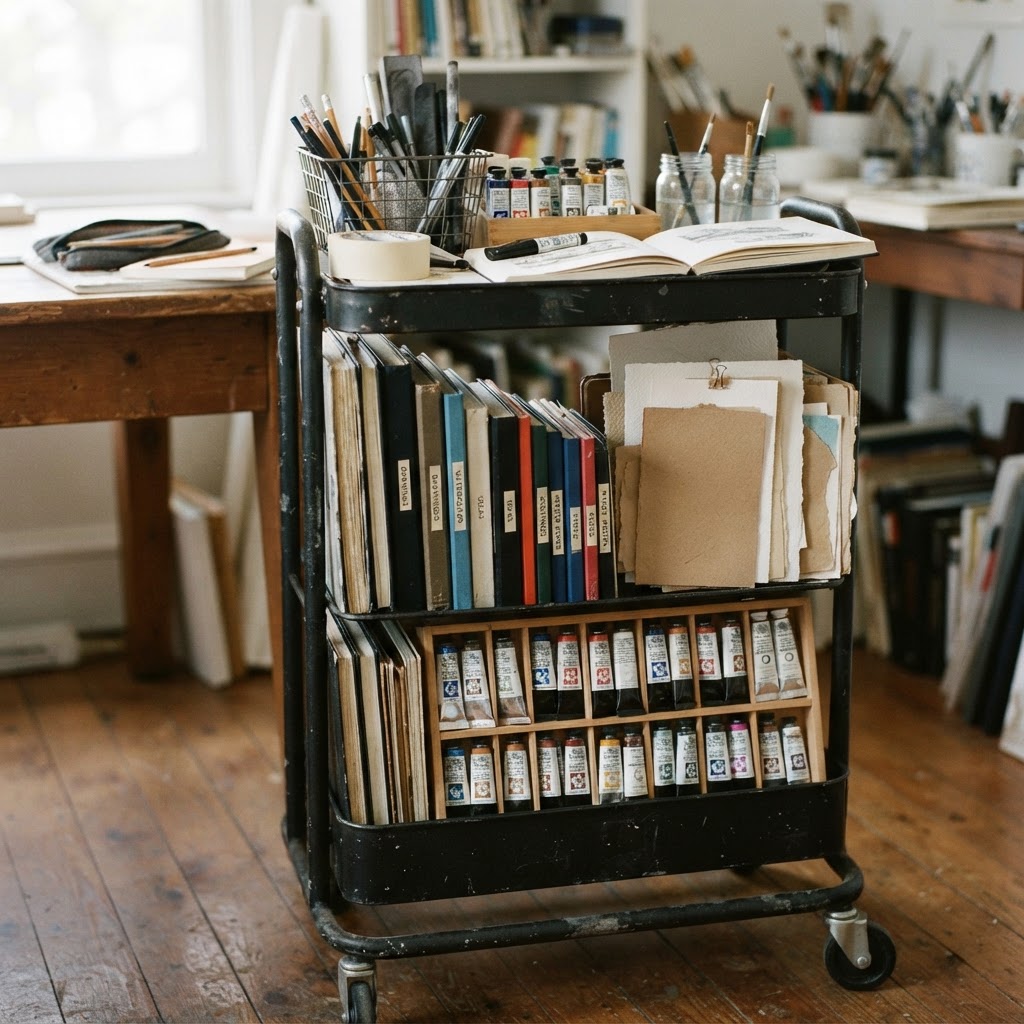
Floor-to-ceiling shelving is probably the single best investment you can make in a home studio. Open shelving lets you see everything at a glance, which means you are actually more likely to reach for that tube of cobalt blue or that particular sketchbook because you can see it sitting there. The trick is organizing by category and frequency of use. Things you reach for every single session should be at eye level or within arm's reach of your primary work surface. Seasonal supplies, reference books, specialty tools you use occasionally, those can live higher up or in cabinets.
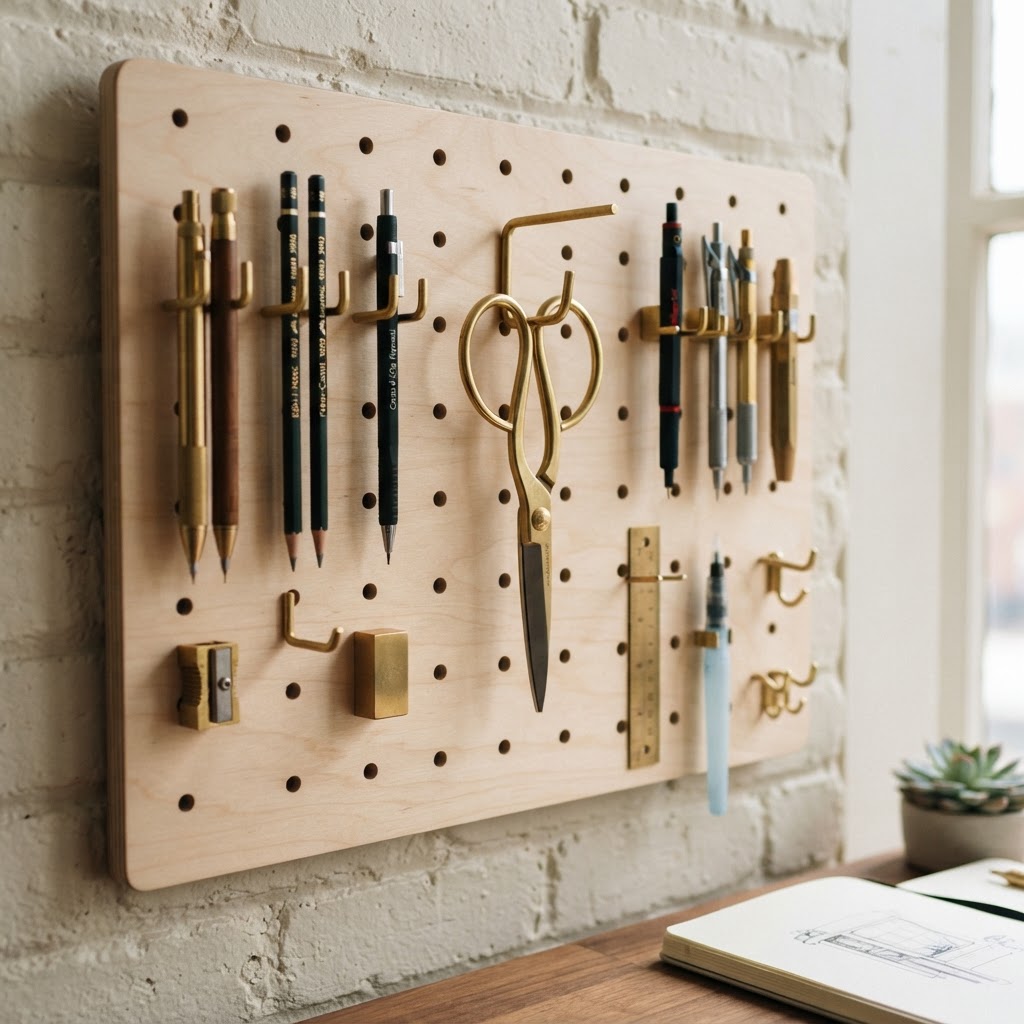
Pegboards are having a serious moment right now and honestly, the hype is completely justified. A well-organized pegboard above your work surface keeps your most-used tools visible, accessible, and off your actual workspace. Combine that with a rolling cart or two and you have got a setup that can adapt to different projects. Rolling carts are especially great because you can wheel them exactly where you need them and then push them out of the way when you need floor space. Look for ones with drawers of varying depths so you can accommodate everything from pencils to spray cans.
- Clear containers with labels so you can identify contents without digging through everything
- Magnetic knife strips repurposed for scissors, palette knives, and metal tools
- Vertical file organizers for canvases, paper, and boards that would otherwise get bent or buried
- Under-table storage using baskets or low rolling drawers to use every inch of floor space
- A designated "active project" zone so works in progress have a specific home and do not spread everywhere
The goal is to eliminate the friction between having an idea and being able to act on it. When your supplies are chaos, there is always this tiny activation barrier before you can start. A well-organized studio removes that. You sit down, everything you need is right there, and you just go. Trust me on this, it changes your whole creative output.
The Moody Gallery Wall and Inspiration Corner
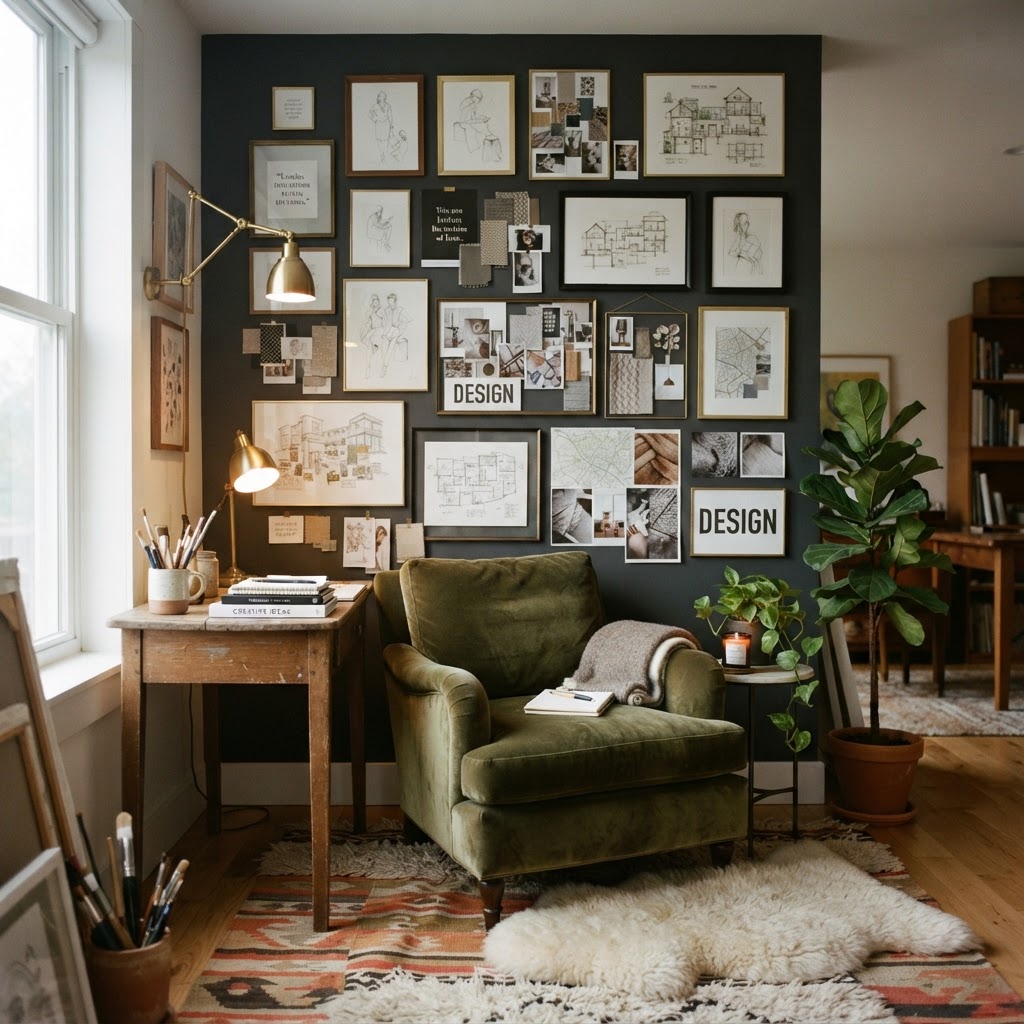
Every artist needs a corner that is purely for feeding the soul. Not for making work, not for storing supplies, just for looking and thinking and getting fired up. The inspiration corner, or mood wall, or whatever you want to call it, is one of the most underrated elements of a well-designed studio. And when done right, it is also one of the most visually striking features in the whole space.
The dark, moody gallery wall aesthetic is having a major moment right now and honestly, for good reason. Deep forest greens, charcoal blacks, and rich terracottas used as wall colors create this incredible sense of depth and drama that makes art and objects displayed against them look almost luminous. Layering frames of different sizes, mixing original artwork with prints, photographs, postcards, and even pages torn from art books, creates something that feels genuinely personal rather than like you just bought a gallery wall kit from a home decor store.
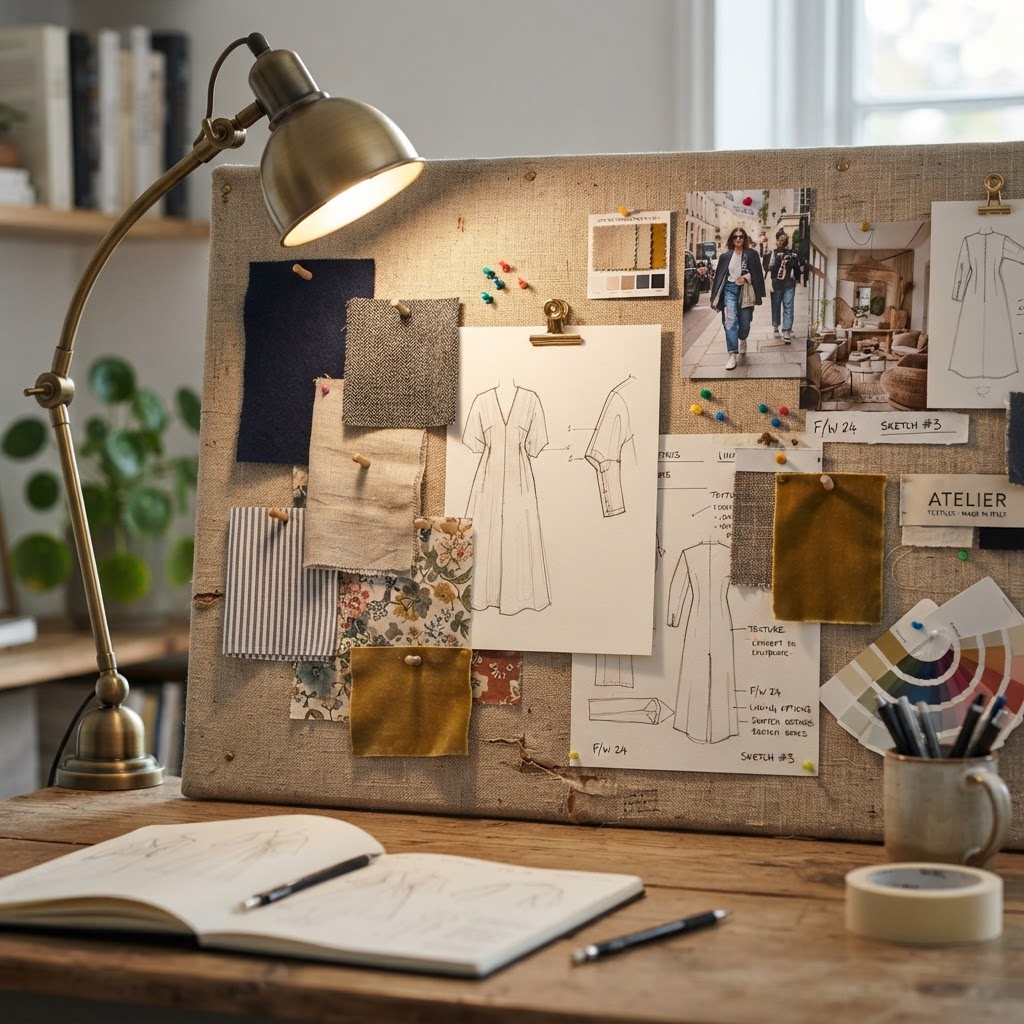
Here's the thing about inspiration corners: they should be dynamic. They should change. Pin things up, take them down, rearrange. A big cork board or a section of wall painted with magnetic paint gives you that flexibility without committing to anything permanently. Add a comfortable chair here, something you actually want to sink into, and a good lamp. This is the place you come to think, to sketch loose ideas, to look at things that excite you creatively. It earns its square footage.
"Your environment is always talking to you. Make sure it is saying something worth listening to."
Three-dimensional objects matter as much as flat art here. Collected stones, ceramics, vintage finds, a plant, a fragment of interesting fabric. These tactile objects give your eye somewhere to rest and they often spark ideas in ways that two-dimensional images simply cannot. Build slowly, choose things that genuinely move you, and do not worry about it being cohesive in any traditional sense. The best inspiration corners are deeply idiosyncratic, and that is exactly the point.
Versatile Multi-Purpose Creative Zones
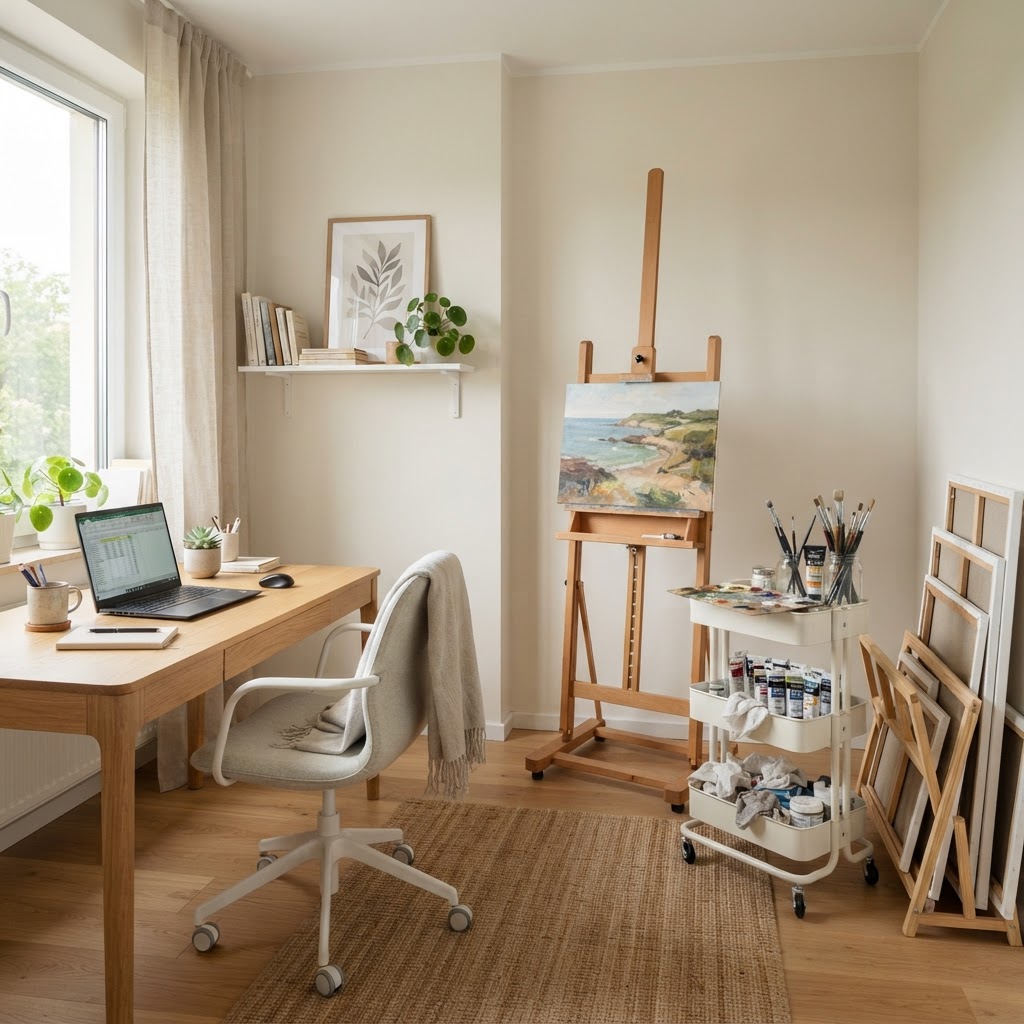
Look, not everyone has a dedicated room they can give over entirely to art. And even if you do, most artists work across multiple disciplines and need their space to flex. Maybe you paint, but you also do some digital work and occasionally need floor space for large-scale projects. Maybe you sew, sketch, and do ceramics. The single-purpose studio is actually the exception rather than the rule, and designing a space that can genuinely do multiple things well is one of the most satisfying challenges in studio design.
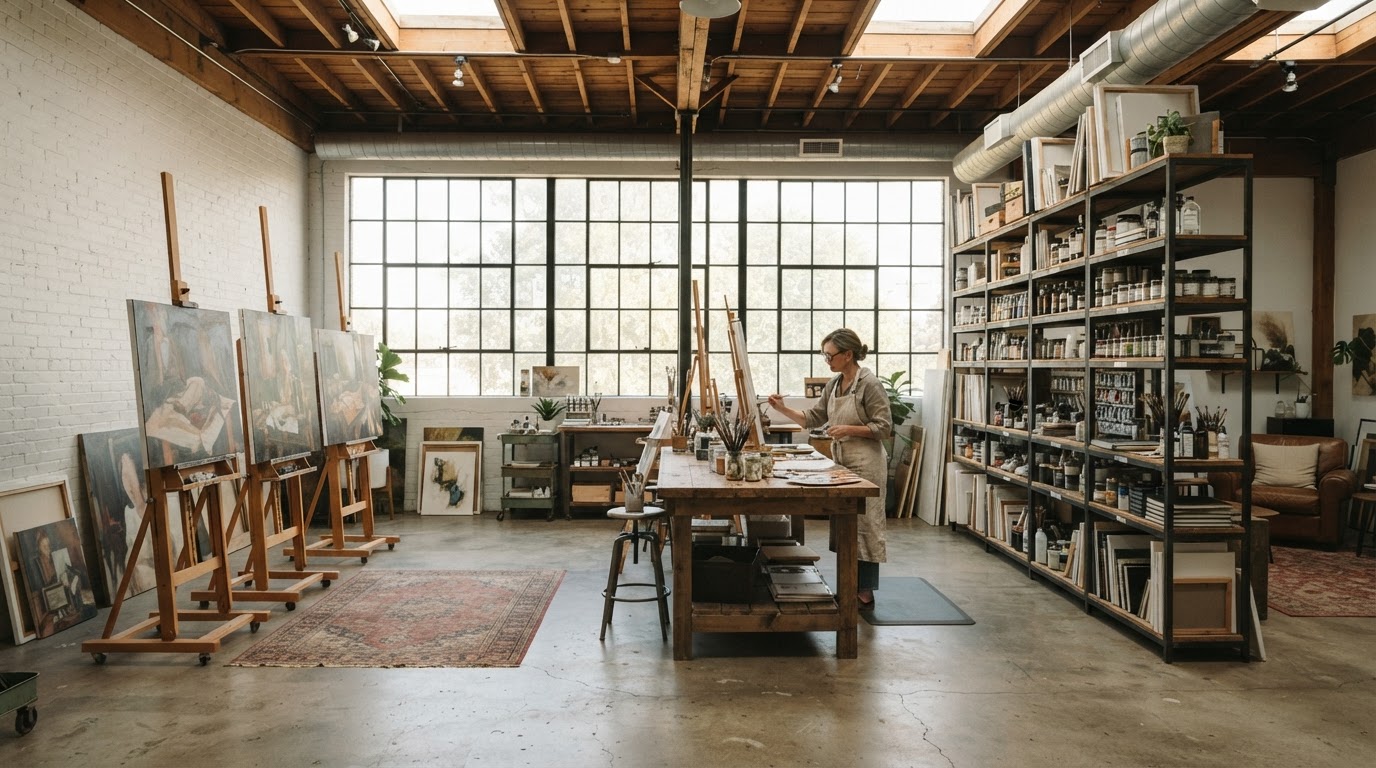
The key to a truly versatile creative zone is zoning without walls. You do not need physical barriers to define different activity areas. A large flat worktable for cutting, rolling, and planning can sit alongside an easel or drafting table without any conflict, as long as each zone has what it needs close at hand. Furniture on wheels, folding tables that tuck away, wall-mounted fold-down surfaces, these are the tools of a genuinely adaptable studio. When you need more floor space, surfaces fold up or roll aside. When you need a dedicated corner for a specific medium, it unfolds and activates.
Think carefully about flooring in a multi-purpose studio. A floor that is easy to clean is important if you are doing messy work, but it also needs to be comfortable to stand on for long periods. Sealed concrete and vinyl plank flooring are both excellent choices. Layer in a large rug in your "cleaner" zone, digital work, reading, sketching, and let the hard floor take the paint spills and solvent drips in the messier areas. It is a simple distinction but it makes the whole space feel more intentional.
- Height-adjustable work surfaces so you can work sitting or standing depending on the task
- Mobile storage units that move with you from zone to zone rather than anchoring you in one spot
- Flexible overhead lighting with track systems or adjustable pendants that can be aimed at different zones
- A dedicated drying and curing area for wet work that does not interfere with active working space
And honestly, do not underestimate the value of a small sink in a studio if it is at all possible to install one. Not having to walk to a bathroom every time you need to rinse a brush or clean up a spill is such a quality of life improvement that it is hard to overstate. Even a tiny utility sink in the corner transforms the functionality of the whole space.
Bringing Organic Elements Into Your Workspace
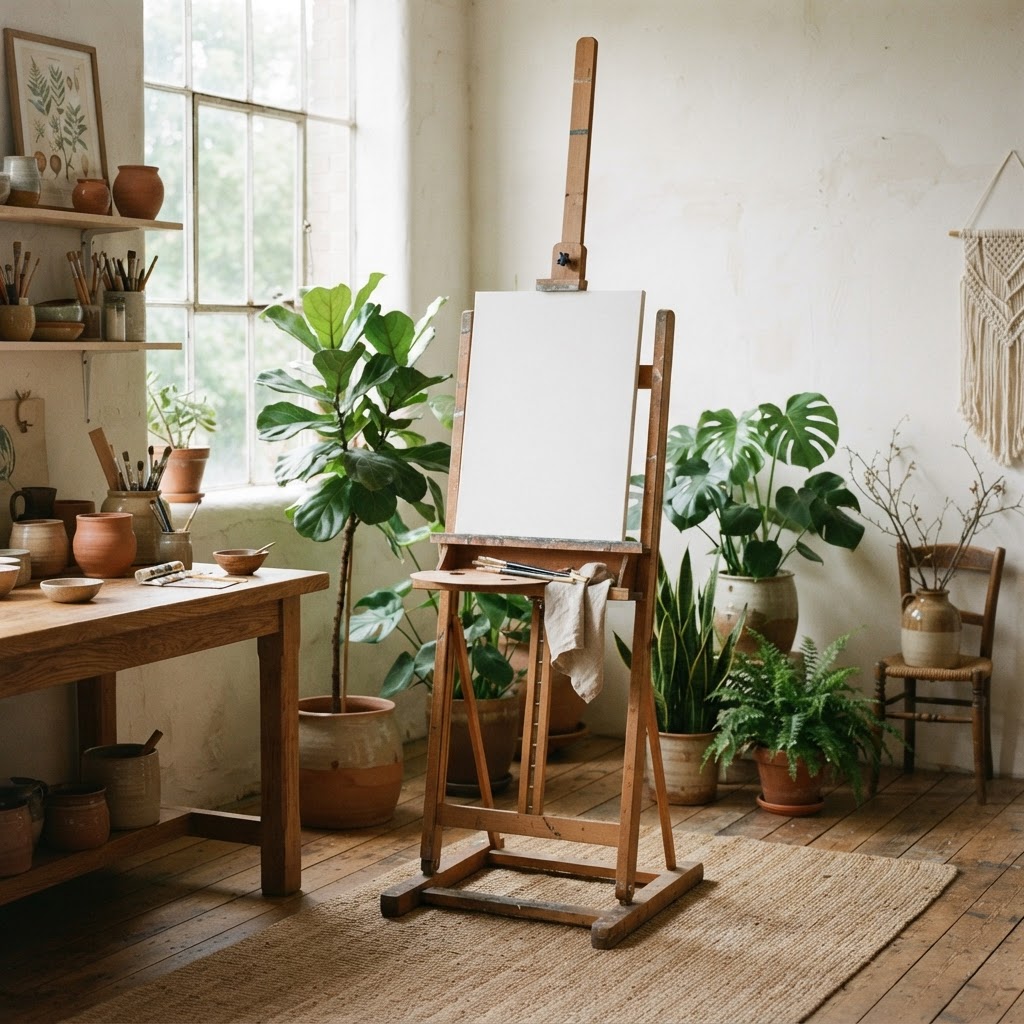
There is something about bringing the outside in that just works in a creative space. Maybe it is the visual variety of organic forms and textures. Maybe it is that plants remind us that things grow slowly and imperfectly and that is perfectly fine. Whatever the reason, studios that incorporate natural elements, plants, wood, stone, raw linen, dried botanicals, consistently feel more alive and more inspiring than those that do not. And honestly, the research on this backs it up: people work more creatively and feel calmer in spaces with natural elements present.
Plants are the most obvious place to start, but go beyond a single succulent on the windowsill. Think about large statement plants that fill a corner, trailing plants that cascade from shelves, and a collection of smaller plants grouped together for visual impact. Choose varieties that actually work for your light conditions. A snake plant or a pothos will survive nearly any studio situation, while a fiddle-leaf fig needs more specific care. The goal is living greenery that makes the space feel vital, not a collection of plants you are constantly trying to keep alive against the odds.
Beyond plants, raw and natural materials make a studio feel grounded and warm in a way that perfectly polished surfaces simply do not. A reclaimed wood workbench has a character and warmth that a flat-pack table can never replicate. Woven baskets for storage, linen drapes, a jute rug, rough ceramic vessels for your brushes and pencils. These textures create visual and tactile variety that keeps the space from feeling clinical or cold. And in a creative workspace, you really, really do not want cold and clinical.
Consider bringing in natural reference objects too. Shells, interesting rocks, seed pods, branches with interesting forms. These are not just decorations. They are drawing subjects, color reference, texture studies, sources of genuine inspiration sitting right in your workspace. The best studios feel like curiosity cabinets in the best possible sense, full of interesting things that make you want to look more closely at the world. And that is exactly the right energy for a place where you are trying to make things.
Final Thoughts
Designing a home art studio that actually works is one of the most personal and rewarding design projects you can take on. Because unlike a living room or a kitchen, this space is entirely about supporting your specific creative process. There are no rules about what it has to look like or how it needs to function, only what works for you.
That said, the principles we have covered here, prioritizing natural light, building smart storage systems, creating a dedicated inspiration space, designing for flexibility, and layering in organic warmth, these will serve almost any artist in almost any space. Start with one of them if the whole thing feels overwhelming. Tackle the storage, or hang the gallery wall, or move your work surface closer to the window. Small changes in a studio have an outsized effect on how much you actually use the space and how much you enjoy being in it.
And at the end of the day, that is the whole point. A studio should make you want to show up. It should make you want to make things. If yours is doing that, then it is doing its job beautifully, no matter how it looks.
More in Commercial
Stay Inspired
Subscribe for new essays on architecture, design, and the spaces that shape us.