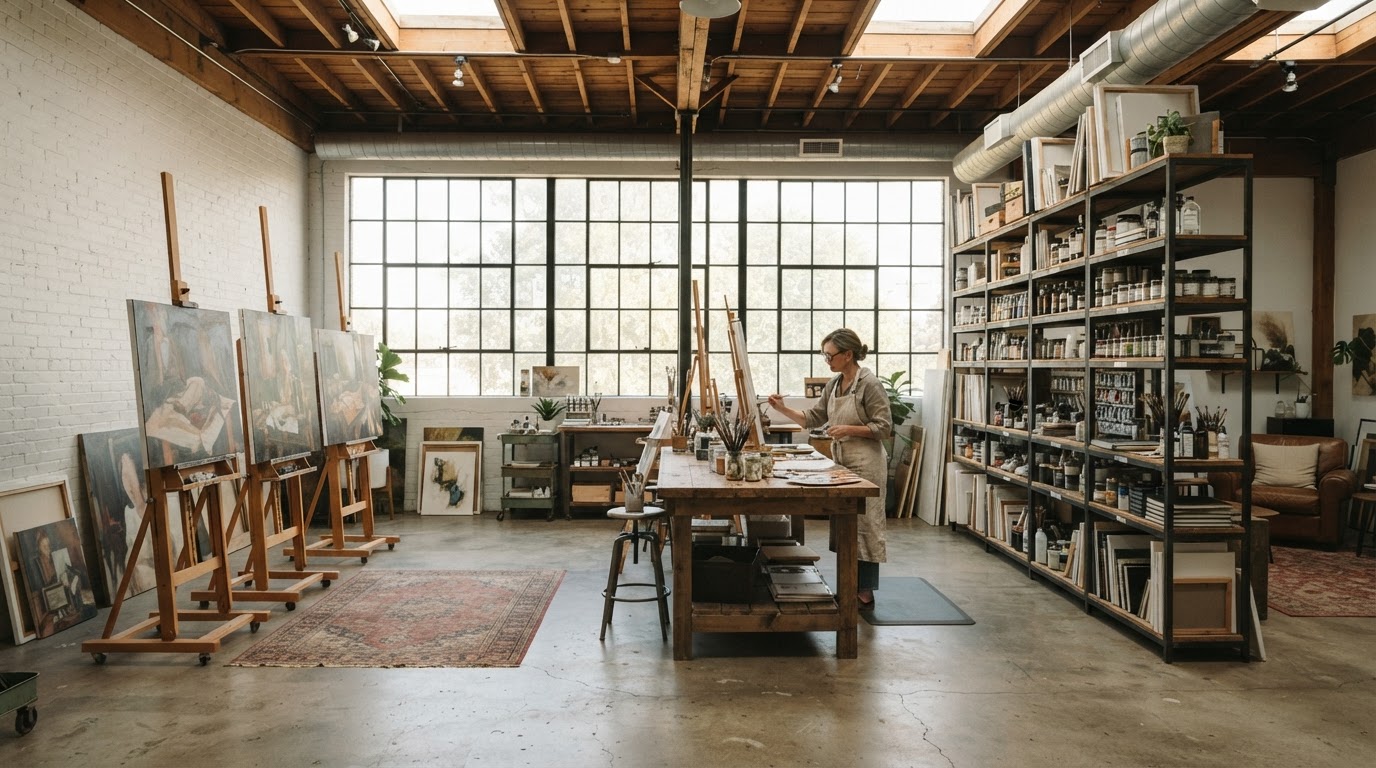
Creative Studio Layouts That Will Make You More Productive
Designing a dedicated workspace requires balance between aesthetic appeal and pure function. Discover how to create an inspiring gallery or studio space that helps you stay focused and creative every single day.
Maximizing Natural Light for Color Accuracy
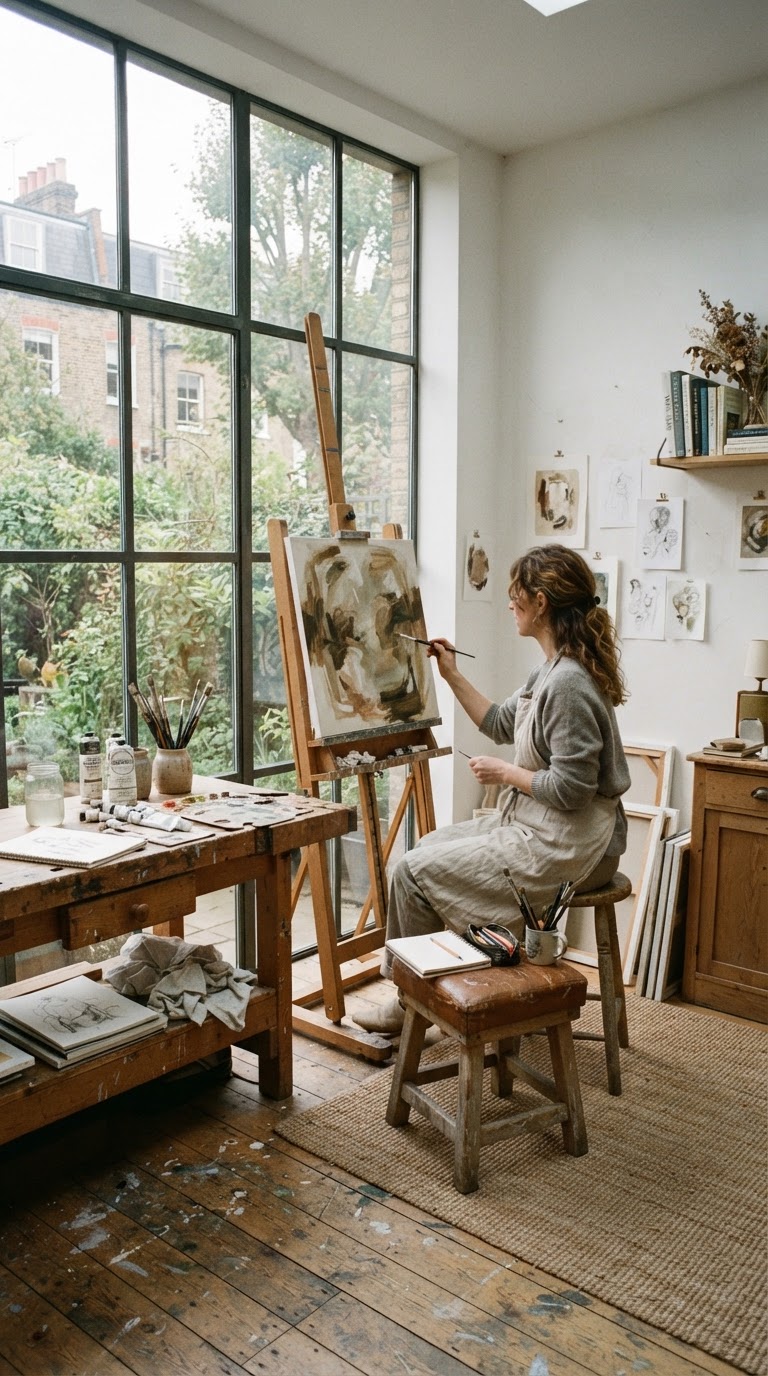
Honestly, if there's one thing that separates a studio that feels inspiring from one that just feels like a room with stuff in it, it's the light. Natural light isn't just nice to have. It's genuinely functional, especially if your work involves color, whether you're painting, photographing products, designing textiles, or editing visuals on screen. Artificial light lies to you. Natural light tells the truth.
The key is positioning your primary work surface as close to your largest north-facing window as possible. North light in the northern hemisphere is consistent throughout the day. It doesn't throw harsh shadows at noon and then go golden and warm by 4pm. If you're in a space where north-facing windows aren't an option, diffused east light in the morning can work really well, just know that your color accuracy window is shorter. You'll want to wrap up color-critical work before the light shifts.
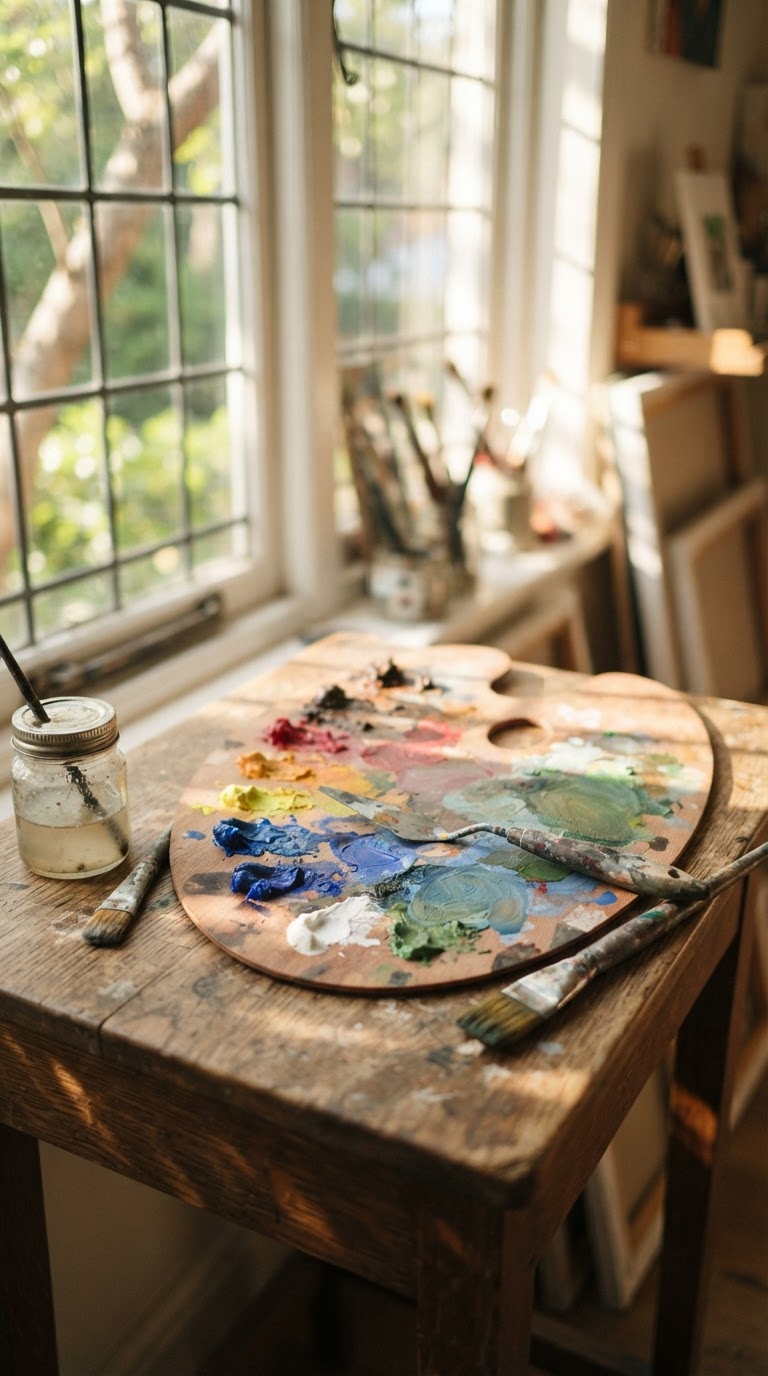
Use sheer linen or cotton curtains to diffuse direct sun when it gets harsh. Skip the blackout blinds entirely for your main work area. And here's the thing a lot of people overlook: the color of your walls affects how light bounces around the room. White or very light gray walls will reflect natural light deeper into the space, while saturated colors absorb it. Keep the walls near your windows neutral, even if you go bolder elsewhere in the studio.
One more thing. Keep your windows clean. Sounds obvious, but dusty, grimy glass cuts light transmission more than you'd think. A monthly wipe-down costs you nothing and makes a noticeable difference in how bright and clear your workspace feels.
Smart Storage Solutions for Small Studios
Real talk: clutter kills creativity. I know some people romanticize the messy artist's studio, and sure, a certain amount of productive chaos is fine. But when you can't find your tools, when surfaces are buried, when you spend twenty minutes looking for a specific brush or a cable or that one reference photo you printed last week, that's not creative energy. That's just stress. Good storage isn't about being a neat freak. It's about respecting your own time.
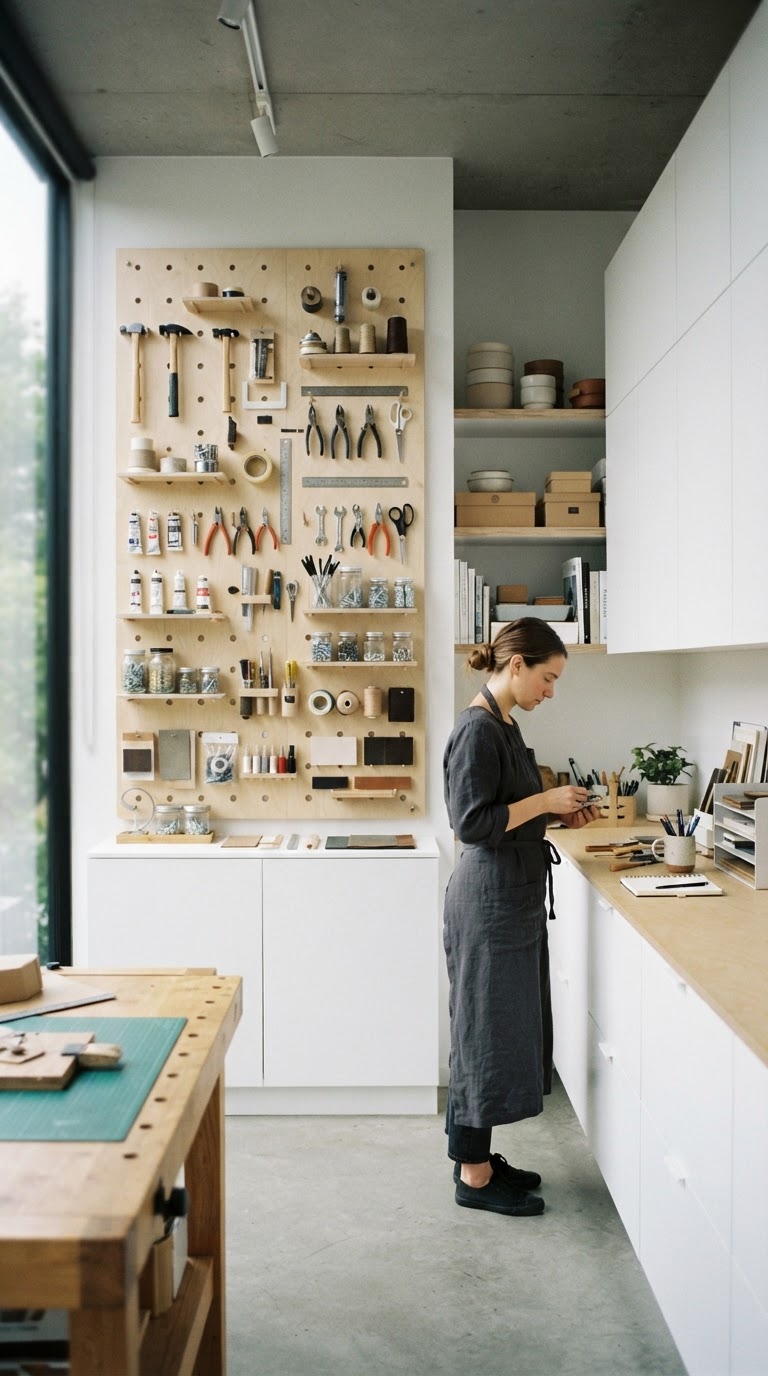
In a small studio, the number one rule is to go vertical. Floor space is precious. Wall space is often completely wasted. Install floor-to-ceiling shelving along at least one wall and use every inch of it intentionally. Open shelving works great for things you use constantly because it keeps them visible and accessible. For everything else, closed storage keeps visual noise down. A mix of both is usually the sweet spot.
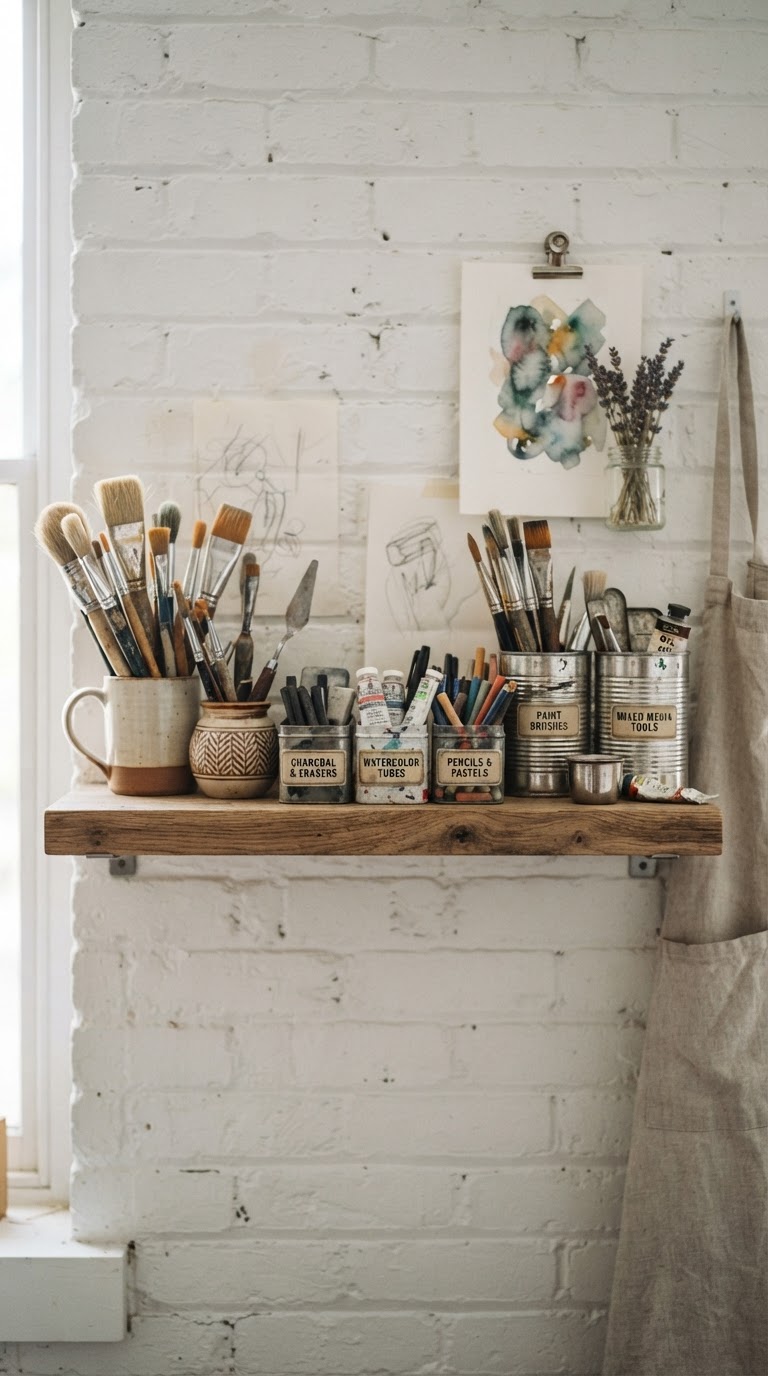
Here are some storage approaches that genuinely work in small creative spaces:
- Pegboards: Incredibly versatile, easy to reconfigure, and they keep tools right at eye level. Great for scissors, tape, small tools, and even plants.
- Rolling carts: A good rolling cart with drawers can serve as extra storage that moves out of the way when you don't need it and pulls right up to your work surface when you do.
- Under-desk storage: If your desk doesn't have built-in drawers, add a simple filing cabinet or a set of stackable bins underneath. That space is usually totally wasted.
- Labeled bins and baskets: Sounds basic, but labeling your storage means you actually put things back where they belong. It creates a system that maintains itself.
- Wall-mounted tool holders: Magnetic strips for metal tools, jar systems for pens and brushes, mounted clip boards for reference materials.
The goal is a studio where everything has a home. When everything has a home, tidying up takes five minutes instead of an hour. And when the space is clear, you can actually think.
Creating a Dedicated Gallery Display Wall
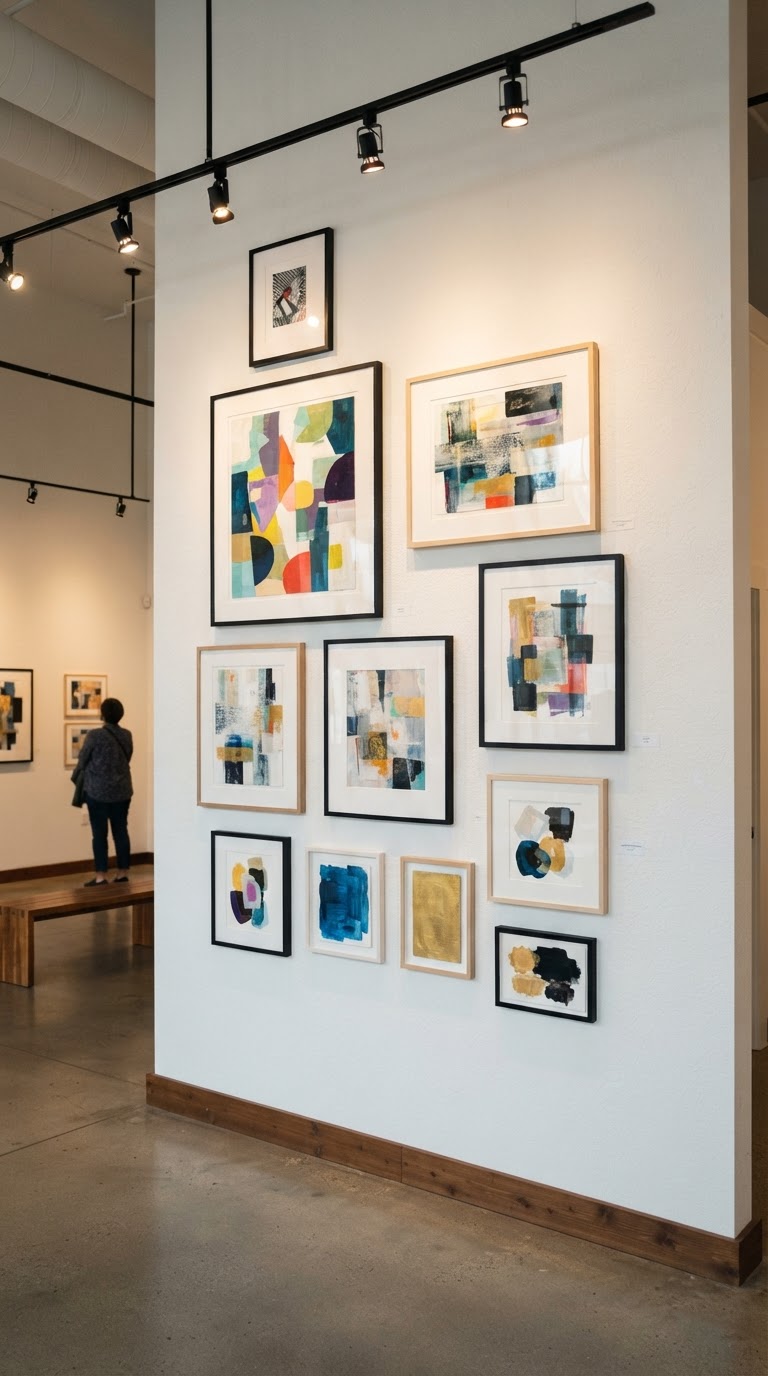
This one doesn't get talked about enough when people discuss studio productivity, and I think that's a mistake. Having a dedicated wall where you display your own work, work you admire, reference imagery, color studies, whatever is visually meaningful to you, does something really important. It keeps you connected to why you're doing what you're doing. It's basically a visual anchor for your creative identity.
The practical side of it matters too. A gallery wall where you can pin or hang works in progress lets you step back and see things with fresh eyes. Distance creates perspective. You'll catch compositional issues, color inconsistencies, or structural problems way faster when you're looking at something pinned to the wall across the room than when you're hunched over it at your desk.
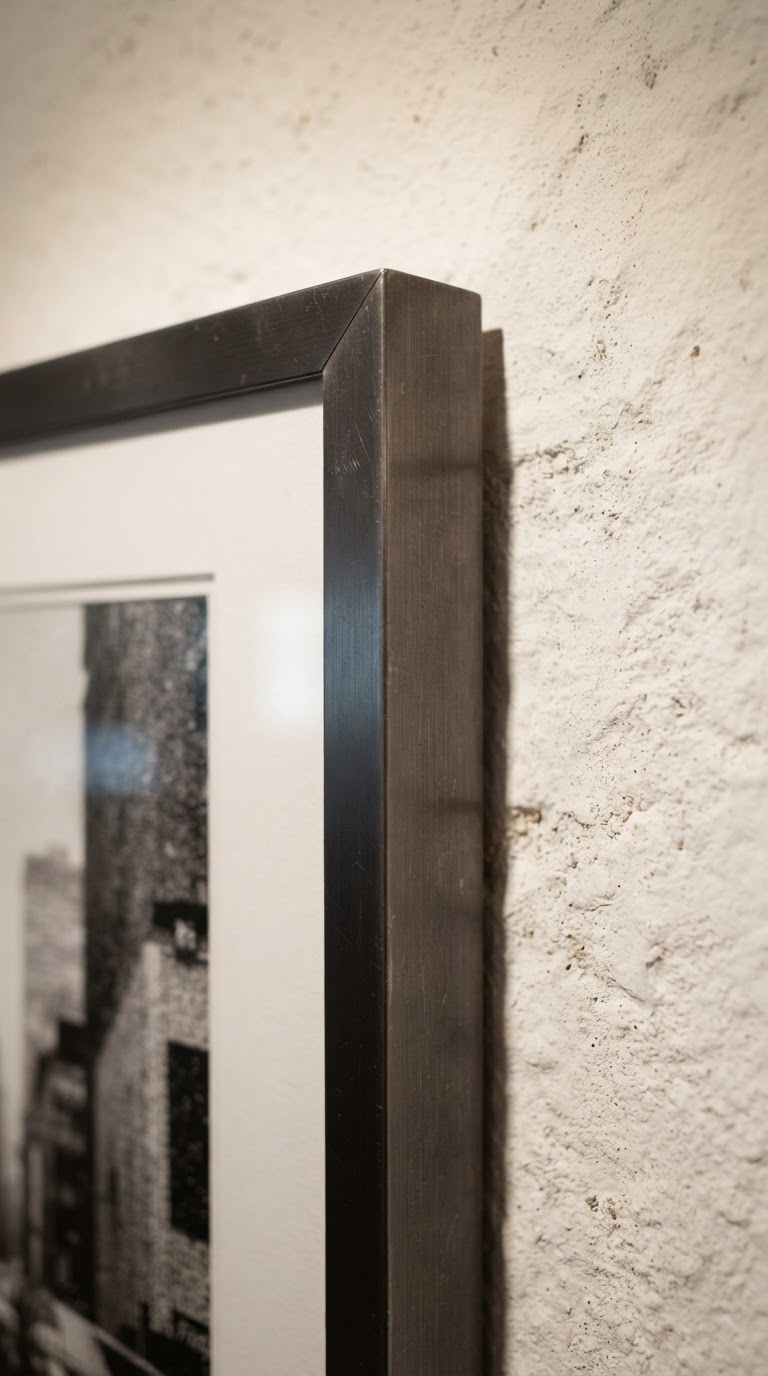
For the actual installation, a large cork board or a section of wall painted with magnetic or chalkboard paint gives you maximum flexibility. You want to be able to swap things in and out easily without dealing with nails and patching holes every time. If you prefer a cleaner, more gallery-style look, a simple picture rail system lets you hang framed pieces at any height without touching the wall at all.
Keep the display curated and intentional. Rotate it regularly. What was inspiring you three months ago might not be relevant to what you're working on now, and that's okay. The wall should reflect where you are creatively right now, not serve as a permanent archive. Think of it as a living mood board.
"Your studio walls should be working as hard as you are. Every surface is an opportunity to stay connected to your vision."
Defining Zones for Creativity and Rest
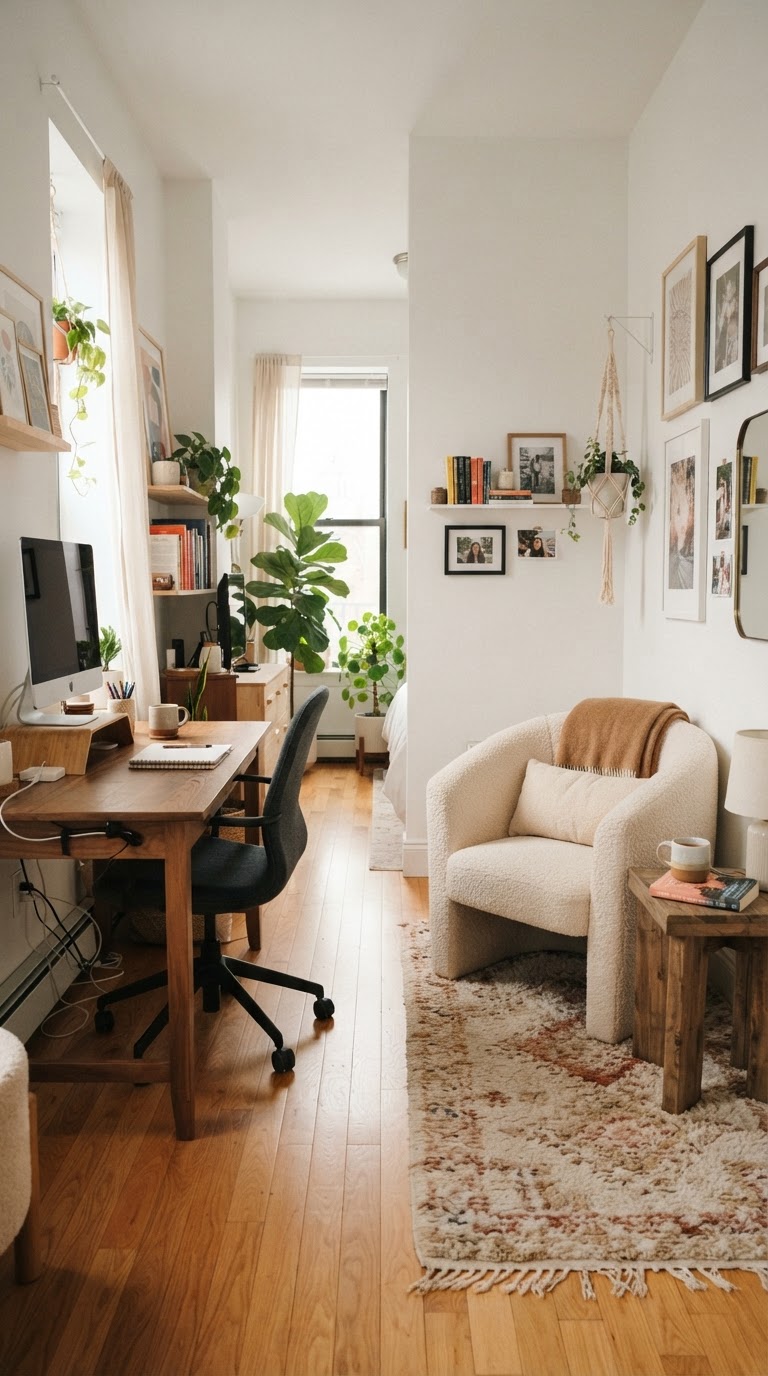
Here's the thing about creative work that a lot of productivity advice gets completely wrong. Rest is not the opposite of productivity. Rest is part of the process. Some of the best ideas happen when you step away from the work, give your brain a minute to breathe, and let things percolate. If your studio doesn't have a space for that, you're leaving a lot on the table.
Zoning a studio doesn't require a massive space or a complicated renovation. It's really about intention and a few smart physical signals that help your brain shift between modes. Your active work zone should feel energizing: good light, organized surfaces, everything you need within reach. Your rest or thinking zone should feel different. Softer. Quieter. A comfortable chair, maybe a small side table for a drink, some books, softer light. Even a small rug can define a zone and make it feel psychologically separate from the work area.
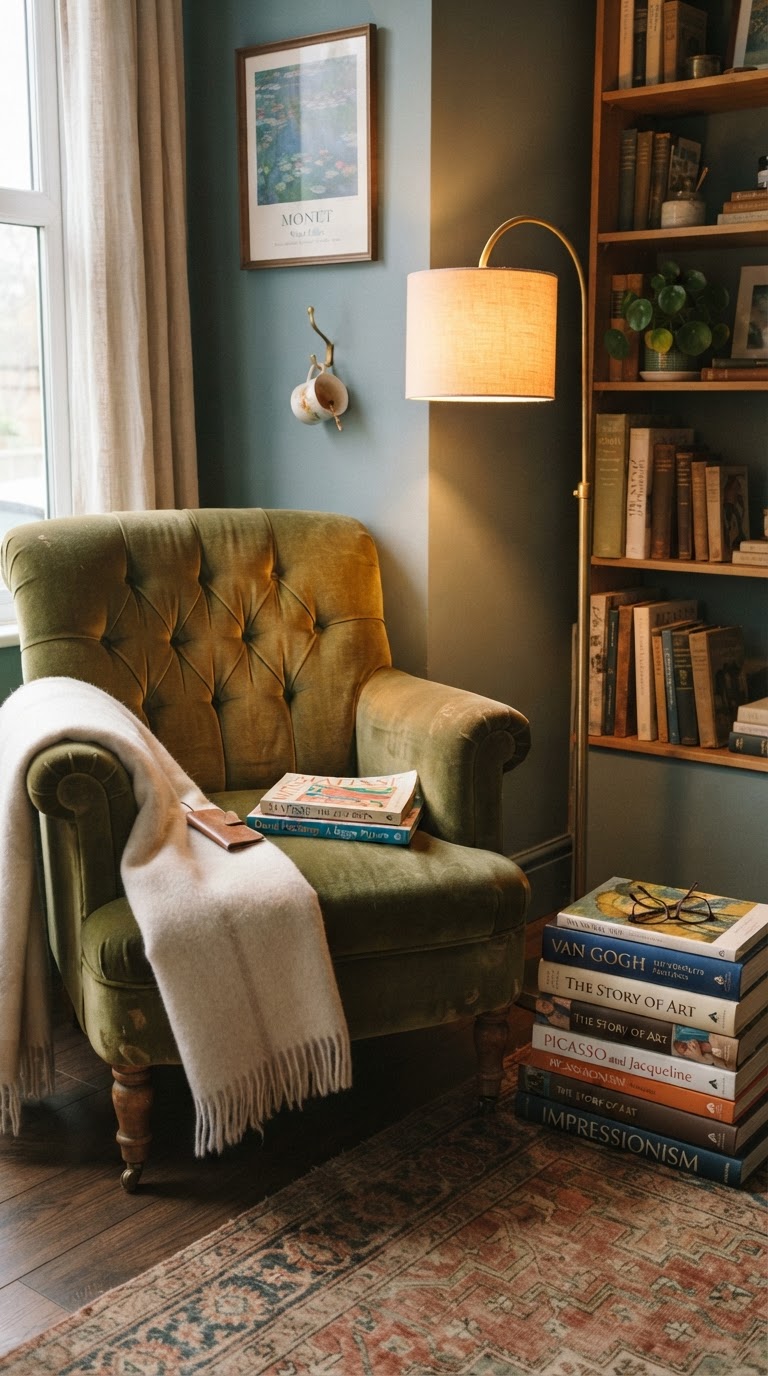
If you work with clients or collaborators, think about adding a third zone for meetings or presentations. It doesn't have to be elaborate. A small table with two chairs, positioned away from your active work area, signals that this is a professional meeting space. It also protects your work-in-progress from casual viewing if you're not ready to share yet.
The physical separation of zones trains your brain over time. When you sit at your work surface, you work. When you sit in your rest chair, you let your mind wander. That kind of spatial conditioning is surprisingly powerful, and once you experience it you won't want to go back to a single-purpose room where everything bleeds into everything else.
Create your own commercial design concepts
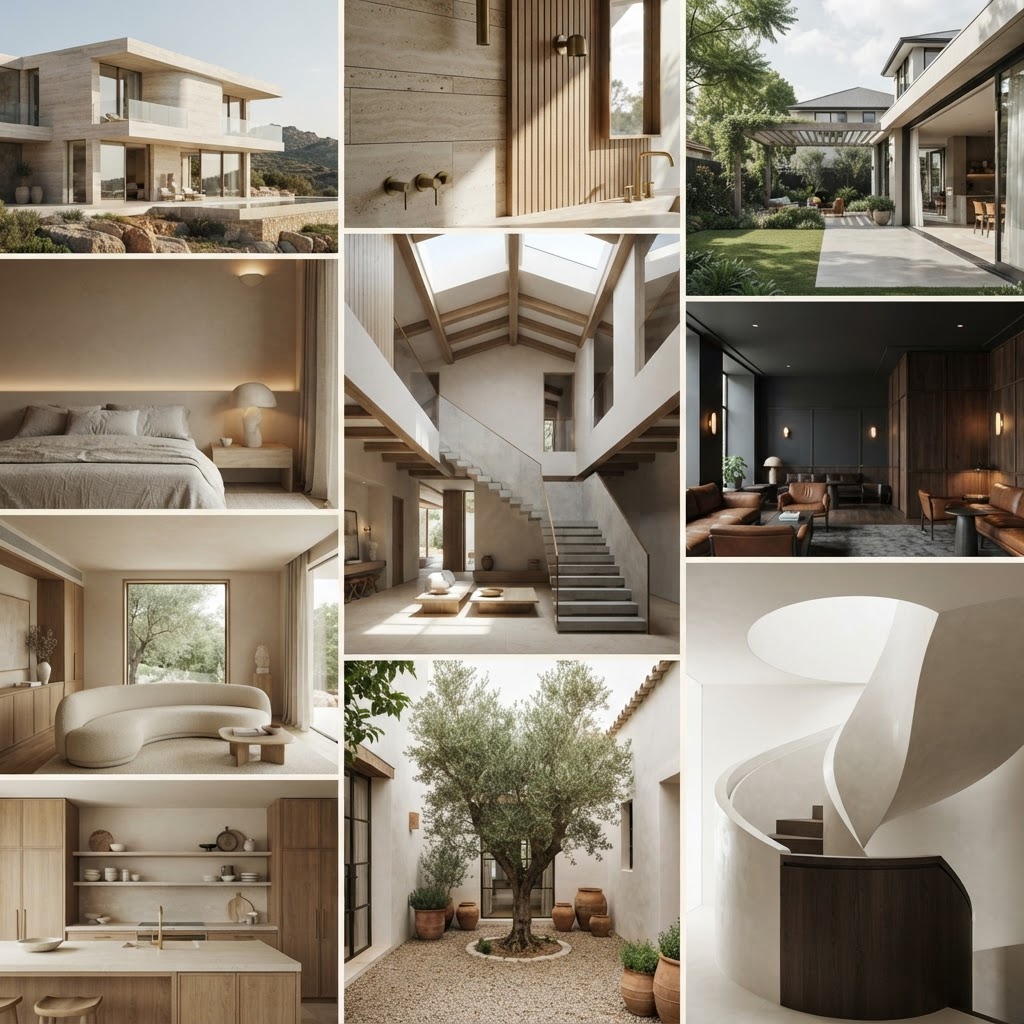
Generate personalized concepts for your workspace, shop, or hospitality interior independently with AI, shaped around your brand and vision.
Powered by next-generation AI trained specifically for architecture and interior design.
Be the first to hear when the Studio opens.
Essential Lighting Layers for Evening Work
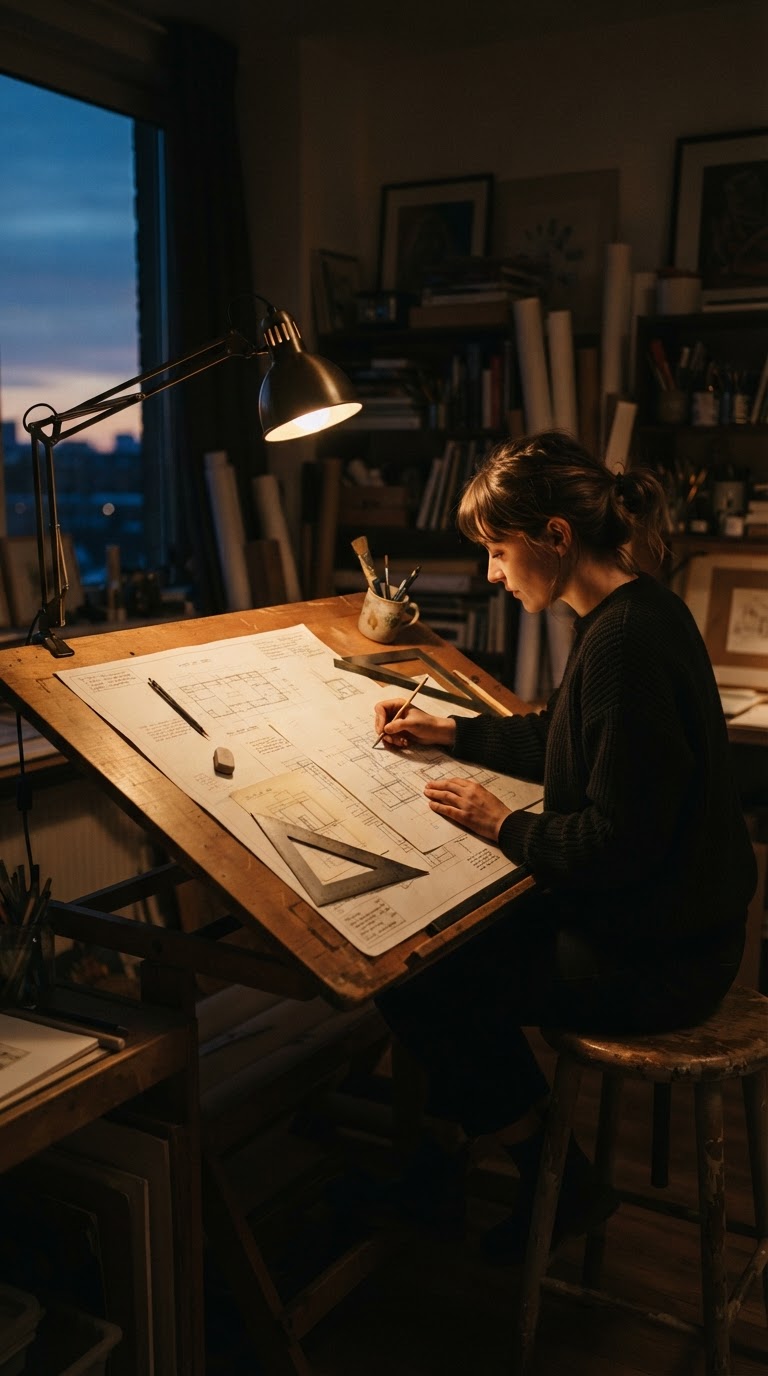
Unless you have the luxury of only ever working during daylight hours, which honestly almost nobody does, you need to get serious about your artificial lighting setup. Bad evening lighting is one of the most common and most fixable causes of eye strain, fatigue, and poor color decisions in a studio. And yet most people just slap up a single overhead fixture and wonder why they feel exhausted after a few hours of evening work.
The key concept here is layering. You want at least three distinct light sources in your studio, each serving a different function. First is ambient light, which is your general room illumination. This should be bright enough to prevent stark contrast between your work surface and the surrounding room, but not so harsh that it creates glare. A ceiling fixture with a dimmer switch is ideal because you can dial it up or down depending on the time of night and what you're working on.
Second is task lighting, which is focused, bright light aimed directly at your work surface. For desk-based work, a good adjustable arm lamp with a daylight-balanced bulb (look for 5000K to 6500K color temperature) makes a huge difference. It reduces eye strain and keeps color rendering accurate even after the sun goes down. This is the light that's actually doing the heavy lifting when you're focused on detailed work.
Third is accent or ambient fill lighting. This is where you have the most fun. Floor lamps behind furniture, LED strip lights along shelves, a small table lamp in your rest zone. These secondary light sources fill in shadows, add warmth to the overall atmosphere, and make the space feel finished rather than clinical. They also help your eyes transition between bright work surfaces and darker surroundings without as much strain.
- Overhead ambient: Dimmable ceiling fixture, ideally with a diffuser to soften shadows.
- Task light: Adjustable desk lamp, daylight bulb, positioned to avoid screen glare and hand shadows.
- Fill and accent: Floor lamps, shelf lighting, or LED strips to balance the room and add atmosphere.
- Color temperature consistency: Try to keep all your bulbs in the same general temperature range so the room doesn't look patchy and disjointed.
Trust me on this one: investing in a proper lighting setup will pay for itself in the form of better work and less physical exhaustion. It's one of those upgrades that takes a bit of effort upfront but changes your daily experience in the studio in a way that's hard to overstate.
Final Thoughts
A well-designed studio isn't a luxury. It's honestly one of the most practical investments you can make in your creative output. The five things we covered here, natural light, smart storage, a gallery wall, defined zones, and layered lighting, aren't about aesthetics for the sake of it. Each one serves a real functional purpose that directly affects how you think, how you work, and how long you can sustain focused creative effort before burning out.
You don't have to tackle everything at once. Pick the one that feels most urgent for where you are right now and start there. Even one meaningful change to your studio layout can shift the whole energy of the space. And once you feel that shift, you'll want to keep going. That's the thing about a space that really works for you. It makes you want to be in it, and that, more than anything, is what drives creative productivity.
More in Commercial

Stay Inspired
Subscribe for new essays on architecture, design, and the spaces that shape us.