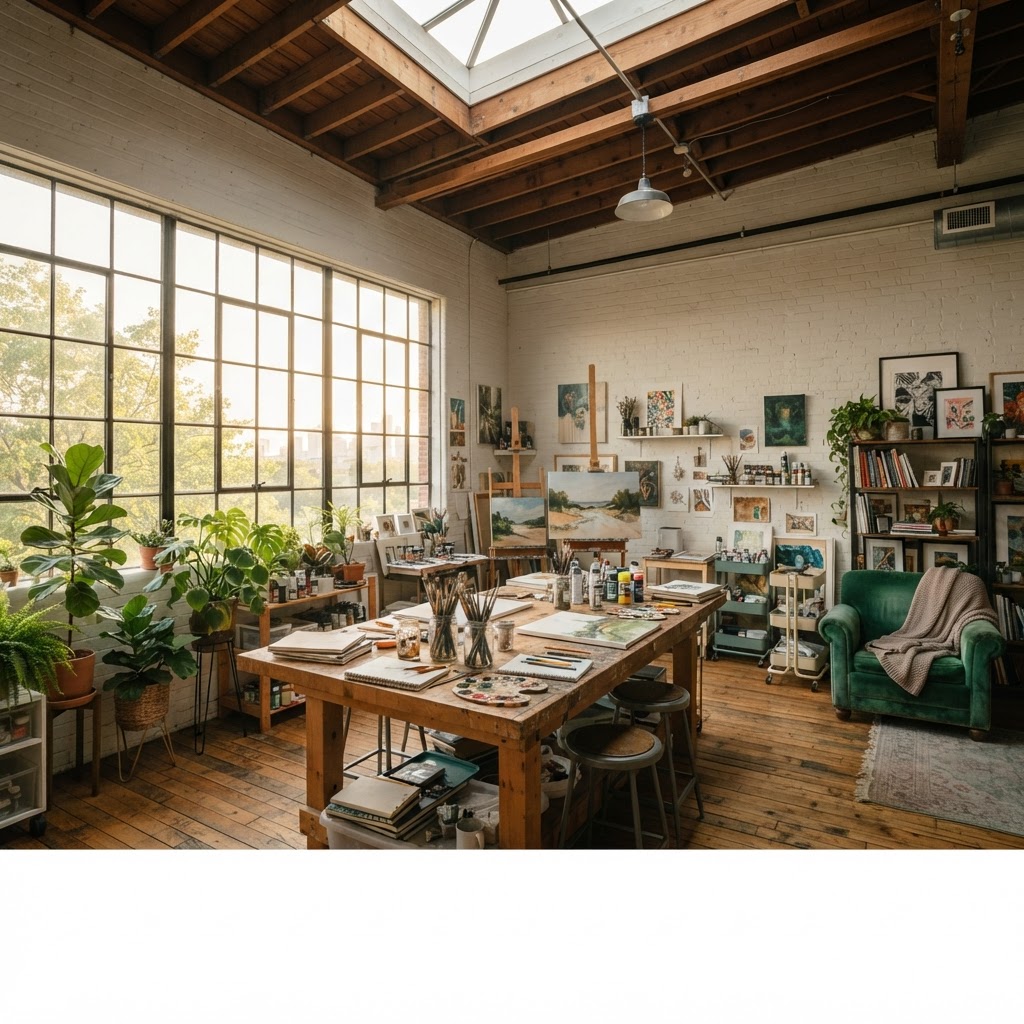
Dreamy Studio Spaces: How to Design a Creative Sanctuary You Will Love
Creating a dedicated creative workspace is about balancing inspiration with functional storage. These design ideas will help you build a studio that fuels your passion and keeps you organized.
Maximize Natural Light with Strategic Layouts
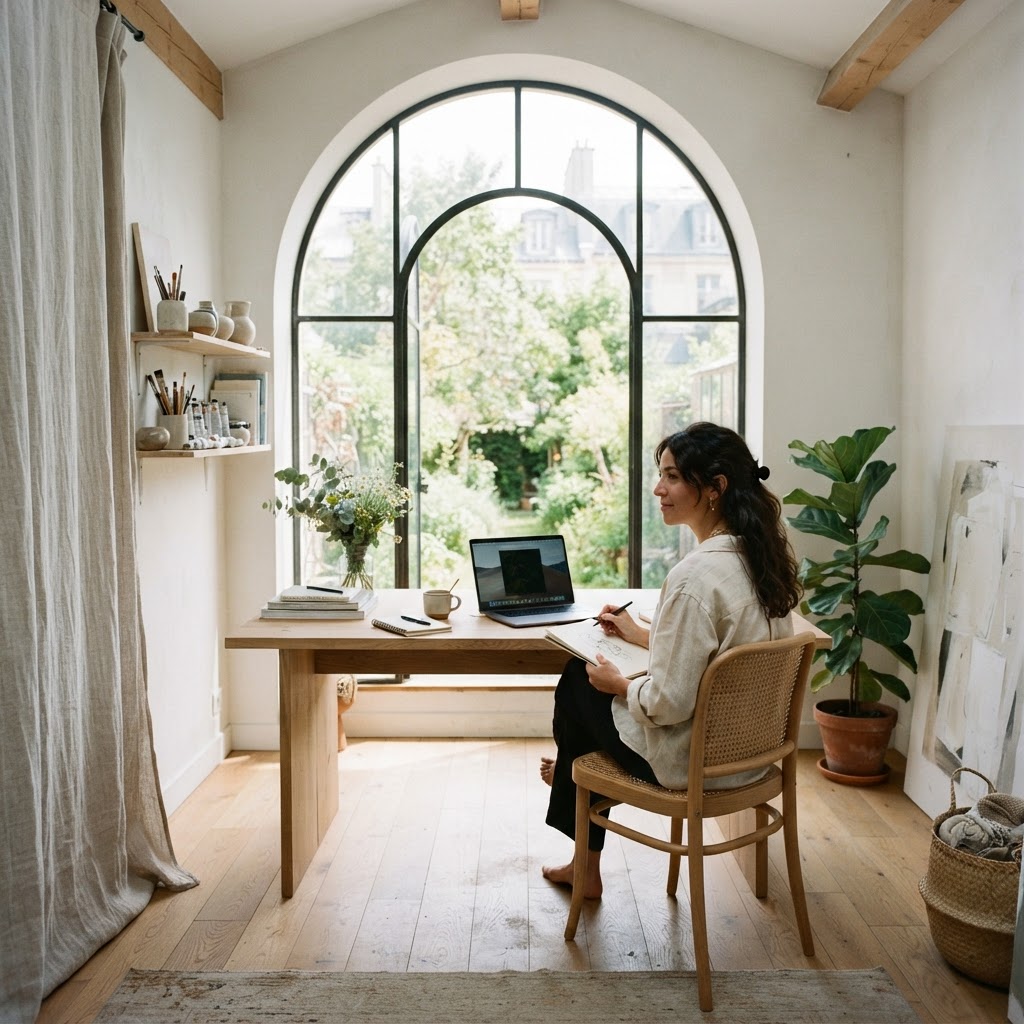
Honestly, nothing kills creative momentum faster than a dark, stuffy room. If you've ever tried to paint, sketch, write, or shoot photos in a space that feels like a cave, you know exactly what I mean. Natural light is not a luxury in a studio. It's basically oxygen. And the good news is, you don't need to knock down walls or install skylights to make it work for you. A lot of it comes down to layout decisions that are smarter than you'd expect.
The first thing I always tell people is to audit your light sources before you move a single piece of furniture. Spend a full day in the space, just watching where the sun travels. Morning light from the east is soft and warm, ideal for tasks that require color accuracy. Afternoon western light is harsher and more dramatic, which some creatives absolutely love but others find distracting. Once you understand how your studio breathes with light, you can start placing your primary workstation accordingly. Trust me on this, that one step changes everything.
Position your main desk or worktable perpendicular to the window rather than directly facing it or sitting with your back to it. Facing the window creates glare on your screens and work surfaces. Having it behind you casts your own shadow over everything. Perpendicular gives you consistent, even side lighting that's flattering and functional. Painters have known this for centuries. There's a reason traditional artist studios were designed with north-facing skylights, because that diffused, shadowless light is genuinely ideal for seeing true color.
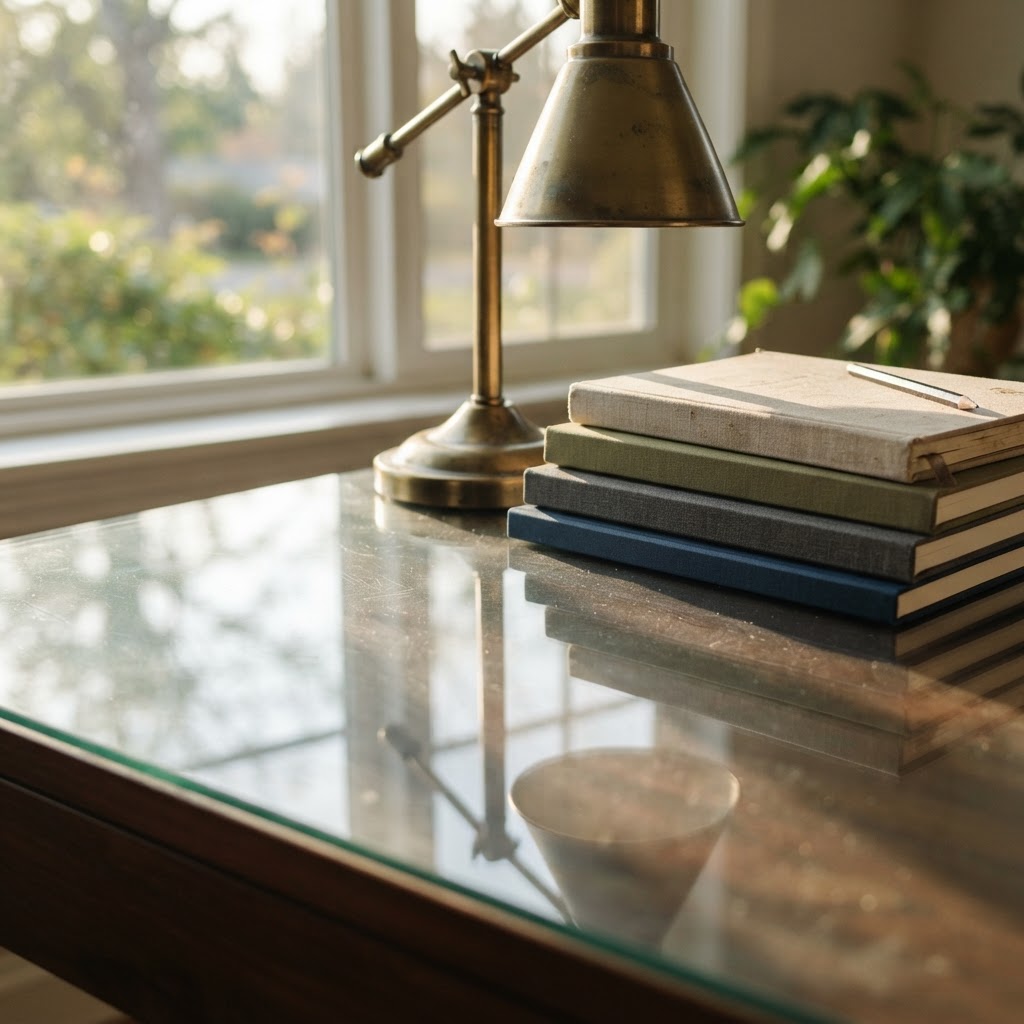
Beyond the desk placement, think about what's bouncing light around the room. Light-colored walls, especially in warm whites or soft creams, act like passive reflectors. Mirrors placed strategically opposite windows can effectively double your light without any electrical cost. I had a client who turned a windowless back corner of her studio into the brightest reading nook in her apartment just by hanging a large leaning mirror across from the room's only window. Simple, cheap, and kind of brilliant.
Don't neglect your window treatments either. Heavy drapes might look cozy but they're basically light thieves. Consider sheer linen panels that let diffused light flood in while still giving you privacy. Cellular shades that pull up from the bottom are another great option because they let you control exactly how much light enters and from what angle. A well-lit studio doesn't just look better in photos. It actively puts you in a better mood, and when you feel good in your space, you create better work. That connection is real.
Creative Storage Solutions That Look Like Art
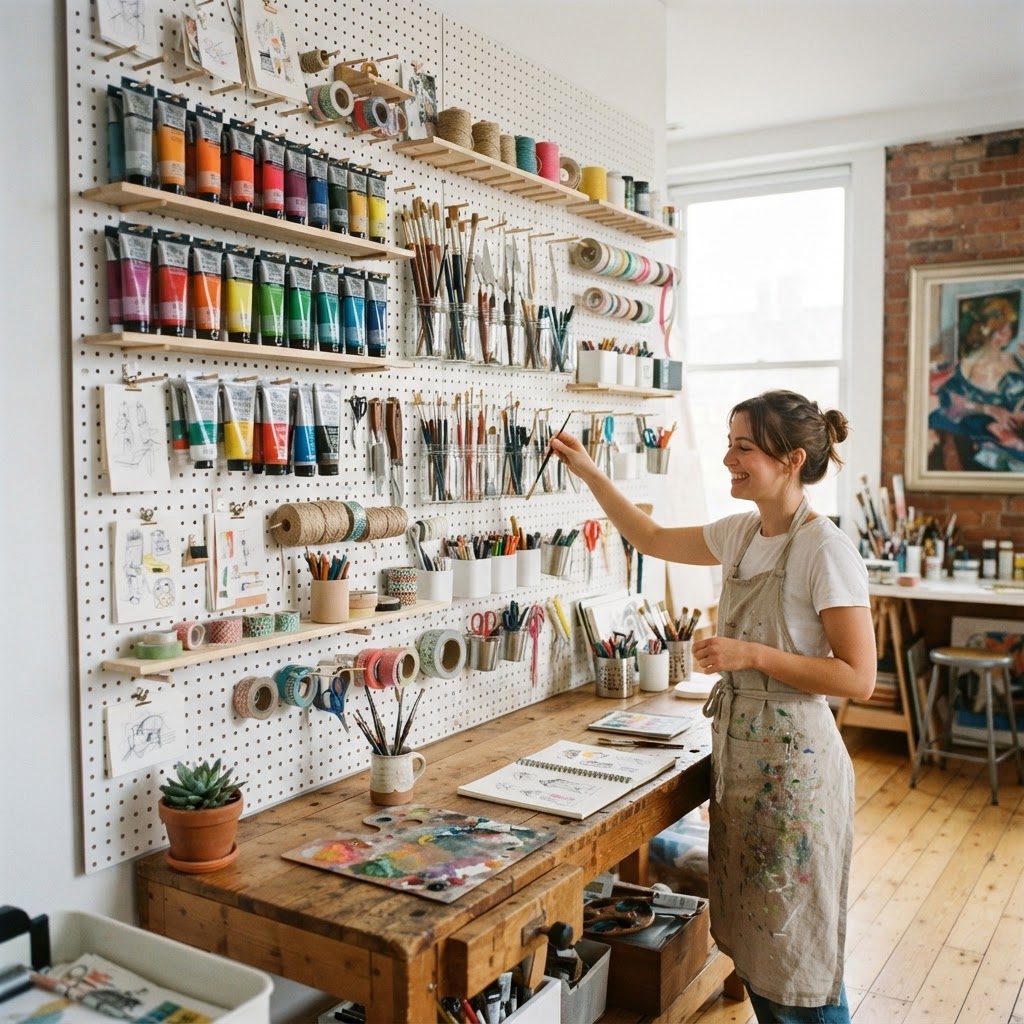
Here's the thing about creative spaces: they tend to accumulate stuff. A lot of it. Brushes, pencils, sketchbooks, fabric swatches, reference photos, cables, cameras, yarn, paint tubes. The list is genuinely endless. And the worst thing you can do is shove all of that into closed cabinets and drawers where you forget it exists. Out of sight really is out of mind when it comes to creative tools. But leaving everything out in a chaotic pile doesn't work either. What you want is storage that's organized, visible, and honestly beautiful enough to be part of the decor itself.
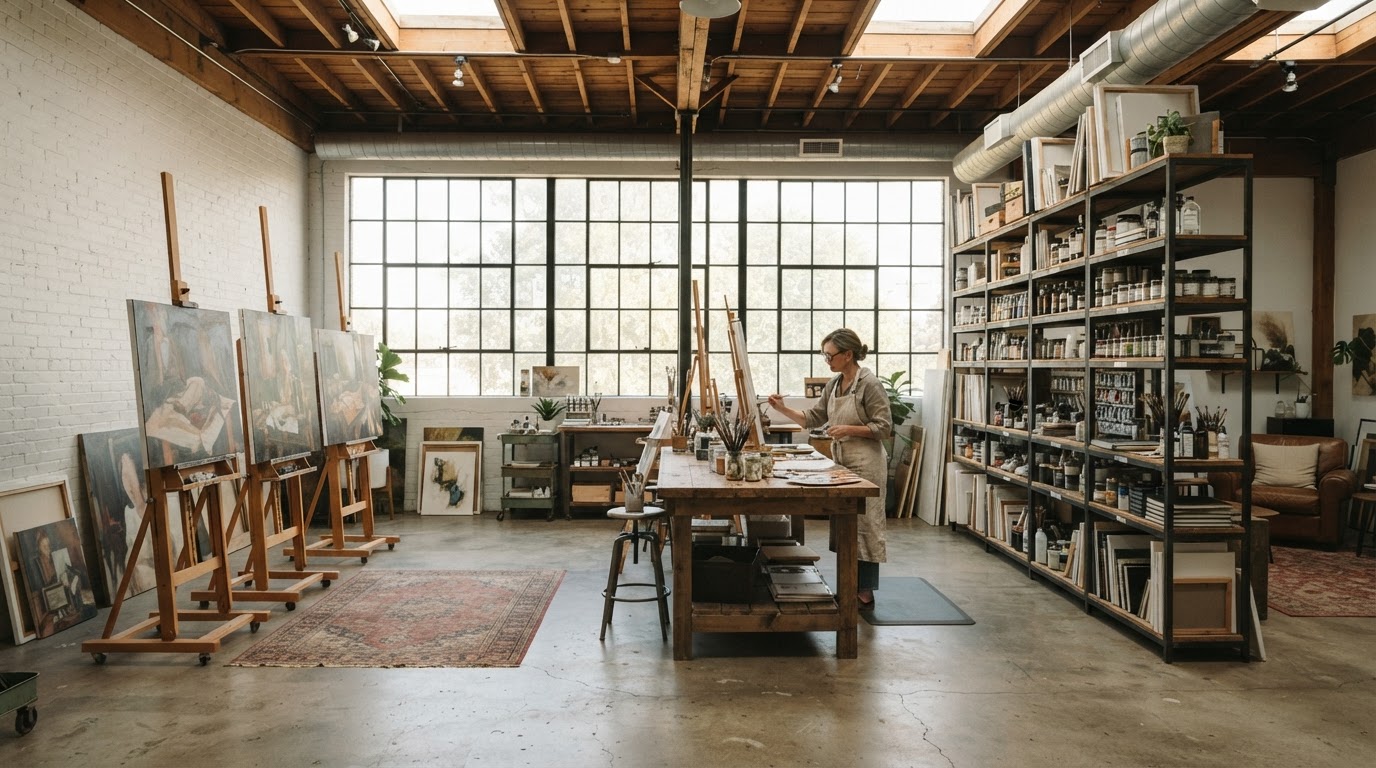
Open shelving is your best friend here. Floor-to-ceiling shelves with adjustable brackets let you configure the space exactly as your collection grows and changes. The trick is to mix your functional items with genuinely decorative ones. A row of matching glass jars filled with colored pencils sorted by hue looks incredible and makes finding the right color effortless. Stack some art books horizontally, lean a few small framed prints against the back of a shelf, tuck in a small plant or two. Suddenly your storage wall isn't just practical, it's a whole vibe.
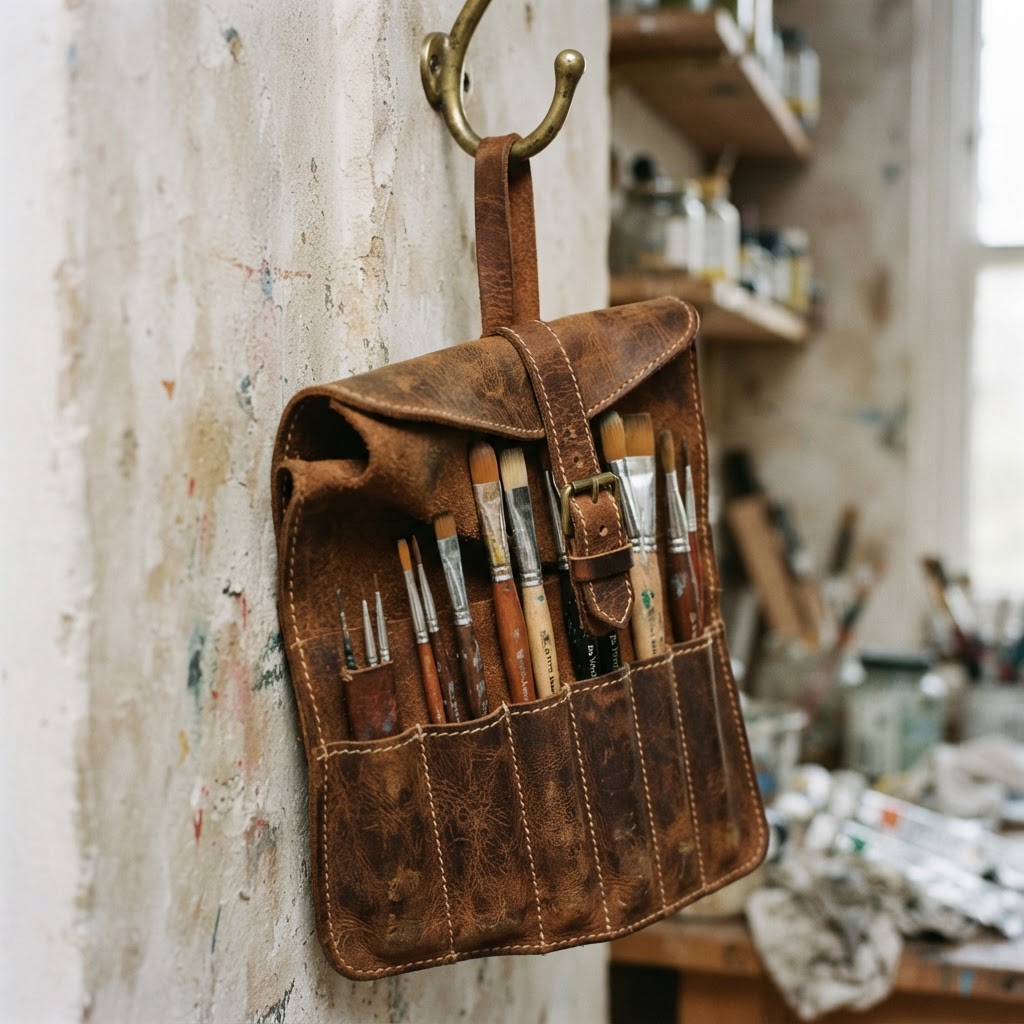
Pegboards are another underrated hero of studio design. I know they can feel a little utilitarian, but painted in a deep color or covered in fabric, a pegboard becomes a serious design statement. And the functionality is unmatched. Hooks, small shelves, baskets, clip holders. You can customize the layout endlessly and rearrange it as your workflow changes. Some designers I know treat their pegboard as an ongoing project in itself, constantly styling and restyling it as both a functional tool and a visual anchor for the room.
Think vertically whenever possible in a studio. Wall-mounted magnetic strips for scissors and metal tools, hanging rod systems for fabric or paper rolls, tall rolling carts that tuck under worktables. The goal is to keep your floor space clear and your surfaces uncluttered so your actual work has room to breathe. A cluttered floor creates mental noise even when you're not consciously registering it. Clear the floor, clear the mind. It sounds cheesy but it genuinely works.
- Glass jars and vessels: Sort supplies by type and color for both organization and visual appeal
- Pegboards with painted backboards: Highly customizable and surprisingly stylish when done intentionally
- Open shelving with curated styling: Mix tools with books, plants, and art objects for a gallery-like effect
- Rolling utility carts: Moveable storage that can travel to wherever you're working that day
- Modular wall-mounted systems: Grow and change your storage as your practice evolves
Defining Zones for Different Tasks
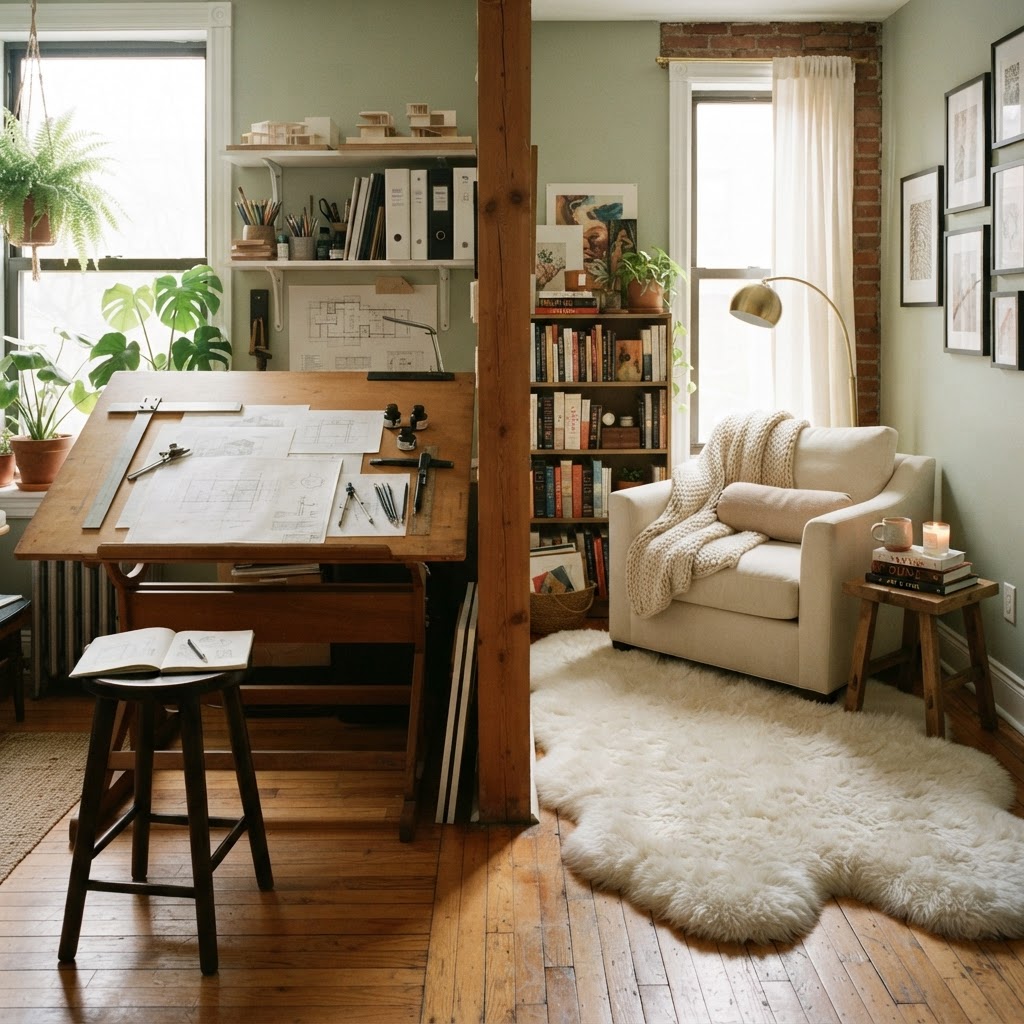
Real talk: a studio that tries to be everything in one undivided room usually ends up being nothing particularly well. The best creative spaces I've seen, whether they belong to photographers, designers, writers, or makers, all have one thing in common. They're divided into intentional zones. Not with walls necessarily, but with rugs, furniture placement, lighting changes, and visual cues that signal to your brain what mode you should be in when you're in that area.
Think about the different types of work you actually do in your studio. There's probably a focused, heads-down execution zone where you do the bulk of your making. There's likely a thinking or planning zone where you brainstorm, sketch loosely, or review references. And honestly, there should also be a rest or inspiration zone, somewhere you can sit comfortably and just think, read, or decompress without feeling like you should be doing something productive. Each of these zones benefits from slightly different furniture, lighting, and atmosphere.
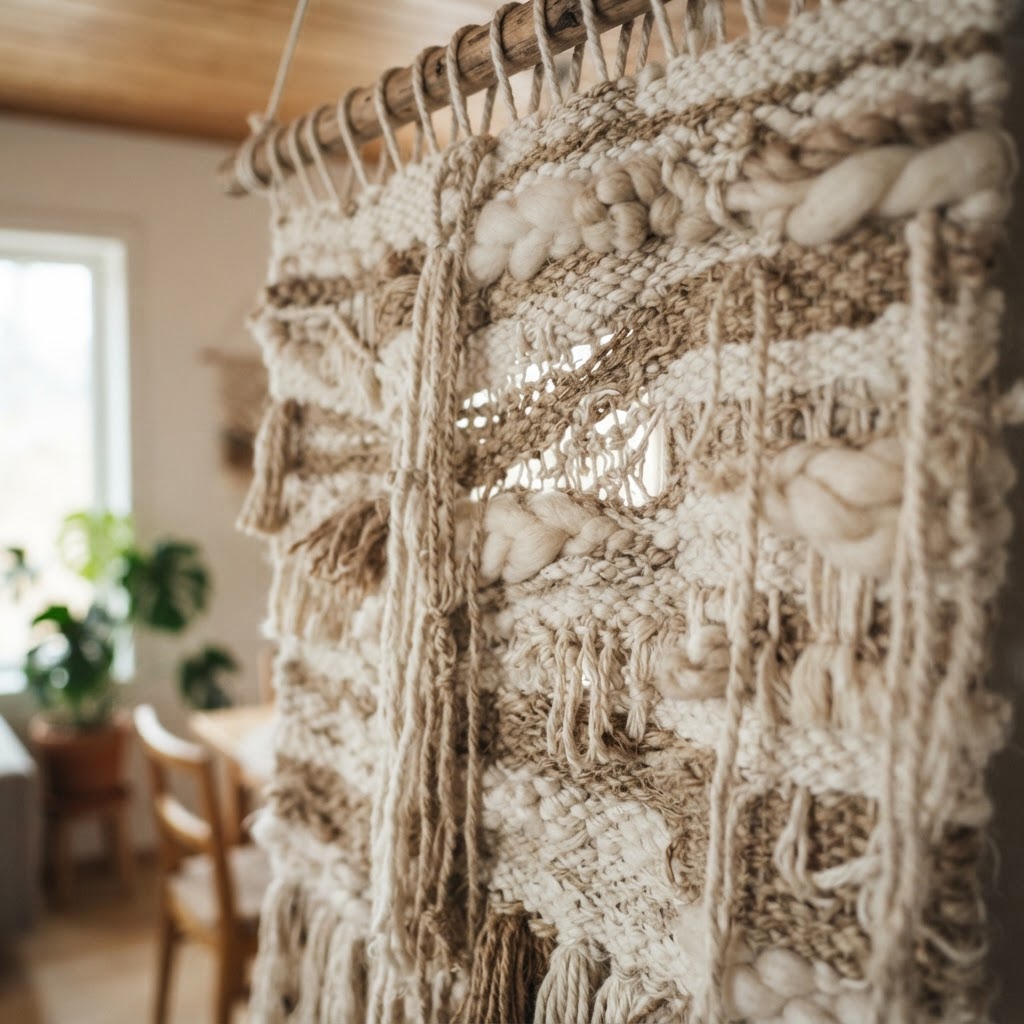
Area rugs are one of the most powerful zoning tools you have, and they're completely non-permanent. A large natural fiber rug under your main workstation grounds that zone visually and physically. A smaller, softer rug under a reading chair and lamp creates an entirely different atmosphere a few feet away. The floor covering essentially tells you and anyone visiting the space that these are different rooms even though there are no walls. It's a psychological trick but a really effective one.
Lighting layers are just as important. Your main work zone needs bright, task-specific lighting. A good adjustable desk lamp or directional overhead track lighting is non-negotiable there. Your brainstorming or planning zone can work with something warmer and less intense, maybe a floor lamp or wall sconce that creates a more relaxed ambiance. And your rest zone should have the warmest, dimmest light of all. Having smart bulbs or separate switches for each zone lets you shift the mood of the entire room just by changing which lights are on. That transition signals to your brain that it's time to switch gears, and that signal matters more than people realize.
Bring the Outdoors In with Biophilic Elements
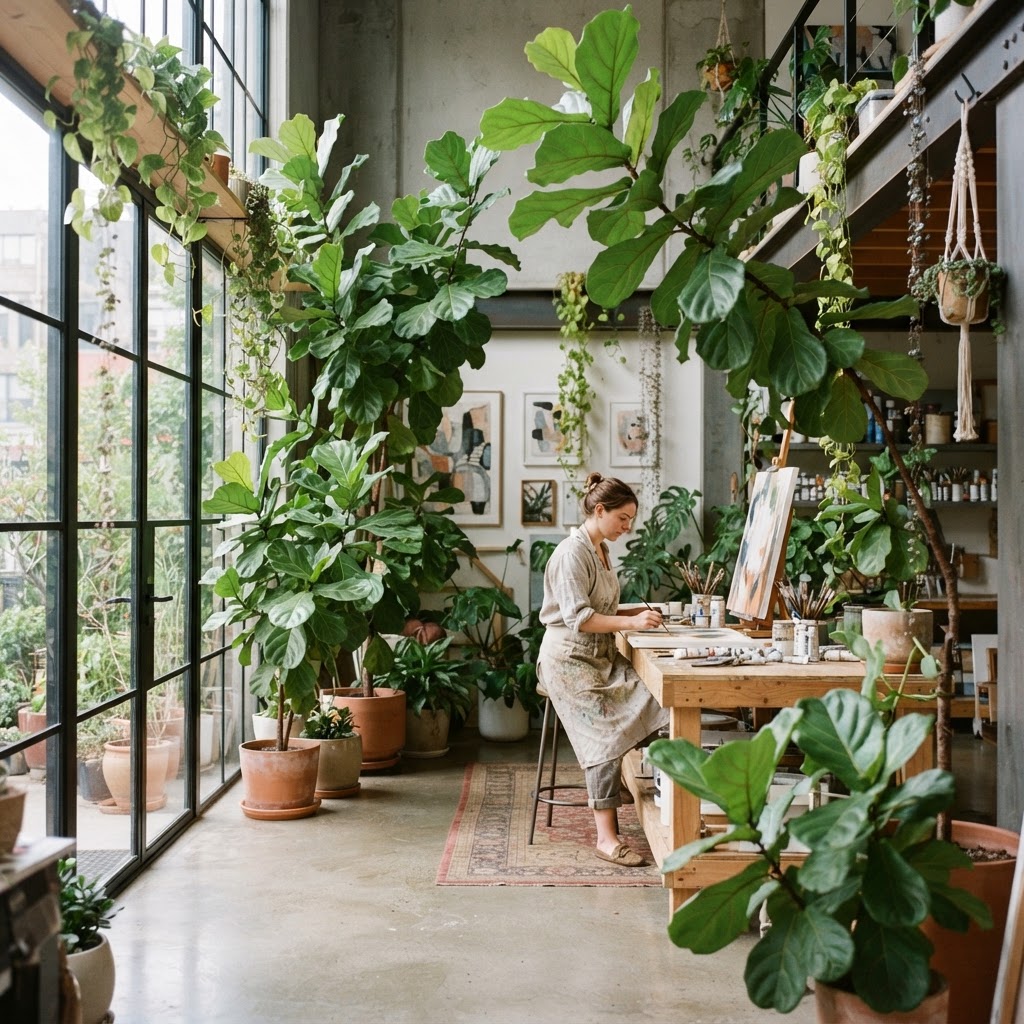
Biophilic design is one of those terms that sounds fancier than it is. At its core, it just means designing spaces that connect you to nature because humans evolved outdoors and our nervous systems genuinely respond to natural elements even when we're inside. For a creative studio, this matters enormously. Studies have consistently shown that exposure to plants, natural textures, and organic forms reduces stress, boosts mood, and increases focus. And honestly, the aesthetics are just unbeatable too.
Plants are the most obvious and accessible biophilic element you can add to your studio. But I'd encourage you to think beyond the single sad succulent on the windowsill. Go big or go layered. A large fiddle leaf fig or monstera in a corner makes an immediate visual impact. Trailing pothos or philodendrons from high shelves add movement and life to vertical surfaces. A cluster of smaller plants in varying heights and textures on a windowsill creates a mini indoor garden that genuinely feels lush. If you're worried about keeping things alive, snake plants and ZZ plants are practically indestructible and still look gorgeous.
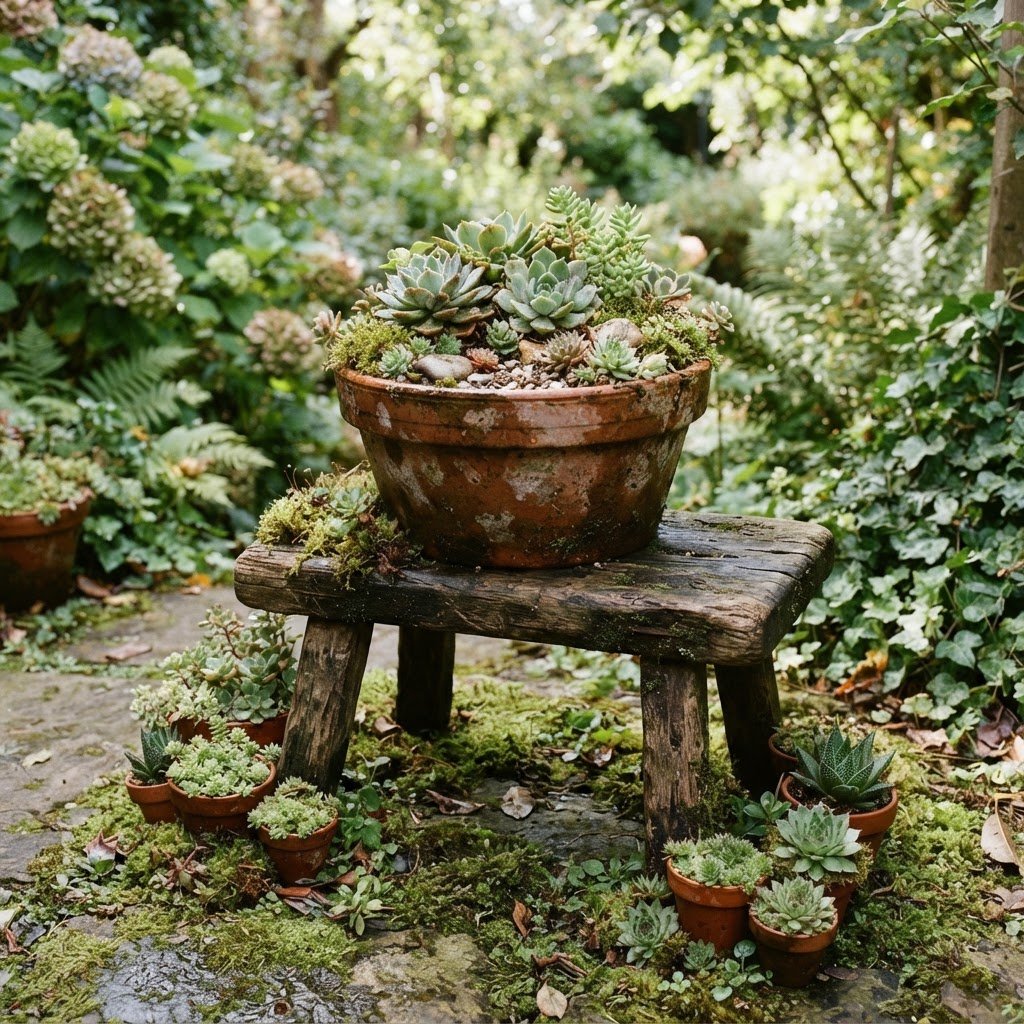
Beyond plants, think about natural materials throughout the space. A wooden desk surface, a jute or sisal rug, linen curtains, stone bookends, a woven basket for storage. These materials have texture and warmth that synthetic alternatives can't replicate. When you layer multiple natural materials together, the space starts to feel grounded and tactile in a way that's genuinely soothing. Creatives who work in environments rich with natural texture tend to feel less burned out and more connected to their work. There's something about being surrounded by materials that came from the earth that puts your own creative process in perspective.
Water features are another biophilic element worth considering if you're committed to the idea. A small tabletop fountain might sound like something you'd find in a spa waiting room, but the sound of moving water is genuinely effective at masking distracting background noise while creating a calming ambient atmosphere. For spaces in noisy urban environments especially, a small water feature can be a game changer. Pair it with some earthy scents from a diffuser, a bit of natural beeswax candle, and your studio starts to feel like a proper sanctuary rather than just a room where you do work.
Curating an Inspiring Gallery Wall
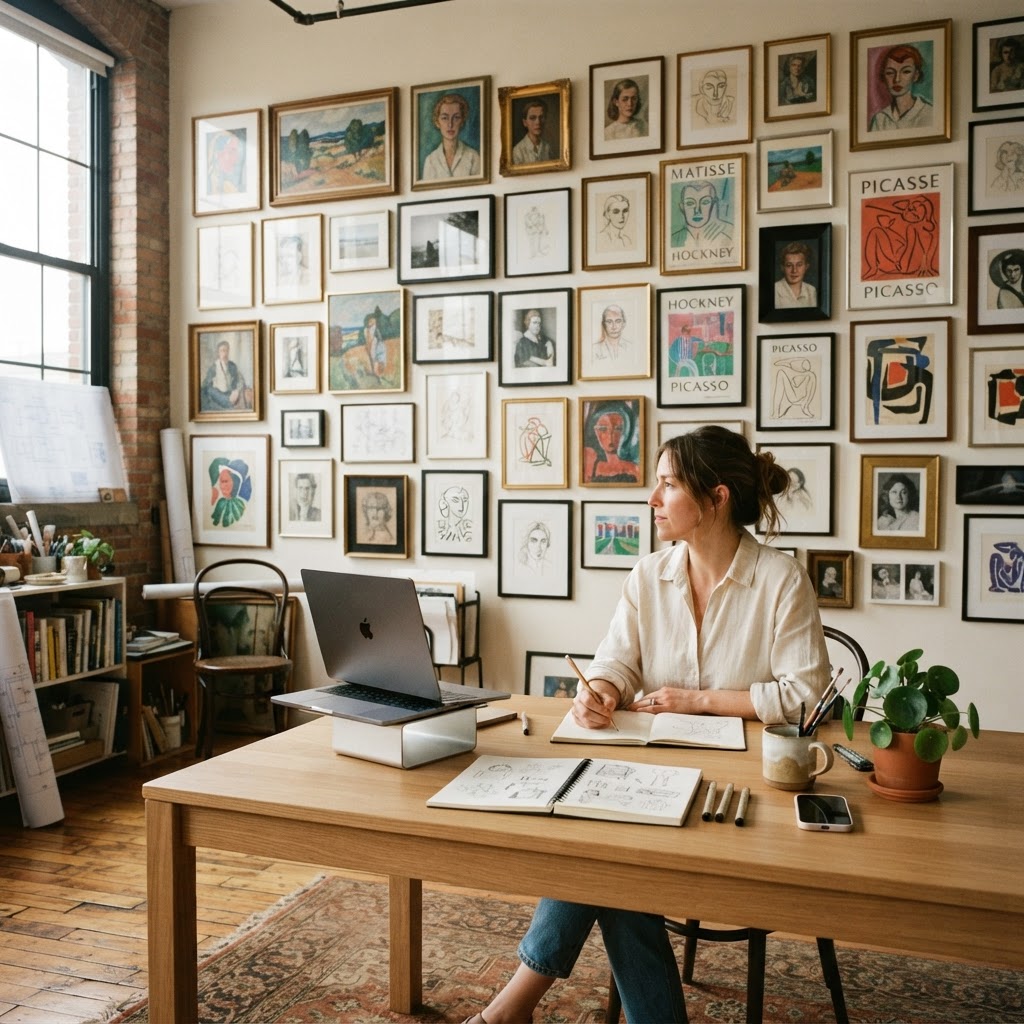
Look, a gallery wall might be one of the most personal things you can do in a creative studio. This is where you get to put on the wall the things that actually move you, inspire you, challenge you, or just make you happy every time you look at them. It's not about following a Pinterest formula. The best gallery walls I've ever seen in creative studios are deeply idiosyncratic. They look like the person who made them, full of personality and impossible to replicate.
That said, there are a few principles that help gallery walls feel intentional rather than random. First, commit to a color story. That doesn't mean everything has to match, but there should be at least one common thread running through the pieces, whether that's a consistent palette of colors, a shared black and white treatment, a mix of warm-toned artworks, or even just the frame color. A gallery wall where everything is fighting for attention feels chaotic. One where pieces are in conversation with each other feels curated and alive.
Vary the scale dramatically. A mix of large anchor pieces and small supporting ones creates visual rhythm. The common mistake is choosing everything in the same medium size, which ends up looking like a stack of identical tiles rather than an evolving composition. Try placing your largest piece slightly off-center, clustering smaller pieces around it, and leaving deliberate breathing room between groupings. Also, don't limit yourself to framed prints. Mix in small sculptural objects mounted on the wall, a vintage mirror, a swatch of interesting textile pinned flat, a favorite postcard. Texture and dimension make gallery walls feel three-dimensional and genuinely interesting.
Before committing any holes to the wall, lay the whole arrangement out on the floor. Live with it for a day or two. Photograph it and look at the photo from a distance. Swap pieces in and out until it feels right. The gallery wall in your creative studio should feel like a living document of what you care about, something you'll want to update and evolve as your tastes and influences grow. It's not a one-time installation. It's an ongoing creative project in itself, and that's exactly the right spirit for a space designed to support your best work.
"Your studio walls are a visual diary of your creative life. Fill them with things that remind you who you are as a maker and where you want to go."
Final Thoughts
Designing a creative studio that you truly love isn't about spending a fortune or following rigid design rules. It's about being honest with yourself about how you work, what you need, and what genuinely inspires you. The five elements we've talked about here, smart light, beautiful storage, defined zones, nature-connected materials, and personal art, are really just a framework. The magic happens when you layer your own personality and creative identity on top of all of it.
Start with one section if the whole thing feels overwhelming. Fix your lighting first since it affects everything else. Then tackle storage. Build from there. A great studio is rarely designed all at once. It evolves over time as you understand your workflow better and as your creative practice deepens. Give yourself permission to experiment, to move things around, to change your mind. The best creative spaces are ones that feel lived in and loved, and you'll know when you've got it right because you'll genuinely not want to leave.
More in Commercial
Stay Inspired
Subscribe for new essays on architecture, design, and the spaces that shape us.