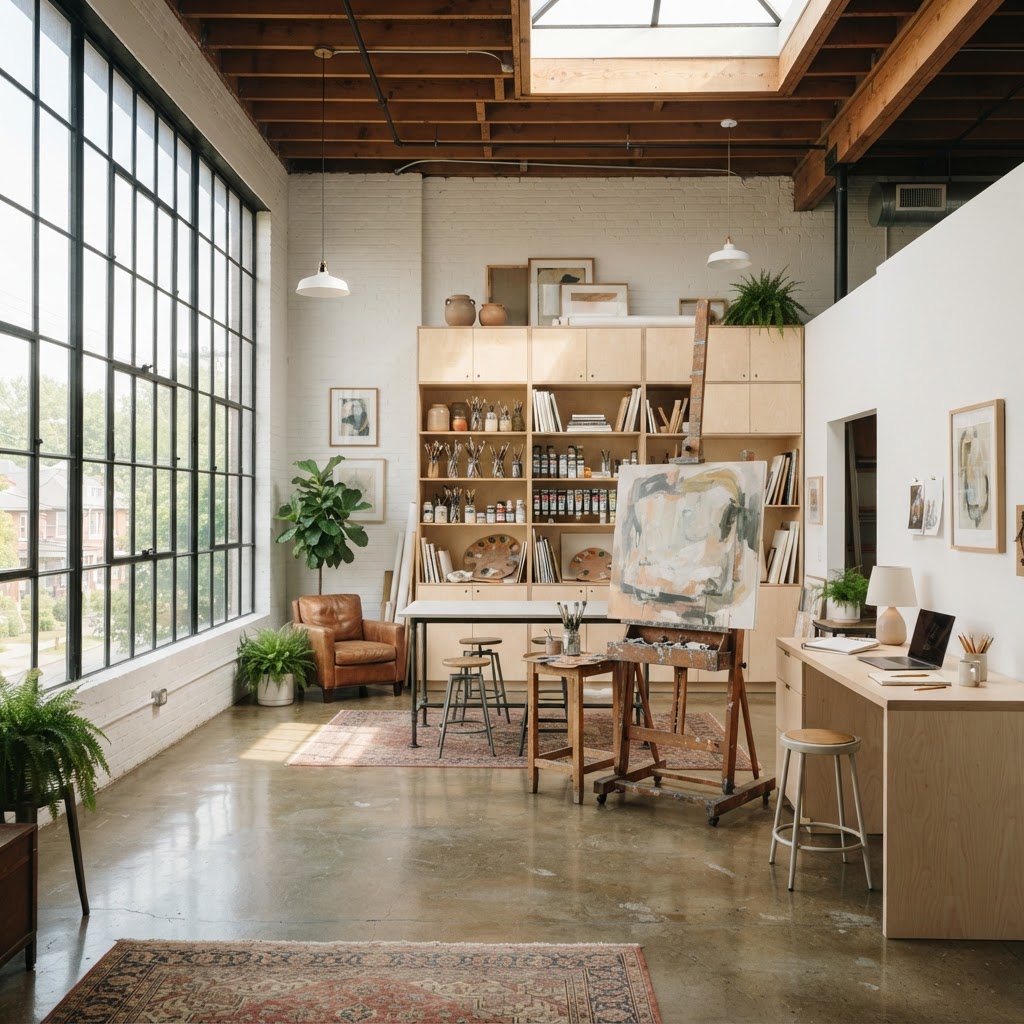
How to Create a Creative Studio That Actually Inspires You
Transforming a spare room into a functional artist studio is a dream project for many creatives. We share expert design tips to help you balance practical storage with the aesthetic environment you need to do your best work.
Prioritizing Natural Light and Orientation
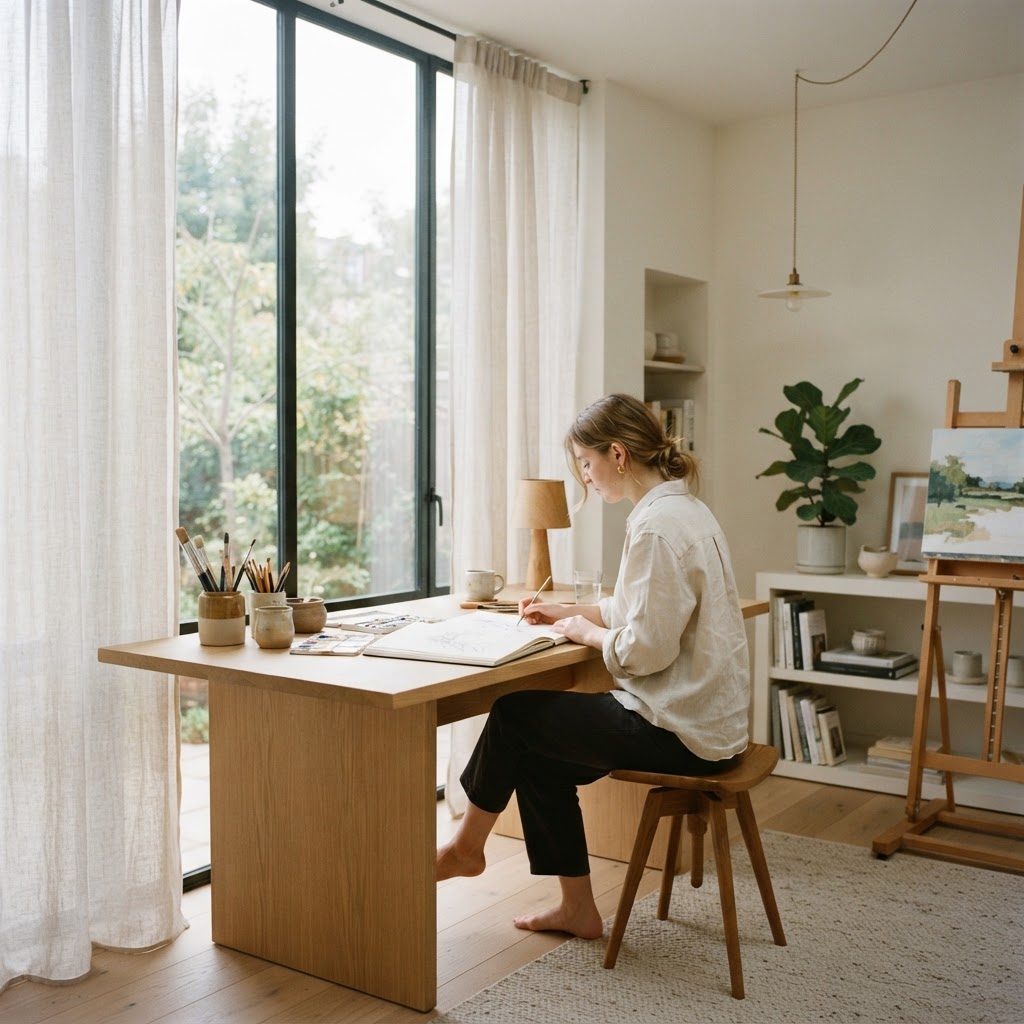
Honestly, this is the one thing I see people get completely wrong when they're setting up a creative studio. They focus on furniture, on color palettes, on the coolest pegboard setup they saw on Pinterest, and they totally overlook the single most powerful design element available to them: natural light. It costs you nothing extra and it changes absolutely everything about how a space feels to work in.
Here's the thing about natural light. It's not just about visibility. It directly affects your mood, your energy levels, and your ability to sustain focus over long stretches of time. Studies have backed this up for years, but honestly, you don't need a study to tell you. You already know how different it feels to work in a dim, artificially lit room versus one where sunlight is streaming in at the right angle. One makes you feel sluggish and vaguely depressed. The other makes you feel like you can actually get stuff done.

When it comes to orientation, north-facing windows are generally the gold standard for creative studios, especially if you're doing visual work like illustration, photography editing, or design. North light is consistent and diffused. You don't get those harsh shadows or that blinding afternoon glare that makes you want to pull the blinds shut and just give up. South-facing rooms get a lot of light but it can be intense and warm, which is lovely in winter but brutal in summer. East-facing studios are great for morning people who love that golden hour energy first thing. West-facing is honestly a bit of a gamble, hot and bright in the afternoon and then just kind of dead after sunset.
If you can't control which direction your studio faces, and most of us can't, there are workarounds. Sheer linen curtains can diffuse harsh direct sunlight without blocking it entirely. Skylights, if you have the budget and the structural possibility, are transformative. And positioning your primary work surface perpendicular to the window rather than directly facing it or having it at your back will reduce glare and give you that soft, consistent side lighting that artists have sought out for centuries.
Smart Storage Solutions for Small Spaces
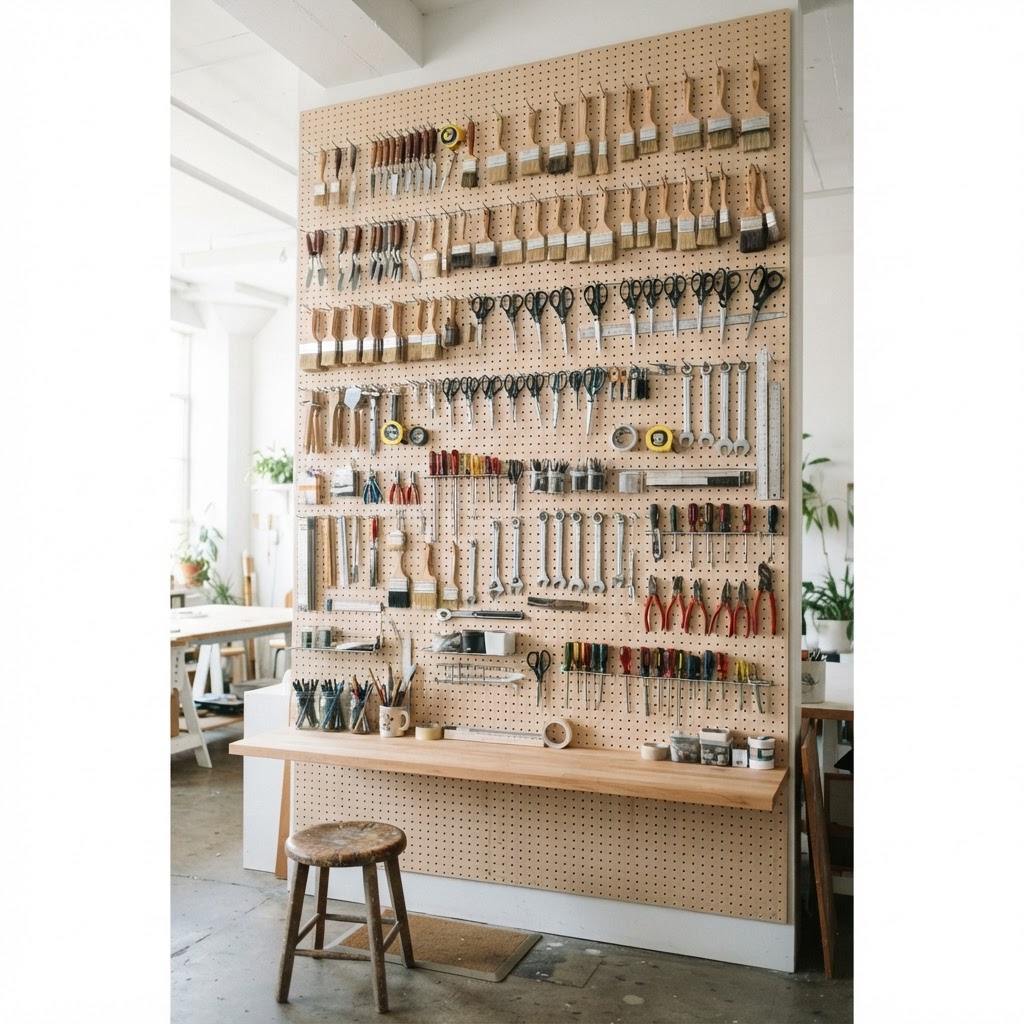
Real talk: clutter kills creativity. I know there's this romantic idea of the chaotic, paper-strewn artist's studio, and sure, maybe some people genuinely thrive in that environment. But for most of us, visual noise creates mental noise. When you can't find your materials, when surfaces are buried, when you feel like the space is working against you rather than for you, your creative energy takes a hit before you've even started.
The good news is that smart storage doesn't mean buying a bunch of expensive custom cabinetry. It means being strategic and honest about what you actually use and what you just kind of own. The first step is always a brutal edit. Go through everything in your studio and ask yourself whether it earns its place. If the answer is no, it either gets donated, moved to a different part of your space, or tossed. What remains is what you design your storage around.
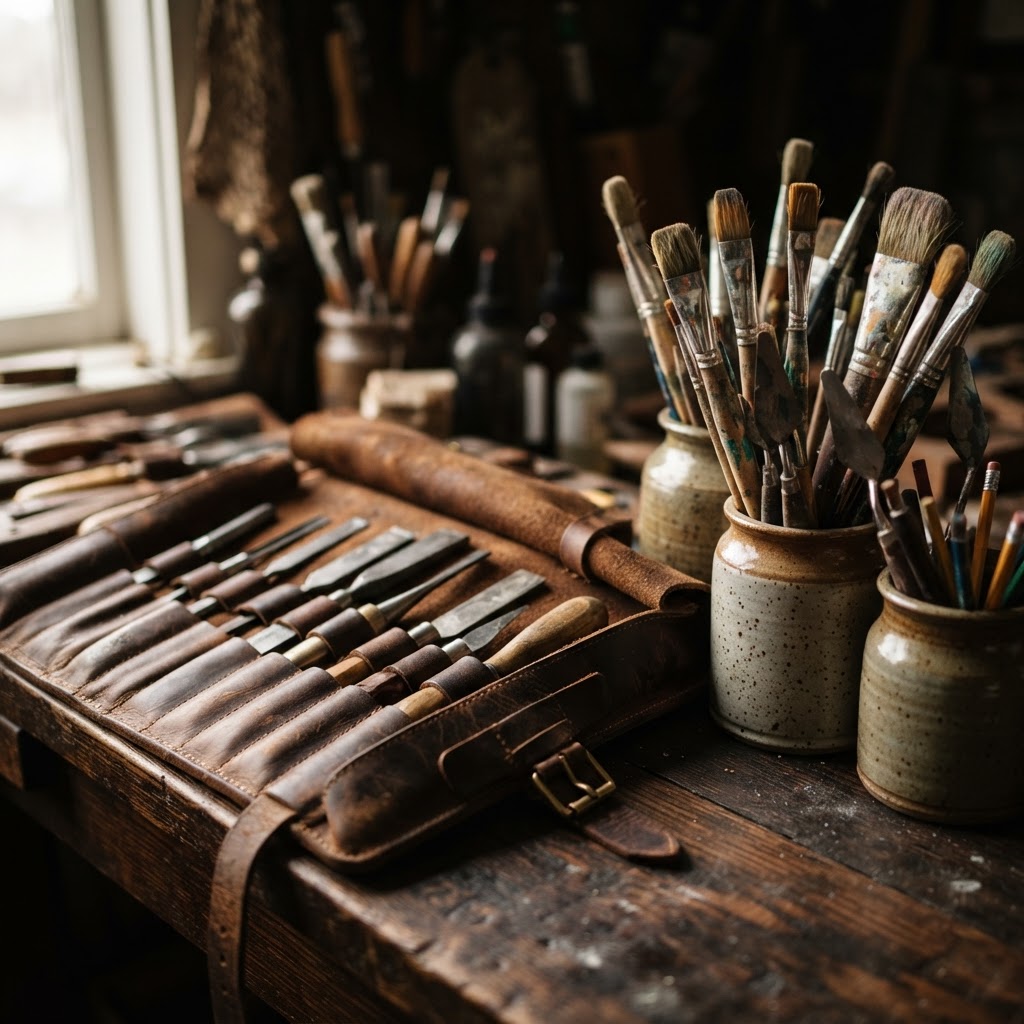
Vertical space is the most underused resource in small studios. Most people think horizontally, they add more tables, more shelves at eye level, more flat surfaces. But the wall space above your head? Often completely ignored. Floor-to-ceiling shelving, pegboards mounted high, hanging systems for tools and materials, all of these take the storage off your work surfaces and put it somewhere that doesn't interfere with your actual workflow.
- Modular shelving systems like IKEA's KALLAX or similar options give you flexibility to reconfigure as your needs change, which they will.
- Clear containers might seem basic but being able to see what's inside without opening everything is genuinely a time and frustration saver.
- Rolling carts are a creative studio's best friend. They move where you need them, tuck away when you don't, and keep supplies grouped by project or medium.
- Magnetic strips for tools, scissors, rulers, small metal items, keep frequently used things visible and accessible without taking up any surface space at all.
The goal is a storage system that supports your process rather than interrupting it. Everything should have a home, and getting things back to their home should take almost no effort. That ease is what actually keeps a studio tidy over time rather than just on the day you reorganized it.
Choosing the Right Work Surfaces
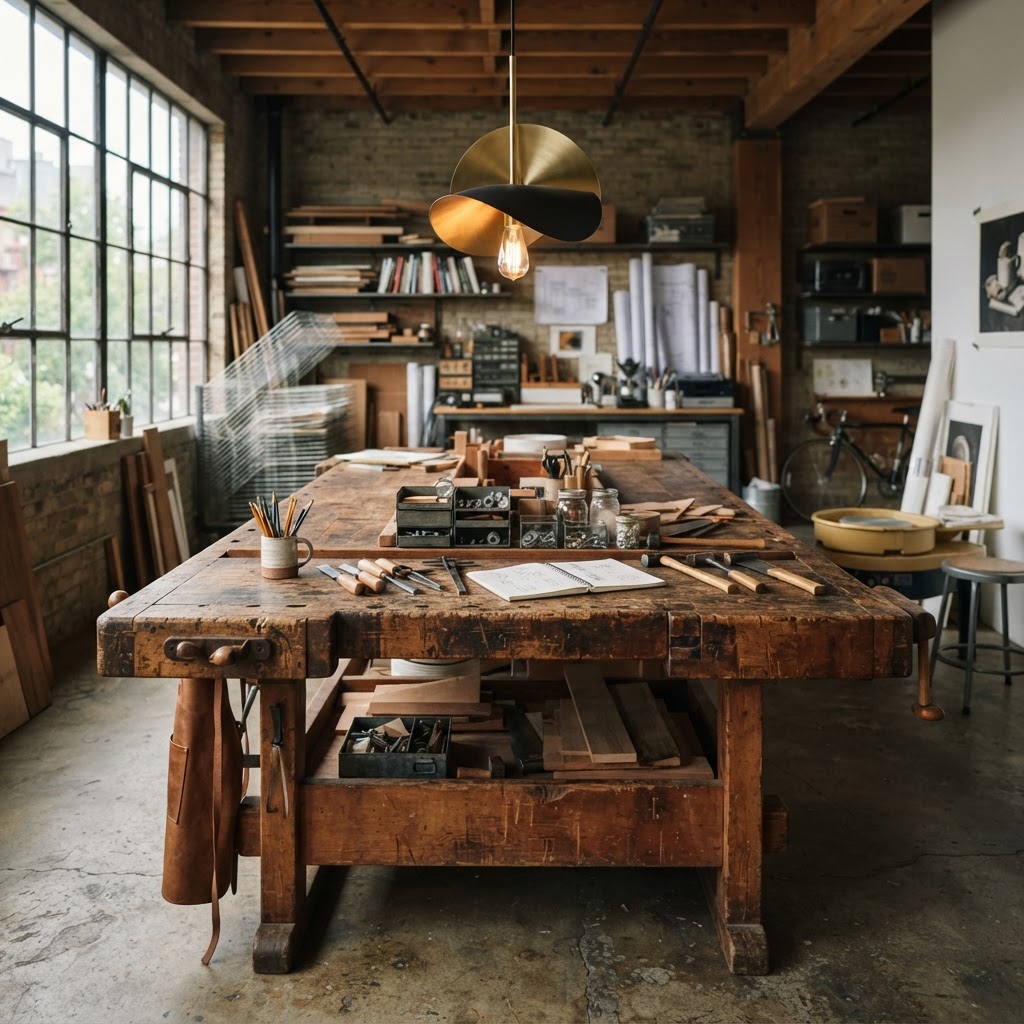
Look, I've worked on a lot of different surfaces over the years, and the work surface you choose will make or break your daily experience in the studio. This is not the place to cut corners or just grab whatever's cheap and available. Your work surface affects your posture, your workflow, the quality of your output, and how long you can sustain creative sessions before your body starts complaining.
For commercial creative studios, the surface requirements can vary pretty dramatically depending on what kind of work happens there. A photography studio has completely different needs than a textile design studio or an architectural model-making space. So before you commit to anything, map out your actual work process. What are the largest physical footprints your work ever requires? What materials are you using and how do they interact with different surface types? Do you need something you can cut on, or something that won't scratch? Do you need height adjustability, or is a fixed surface fine?
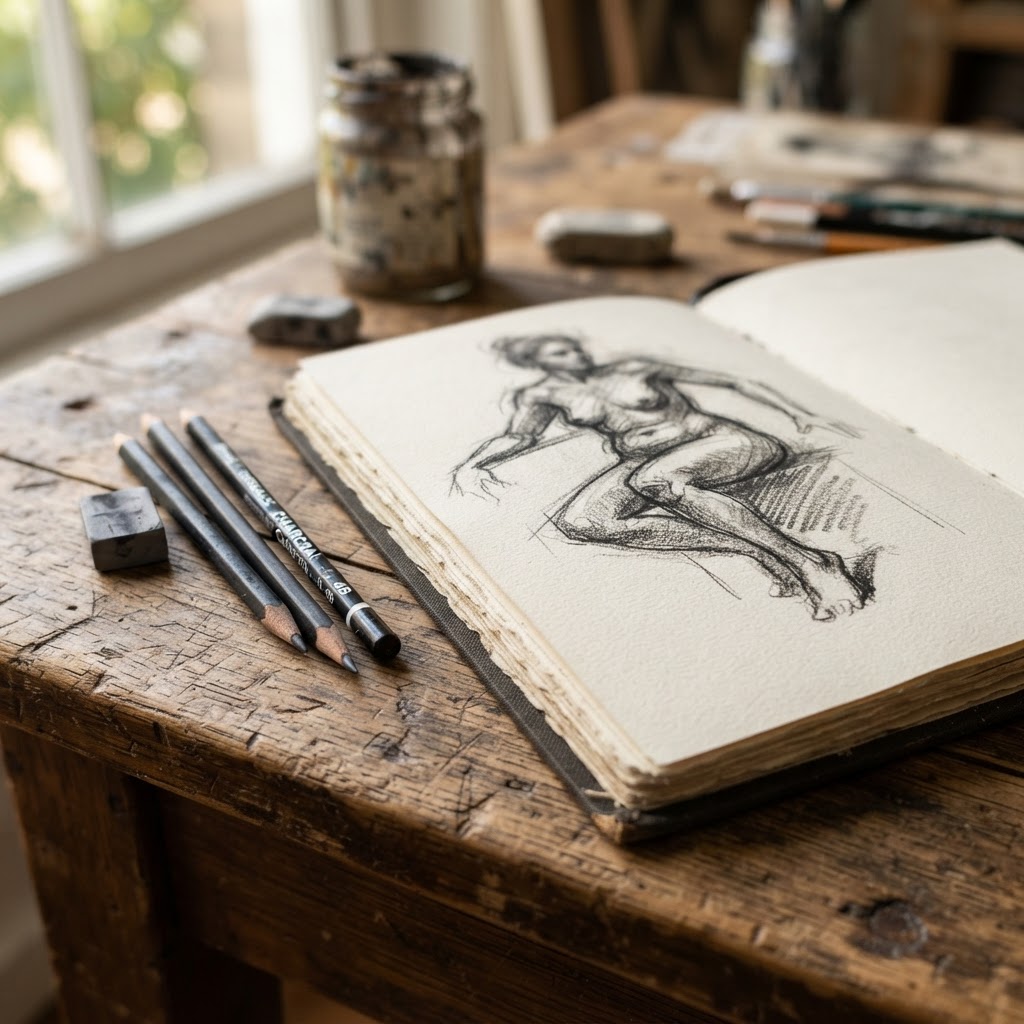
Height-adjustable desks have become a real staple in creative studios and honestly, once you work with one, it's hard to go back. Being able to switch between sitting and standing throughout the day isn't just good for your body, it genuinely shifts your creative energy. Standing tends to make people more decisive and energetic. Sitting is better for detailed, focused work that requires steadiness. Having the ability to move between those states gives you a kind of physical flexibility that mirrors creative flexibility.
For surface materials, butcher block wood is warm, beautiful, and forgiving. Steel or laminate is durable and easy to clean. Glass looks amazing but is cold and can create glare problems. A practical approach many designers use is combining a large primary work surface with smaller specialty surfaces nearby. Maybe your main desk is a height-adjustable butcher block, and then you have a separate cutting table at a slightly higher fixed height that's better for standing work. Layering surfaces gives your studio a lot more functional range without requiring an enormous footprint.
Creating Dedicated Zones for Creativity
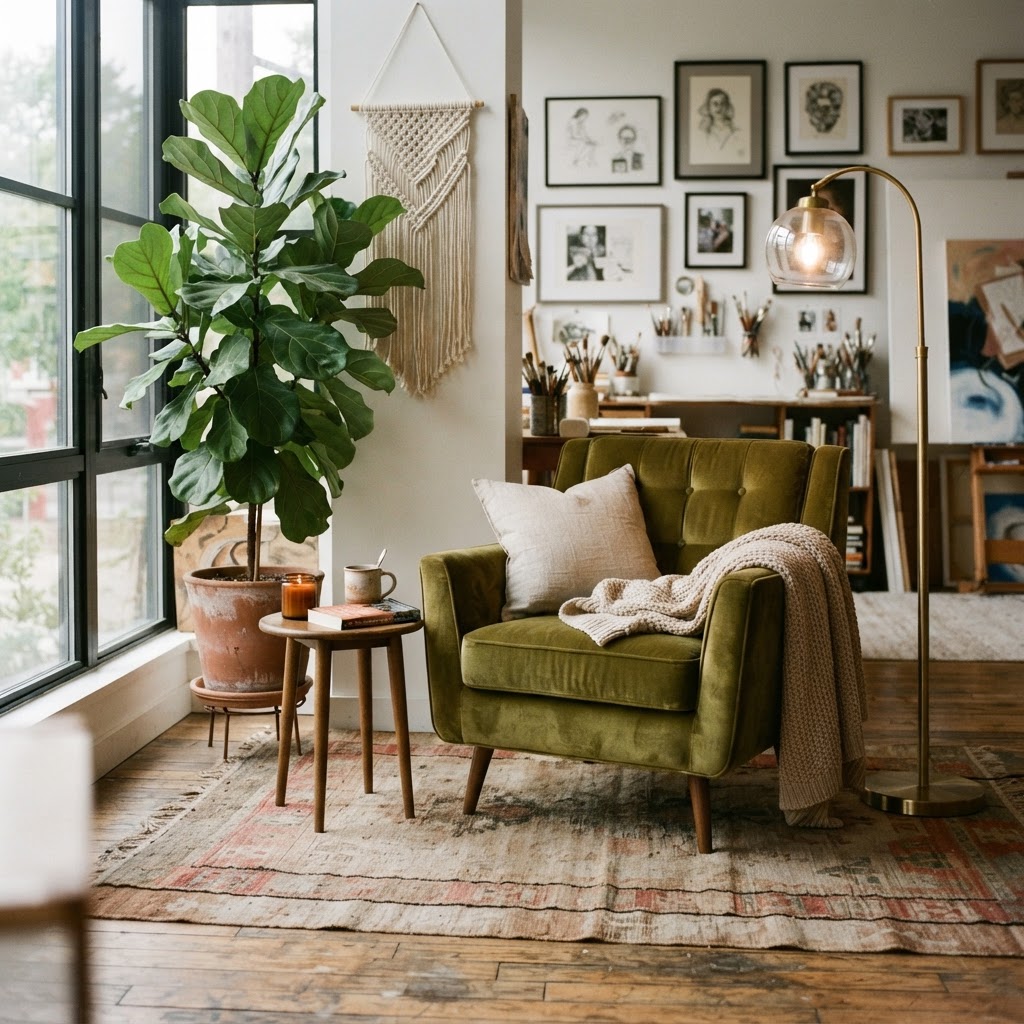
And honestly, this might be the piece of studio design advice that has the most immediate, tangible impact on how you actually work. Creating dedicated zones for different types of activity is something that interior designers do for commercial spaces all the time, but most people never apply it to their own creative studio setup. The idea is simple: different kinds of work happen in different parts of the space, and those parts are designed specifically to support that type of work.
Think about how you actually move through a creative project. There's the ideation phase where you're sketching, mood boarding, letting thoughts flow loosely. Then there's the focused production phase where you're heads-down executing. Then there's the review phase where you step back and look critically at what you've made. And then there's usually some kind of administrative or communication phase, emails, invoices, client calls. These are genuinely different mental modes, and trying to do all of them from the same chair at the same desk creates this weird friction that's hard to name but very real.
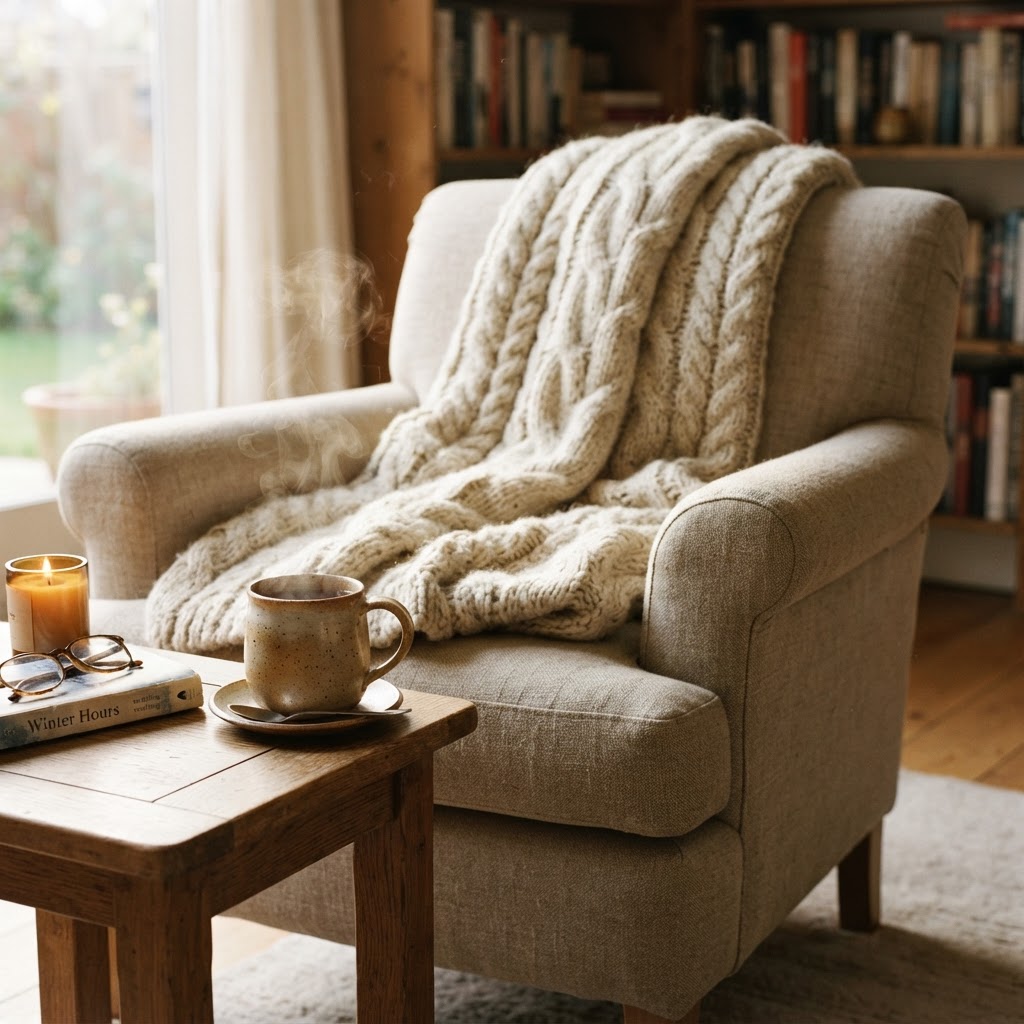
A lounge zone with a comfortable chair and a low side table is perfect for ideation. Something about not being at a formal desk loosens your thinking. A standing table or pinup wall for reviewing work in progress lets you physically step back and see things differently. Your primary production desk should be clean, organized, and set up specifically for your most intensive work. Even in a small studio, you can create this sense of zoning through furniture arrangement, lighting differences, rugs to define areas, and just being intentional about what activities you allow in each space.
"The environment you create for yourself is a direct reflection of how seriously you take your creative practice. Design it with the same intention you bring to your actual work."
Trust me on this one. Even if you have a tiny studio, even if you're working with a single room, you can create meaningful zones. A different chair, a different lamp, a different side of the room. The physical shift signals to your brain that you're shifting modes, and over time that becomes a really powerful cue.
The Importance of Ergonomic Seating
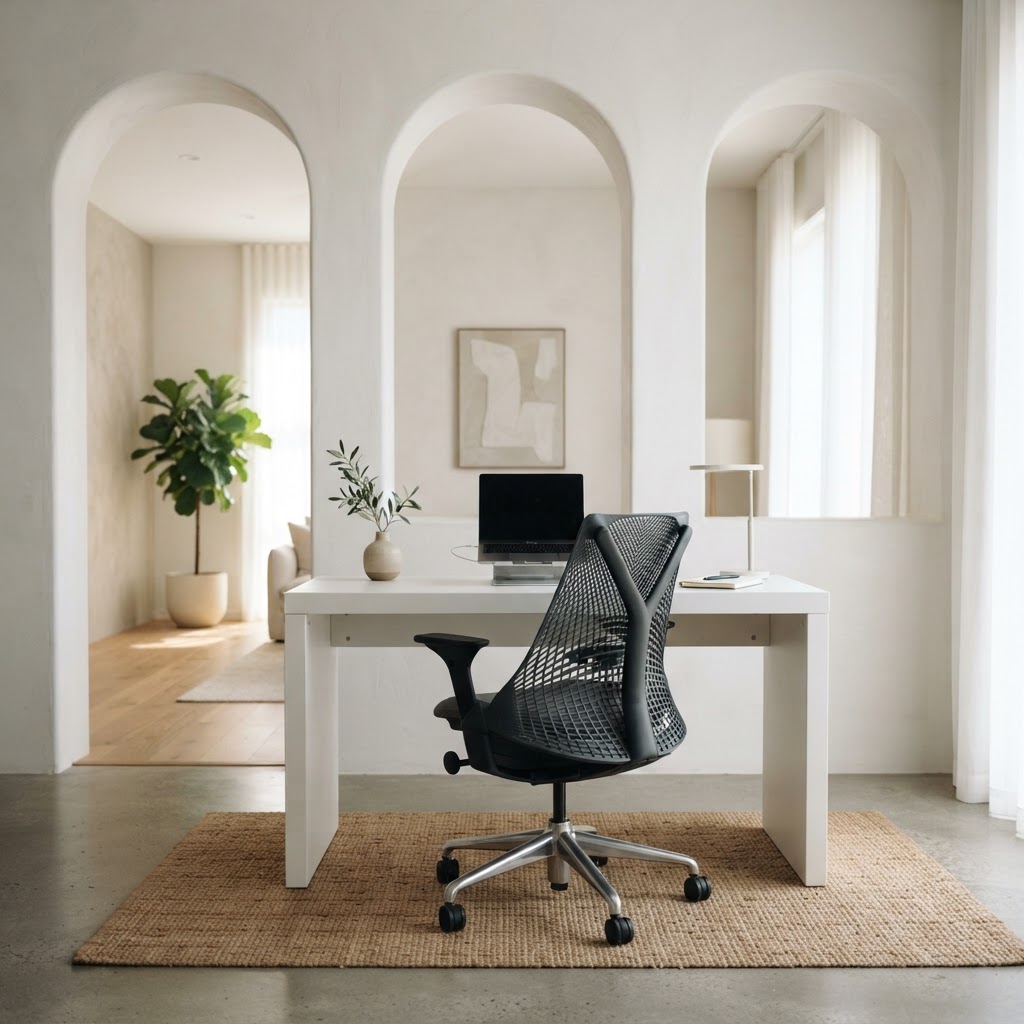
I'm going to be real with you here: this is where people are most likely to cheap out and most likely to regret it. Ergonomic seating is not glamorous. It doesn't photograph as beautifully as a vintage bentwood chair or a sleek sculptural stool. But after a few years of spending serious hours in your studio, you will understand exactly why it matters more than almost anything else you put in that space.
Creative work, especially commercial creative work, involves long sustained sessions. You might be at your desk for six, eight, ten hours on a deadline. What you're sitting in during those hours directly affects your physical health, yes, but also your mental stamina and your output quality. Back pain is distracting. Neck stiffness breaks your focus. Hip discomfort makes you restless and irritable. None of these things are conducive to good creative work, and all of them are largely preventable with the right chair.
When shopping for ergonomic seating, look for adjustability above all else. Seat height, armrest height, lumbar support position, seat depth, backrest angle: the more you can tune the chair to your specific body and your specific working posture, the better. The chairs that get the most consistent praise from long-term studio workers are the Herman Miller Aeron, the Steelcase Leap, and the Humanscale Freedom, all of which are genuinely expensive but genuinely worth it when you consider how many hours you'll spend in them over years of creative work.
- Lumbar support should sit right at the curve of your lower back, not higher, not lower. If it's in the wrong position, it does more harm than good.
- Armrests should let your shoulders relax completely. If they're too high, you'll end up shrugging all day without realizing it.
- Seat depth matters more than people think. You should be able to sit back fully in the chair with a couple of fingers of space between the seat edge and the back of your knees.
- Casters and swivel might seem like minor features but being able to move freely around your space without getting up repeatedly saves a surprising amount of physical strain over a long day.
And look, if a high-end ergonomic chair genuinely isn't in the budget right now, there are still things you can do. A good lumbar support cushion added to a basic chair helps. A footrest can make a surprising difference if your desk isn't quite at the right height. The key is not to ignore this stuff because it feels less exciting than the aesthetic decisions. Your body is the tool that makes all the creative work possible. Treating it accordingly is just good sense.
Final Thoughts
Setting up a creative studio that actually inspires you is not about having the most stylish space or spending the most money. It's about being honest with yourself about how you work, what you need, and what gets in your way. Natural light lifts your mood and your energy. Smart storage clears your head. The right work surfaces support your process. Dedicated zones help you shift mental gears. And ergonomic seating keeps your body in the game for the long haul.
Here's the thing: a well-designed studio is an investment in your creative practice, not an indulgence. Whether you're running a commercial design operation or building out a personal creative space, the environment you inhabit daily shapes what you're able to produce. Get intentional about it. Make decisions that serve your actual needs rather than just what looks good in photos. And give yourself permission to keep refining the space over time, because the best studios are never truly finished. They grow alongside the people who work in them.
More in Commercial
Stay Inspired
Subscribe for new essays on architecture, design, and the spaces that shape us.