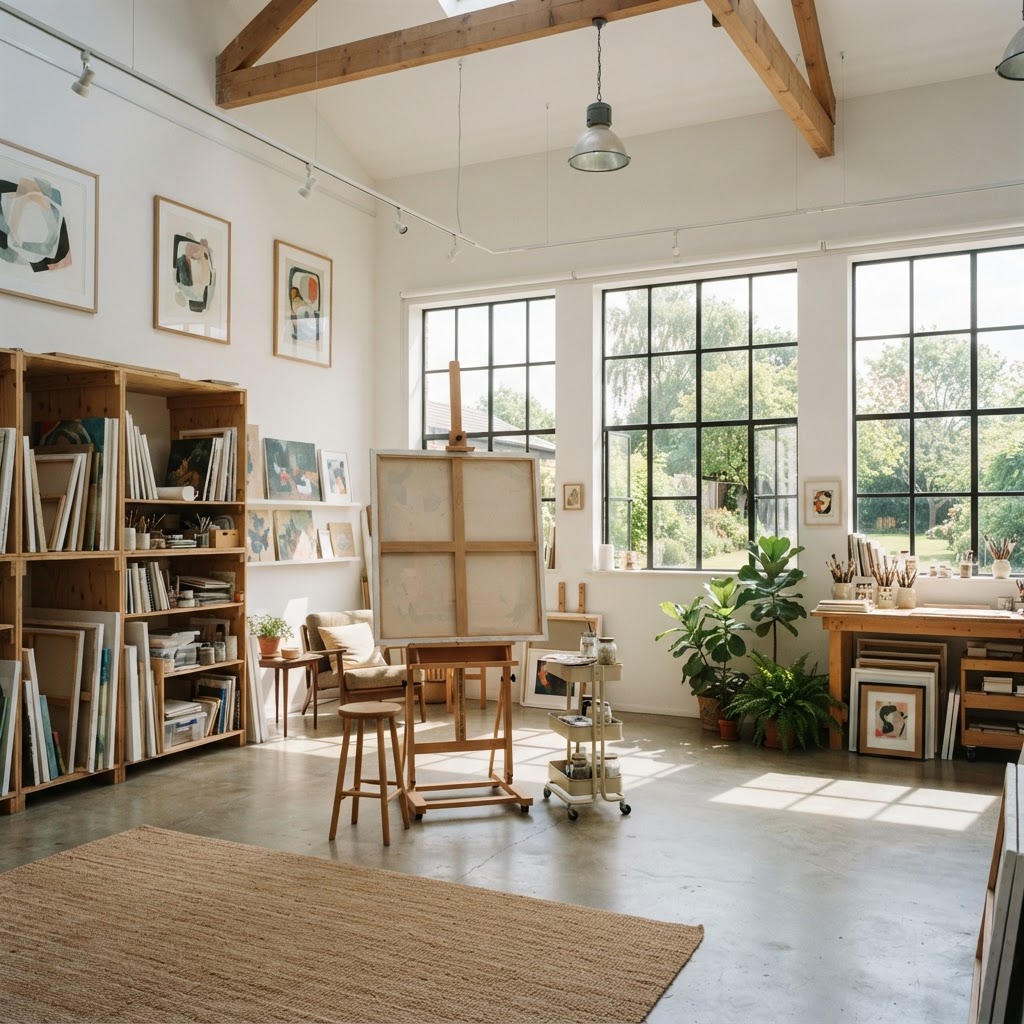
How to Create a Professional Art Studio at Home Without Sacrificing Your Style
Transforming a spare room into a functional creative space is easier than you think. Learn how to balance professional studio needs with beautiful interior design to keep your home looking polished.
Prioritizing Natural Lighting
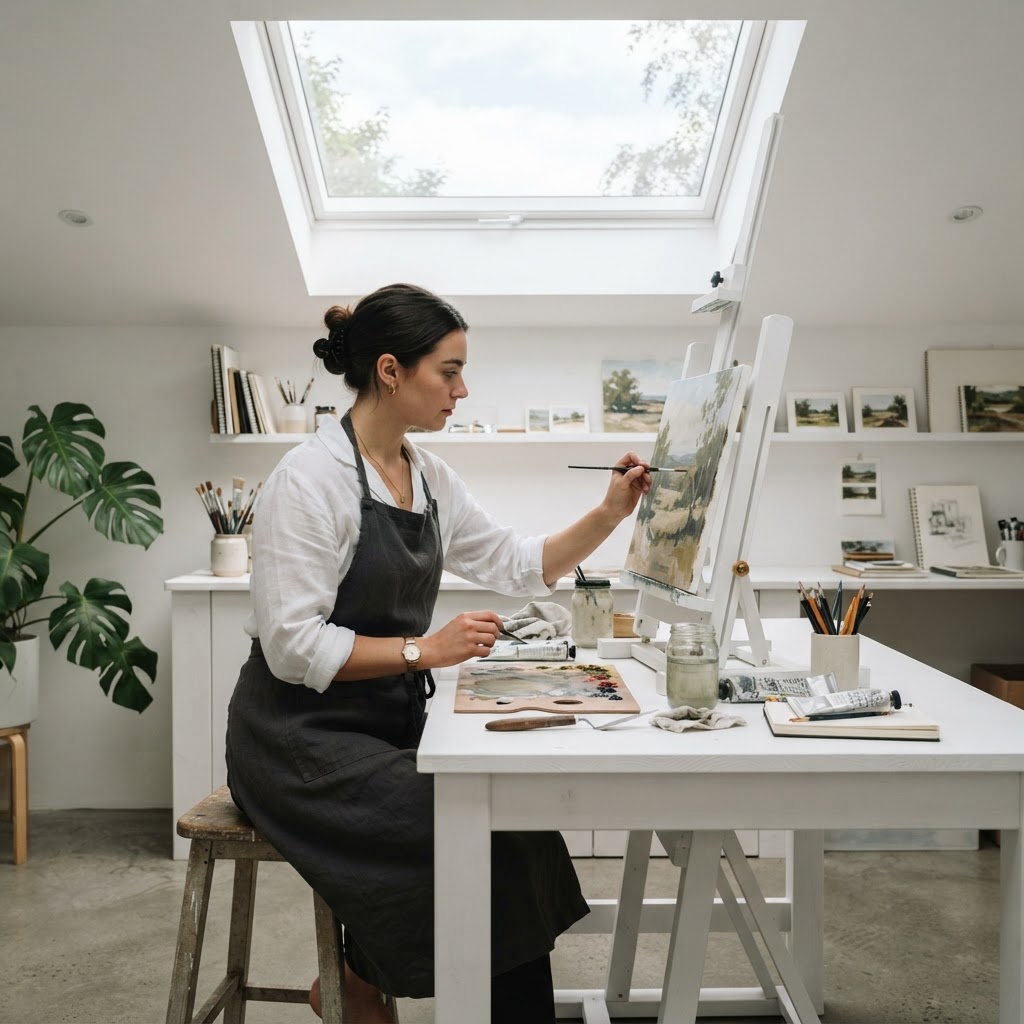
Honestly, if there's one thing that separates a professional-feeling studio from a sad spare bedroom with an easel shoved in the corner, it's the lighting. Natural light is not negotiable. Artists have obsessed over it for centuries for a reason, and that reason is simple: you cannot accurately judge color, value, or tone under a buzzing fluorescent tube. It's just not possible. If you're serious about making real work in your home studio, this is where you start, full stop.
The best scenario is a north-facing room. North light in the Northern Hemisphere is consistent and cool, without harsh direct sun shifting the color temperature every hour. South-facing rooms can work, but you'll need to deal with glare management. East-facing windows give you that gorgeous morning light that disappears by noon, which sounds romantic but is genuinely frustrating when you're mid-project. West light is warm and dramatic, great for photography, less ideal for color-critical painting work. So when you're choosing which room to dedicate to your studio, factor this in before you factor in square footage or carpet color.
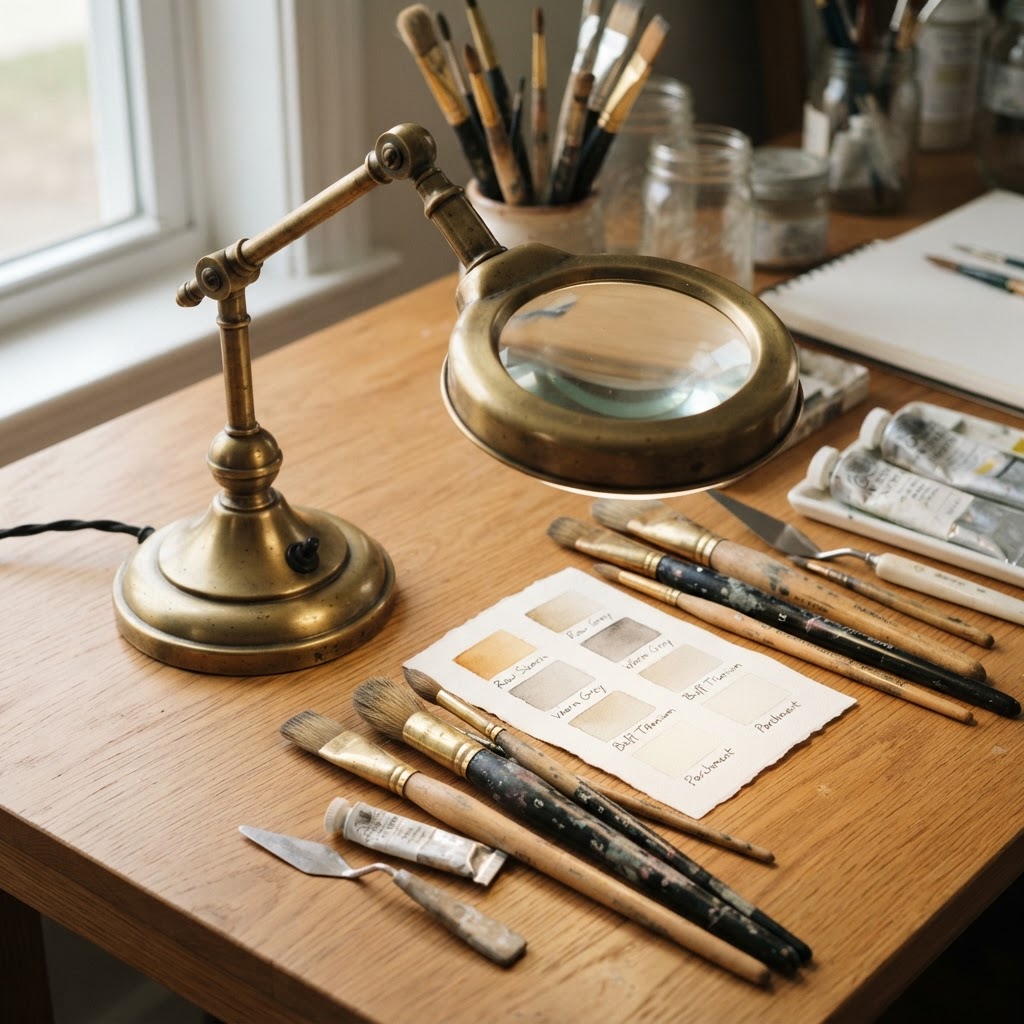
Now, if you don't have the luxury of choosing your room, here's the thing: you can work with what you've got. Sheer linen curtains diffuse harsh direct sunlight beautifully without blocking it out entirely. Skylights, if you can swing the renovation, are genuinely life-changing. And for those evening or winter work sessions, invest in high-quality daylight-balanced LED bulbs with a color temperature around 5000K to 6500K. Pair them with a good dimmer and you can simulate decent working conditions even at 10pm.
Don't underestimate how much wall color affects perceived light, either. Keep your studio walls a neutral light gray or warm white. Saturated wall colors will bounce tinted light onto your work and mess with your color perception in ways you won't immediately notice but will definitely regret. Keep it neutral, keep it clean, and let the light do its job.
Smart Storage Solutions for Small Studios
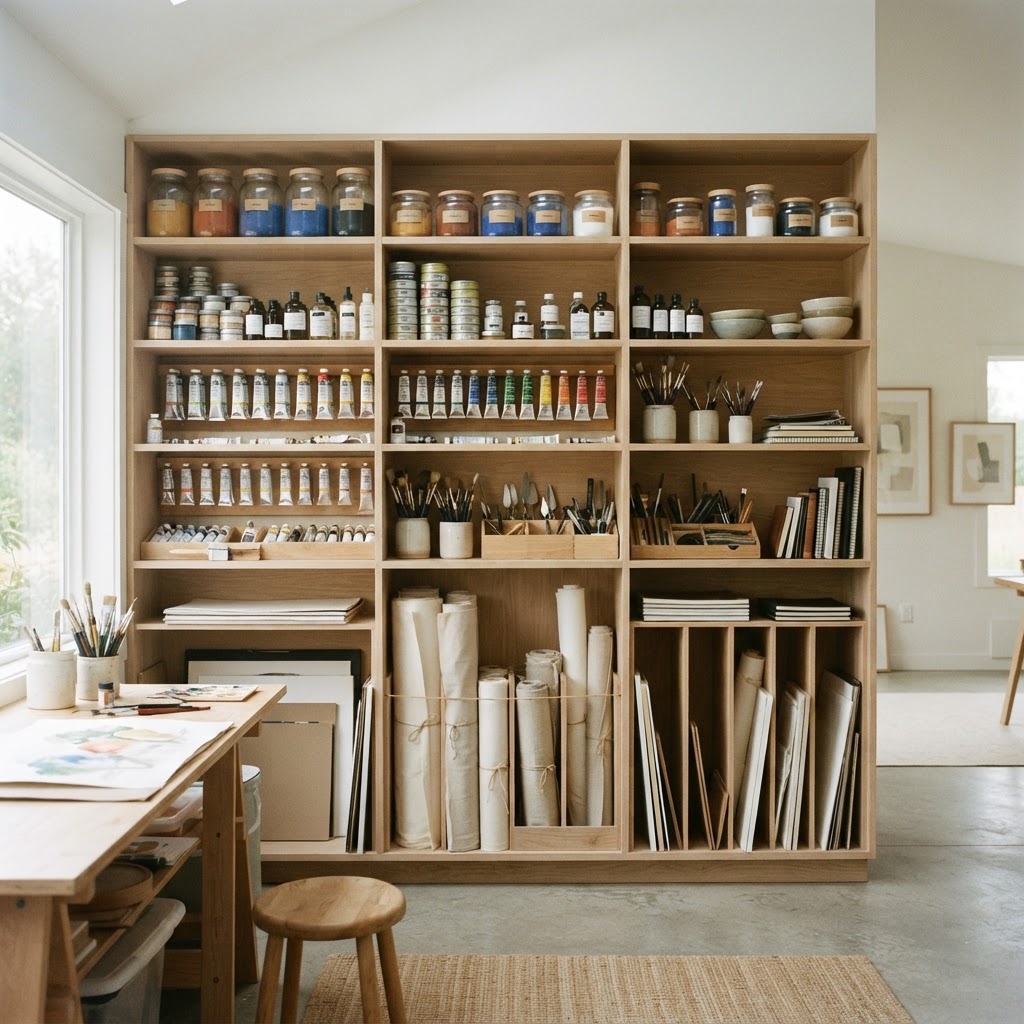
Real talk: a cluttered studio is a creativity killer. I know some artists romanticize the idea of glorious chaos, tubes of paint everywhere, stacks of canvases leaning against every surface, brushes in seventeen different mugs. And look, if that genuinely works for you, more power to you. But for most people, visual clutter creates mental clutter. When you can't find your palette knife, you lose momentum. When you're stepping over supply boxes to get to your easel, you start dreading going into the studio at all. Good storage isn't about being uptight. It's about protecting your creative flow.
The single best investment for a small home studio, and I will die on this hill, is a proper pegboard wall system. Not the sad beige kind from a hardware store (though those work in a pinch). I mean a well-designed pegboard with a mix of hooks, shelves, bins, and holders that puts every frequently used tool within arm's reach at eye level. You can see everything, you can grab everything, and it genuinely looks good. Pair it with glass jars for brushes and pencils and you've got something that's functional and aesthetic at the same time.
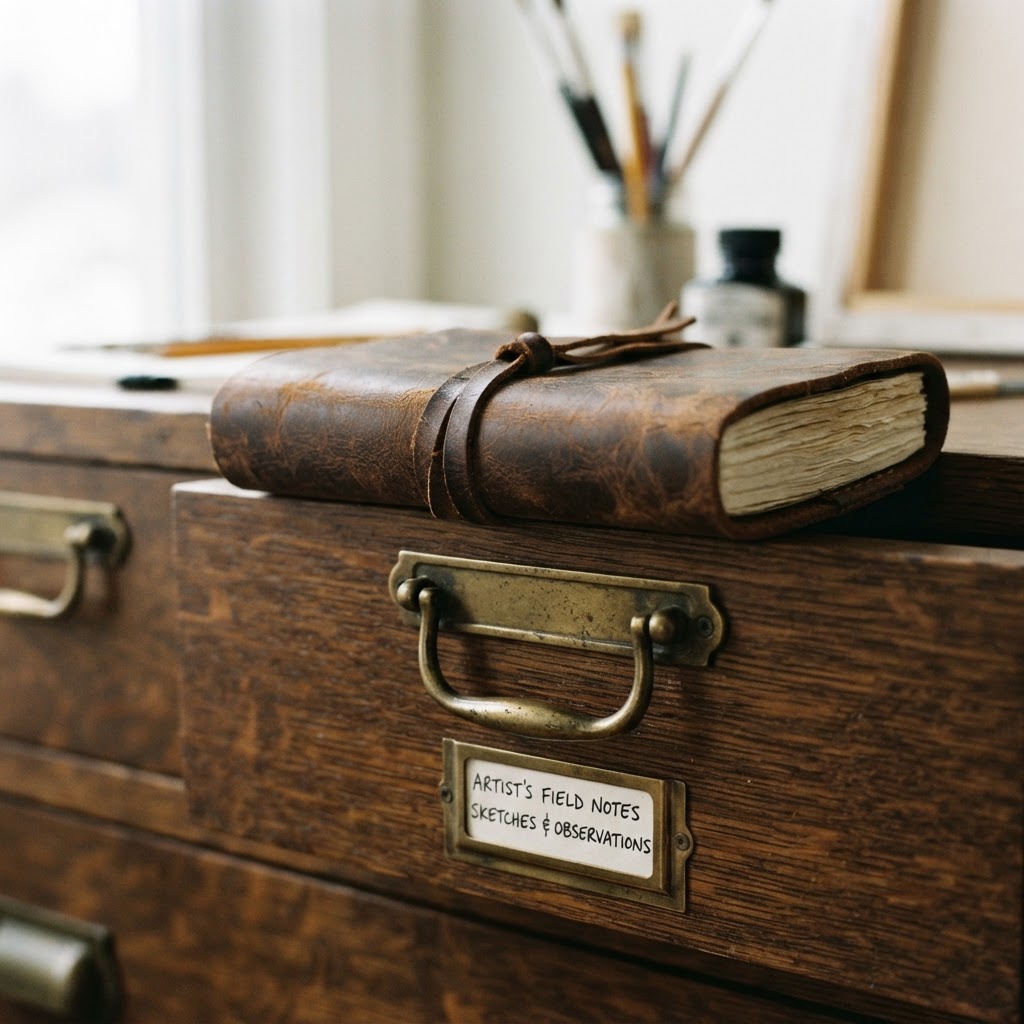
Think vertically everywhere you can. Floor space in a small studio is precious real estate. Wall-mounted shelves, vertical flat file cabinets for paper and prints, tall rolling carts, all of these take advantage of height without eating into your working area. A rolling cart is honestly one of the most underrated studio tools because it can function as extra work surface, move out of the way when you need space, and travel with you if you rearrange the room.
- Flat file drawers are ideal for storing prints, drawings, and works on paper without rolling or folding them
- Labeled bins on open shelving make restocking supplies faster and keep your inventory visible
- Magnetic strips mounted near your work table are perfect for small metal tools, palette knives, and scissors
- Canvas storage racks keep finished and in-progress work organized without stacking and damaging edges
- A dedicated trash and recycling station right in your work zone cuts down on mess accumulation dramatically
The goal is to build a system you'll actually maintain. If it's too complicated or too precious, it won't stick. Keep it simple, keep it accessible, and leave yourself a little room to breathe.
Choosing the Right Studio Flooring
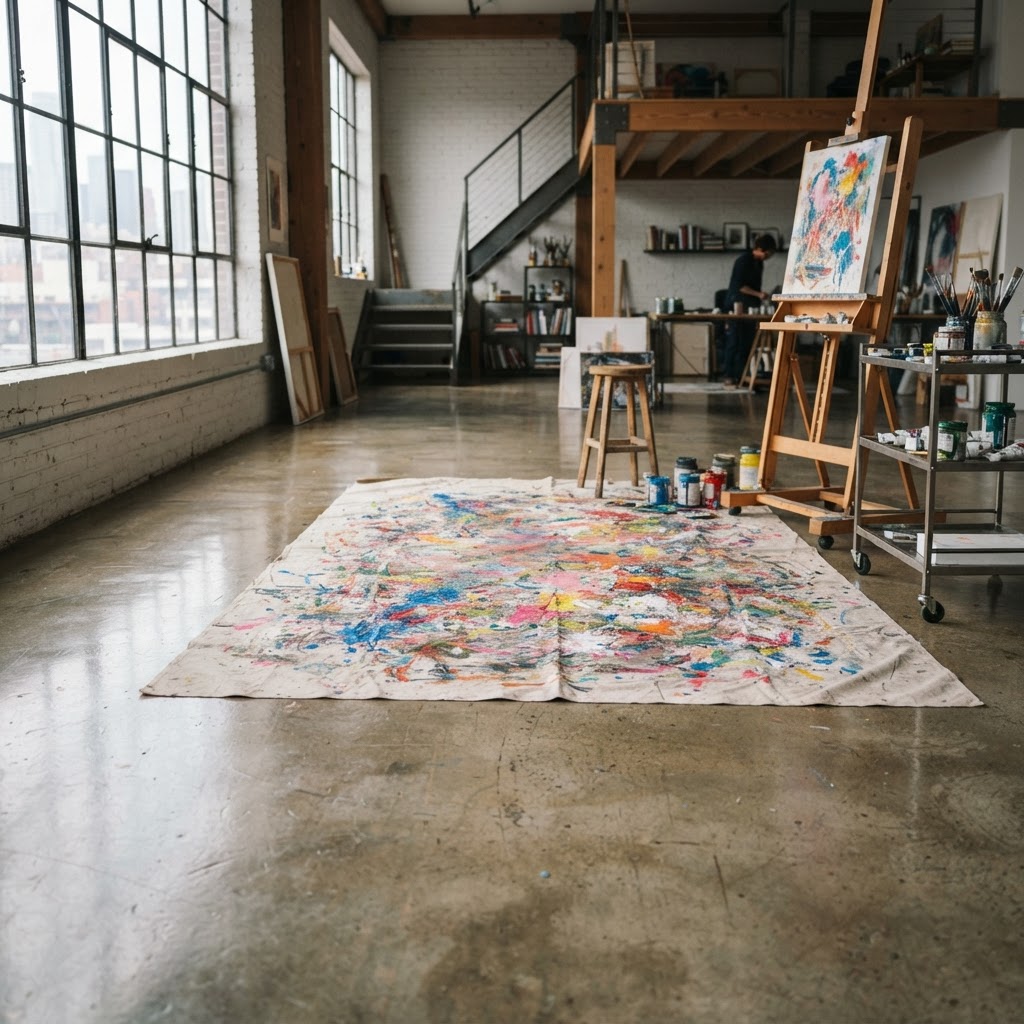
Here's the thing about flooring that nobody talks about until they've ruined a perfectly good surface: your studio floor is going to take a beating. Paint will drip. Linseed oil will spill. Charcoal dust will settle into every crevice. If you put down a beautiful hardwood floor or a plush area rug and then set up your studio on top of it, you will spend half your creative energy stressing about protecting it. That is not a fun way to work.
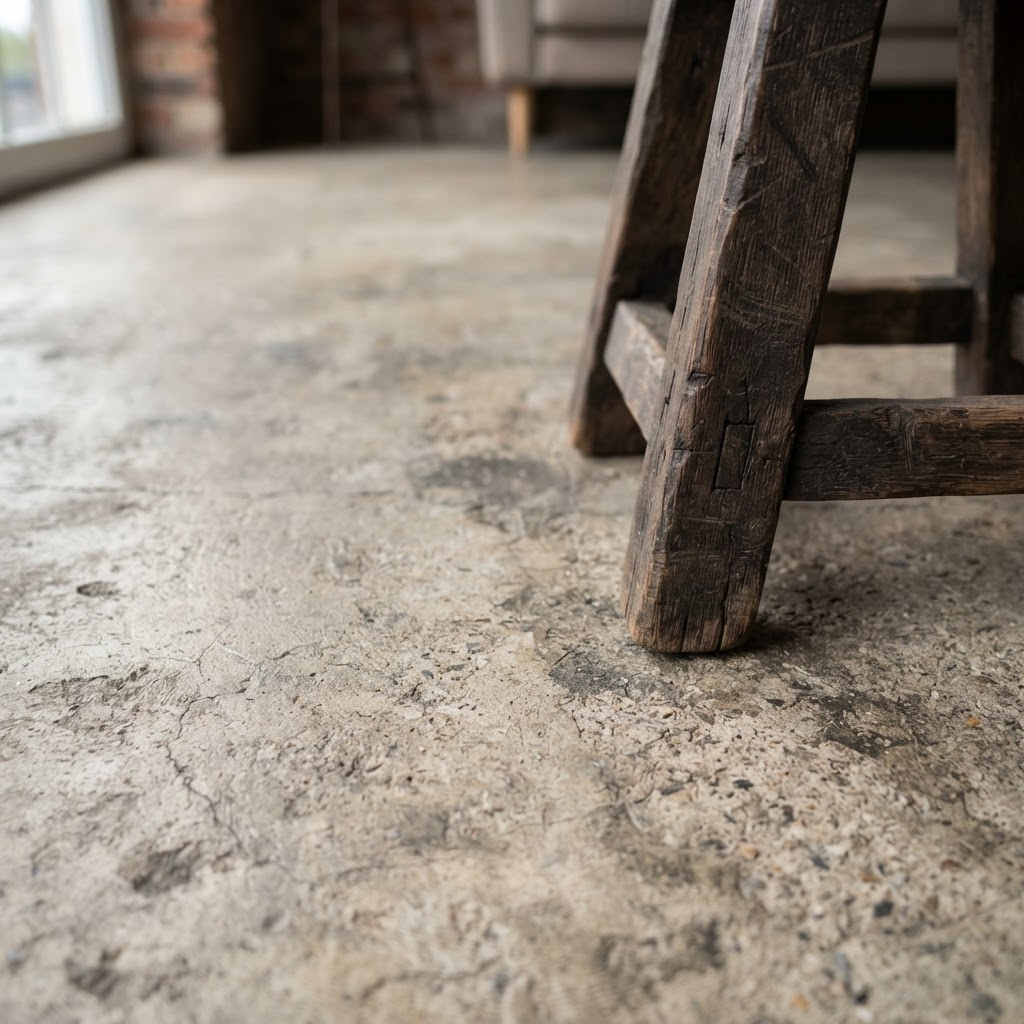
The most practical studio flooring options are sealed concrete, luxury vinyl plank, or epoxy-coated surfaces. Sealed concrete is the gold standard if you have it or can access it. It's durable, easy to clean, looks genuinely great in a studio setting, and has a certain industrial-cool aesthetic that works with almost any studio vibe. Luxury vinyl plank has come so far in the last decade. A good quality LVP is waterproof, scratch-resistant, comfortable underfoot for long standing sessions, and looks like real wood without the heart-stopping anxiety every time you drop a palette.
If you're stuck with carpet because you're renting or the renovation budget simply isn't there right now, a heavy-duty canvas floor cloth or a large piece of painter's canvas under your main work zone will protect what's underneath and give you a surface you can actually work over without guilt. Change it out when it gets too saturated. They're inexpensive and honestly look kind of cool in a lived-in, working-studio way.
Comfort matters too, especially if you're spending four to six hours on your feet. Anti-fatigue mats in front of your easel and work table are worth every penny. Your back will thank you. Your knees will thank you. And you'll stay in the studio longer, which means more work gets made. It's a practical investment that pays dividends in output, trust me on this one.
Creating a Professional Gallery Wall
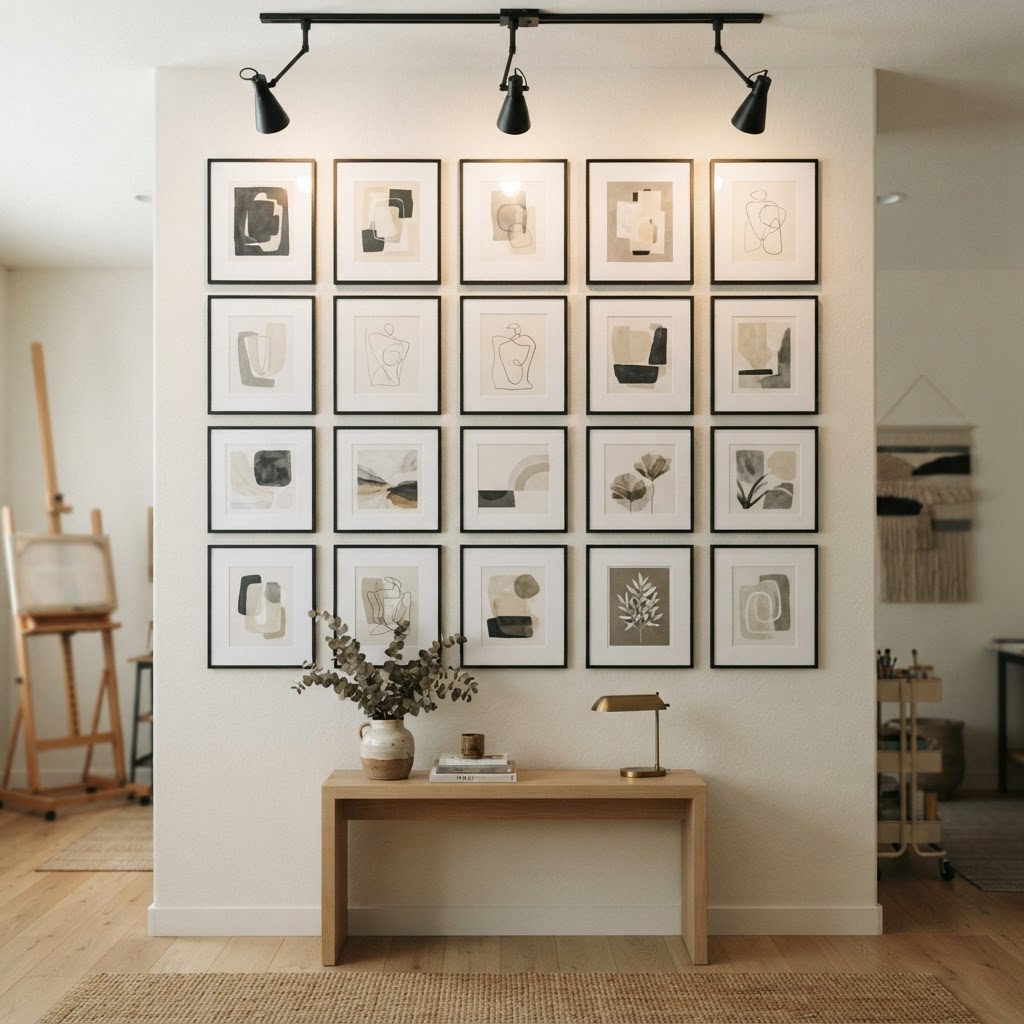
Your studio walls aren't just structural elements, they're part of your professional presentation. Whether you use your home studio to meet clients, photograph your work, or simply to maintain your own artistic focus and identity, a thoughtfully curated gallery wall communicates something important: this person takes their work seriously. It's visual shorthand for professionalism, and it works.
The key to a gallery wall that looks intentional rather than random is cohesion. That doesn't mean everything has to match perfectly, it means there needs to be a thread connecting the pieces. That thread might be a consistent color palette, a shared frame style, a recurring subject matter, or even just a unified mounting height. Pick your thread before you start hammering nails. Lay everything out on the floor first, photograph it from a standing position, adjust until it feels right, and then transfer that arrangement to the wall. This saves you about seventeen unnecessary holes in the drywall.
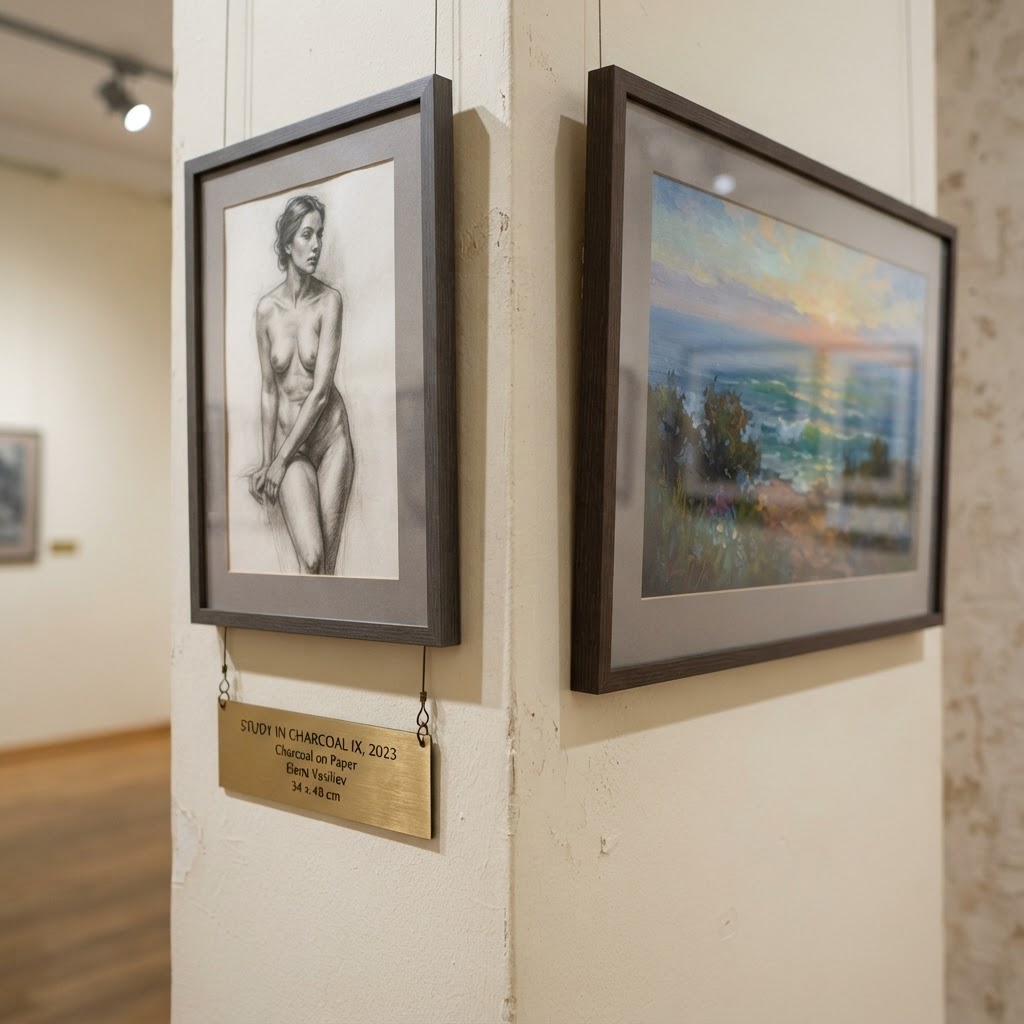
For a home studio that doubles as a professional space, I'd suggest dedicating one wall specifically to a rotating display of your strongest current work. Keep it edited, maybe five to eight pieces maximum, framed consistently or displayed in a clean, graphic way. This becomes your built-in portfolio wall and it photographs beautifully for social media or virtual client presentations. Swap pieces in and out as your body of work evolves. Think of it as a living, breathing exhibition of where you are right now as an artist.
Lighting the gallery wall properly makes a massive difference. Picture lights or adjustable track lighting pointed at the work elevates the whole presentation from DIY to genuinely gallery-caliber. It's one of those small details that clients and visitors notice immediately, even if they can't quite articulate why everything feels so polished.
Designing a Cozy Client Consultation Nook
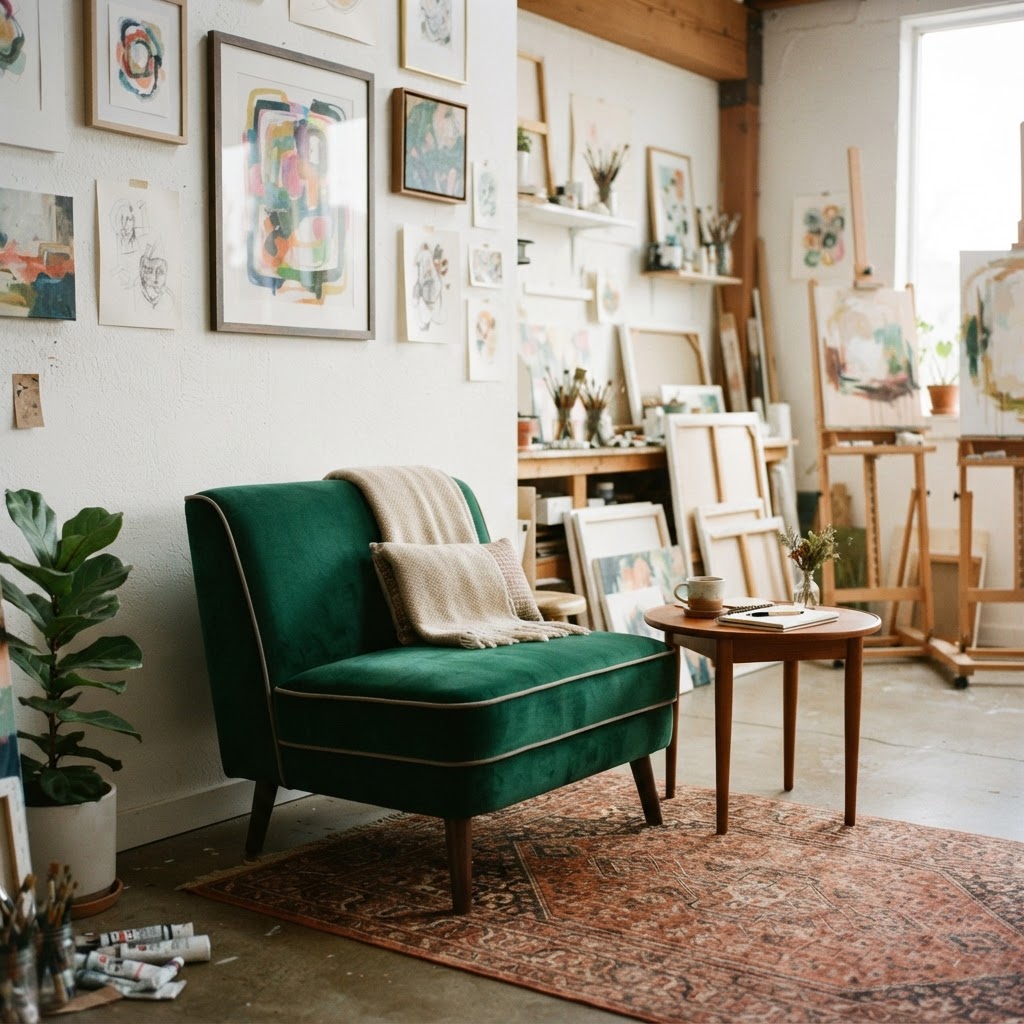
If you're working with clients, whether that means commission buyers, collectors, collaborators, or students, having a dedicated consultation nook inside your studio changes the whole dynamic of those meetings. Instead of awkwardly perching on a stool next to your supply cart or conducting business at your kitchen table, you're welcoming people into a purposeful, comfortable space that signals you run a real practice. The psychological effect of that on pricing conversations alone is significant. People pay more when they feel like they're working with a professional who has their act together.
The nook doesn't need to be large. Honestly, a small two-seater sofa or a pair of comfortable chairs, a low table, and some thoughtful styling is genuinely all you need. Choose seating that's comfortable enough for a half-hour conversation but not so plush and deep that people sink in and feel like they can't leave. The lighting in this zone should be warmer and softer than the rest of your studio, creating a sense of separation from the work area. A small lamp, a candle or two on the table, maybe a plant that's actually alive and thriving, these things communicate care and attention to detail.
Style the consultation nook in a way that extends your artistic brand. If your work is bold and graphic, bring that into the furniture choices and accessories. If your work is soft and painterly, go with natural linen, organic textures, and muted tones. This isn't decoration for decoration's sake. It's brand coherence, and it reinforces to every client who sits down in that space that everything you do is considered and intentional. That matters more than most people realize.
- Keep a portfolio binder or lookbook on the table so clients can browse your work comfortably during the meeting
- Offer something to drink, a simple tea or coffee setup nearby makes the meeting feel hospitable and relaxed
- Have your pricing and process information printed or displayed somewhere accessible so the conversation stays professional
- Position the nook near your gallery wall if possible so clients naturally see your work as they arrive and settle in
And honestly, you deserve a comfortable corner in your own studio too. The consultation nook doesn't only serve clients. It's a space to sit, reflect on your work, sketch ideas in a notebook, or just breathe for a minute between projects. Having a zone that's distinct from the active making area helps your brain shift gears and that kind of mental separation is genuinely valuable for sustained creative practice.
Final Thoughts
Building a professional home art studio that actually reflects your style and supports serious creative work is absolutely within reach, and it doesn't require a massive renovation budget or a dedicated separate building in the backyard. It requires intention. Every decision you make, from which room gets the light, to how you store your brushes, to what your client sits on, adds up to an environment that either supports your practice or quietly undermines it.
Start with what matters most and build from there. Get the lighting right first, then tackle storage, then the floor, then the walls, then the client experience. You don't have to do it all at once. A good studio evolves with you over time, and honestly, that process of refining and improving your space is part of the creative journey itself. Make it yours, make it functional, and make it something you genuinely love walking into every single day.
More in Commercial

Stay Inspired
Subscribe for new essays on architecture, design, and the spaces that shape us.