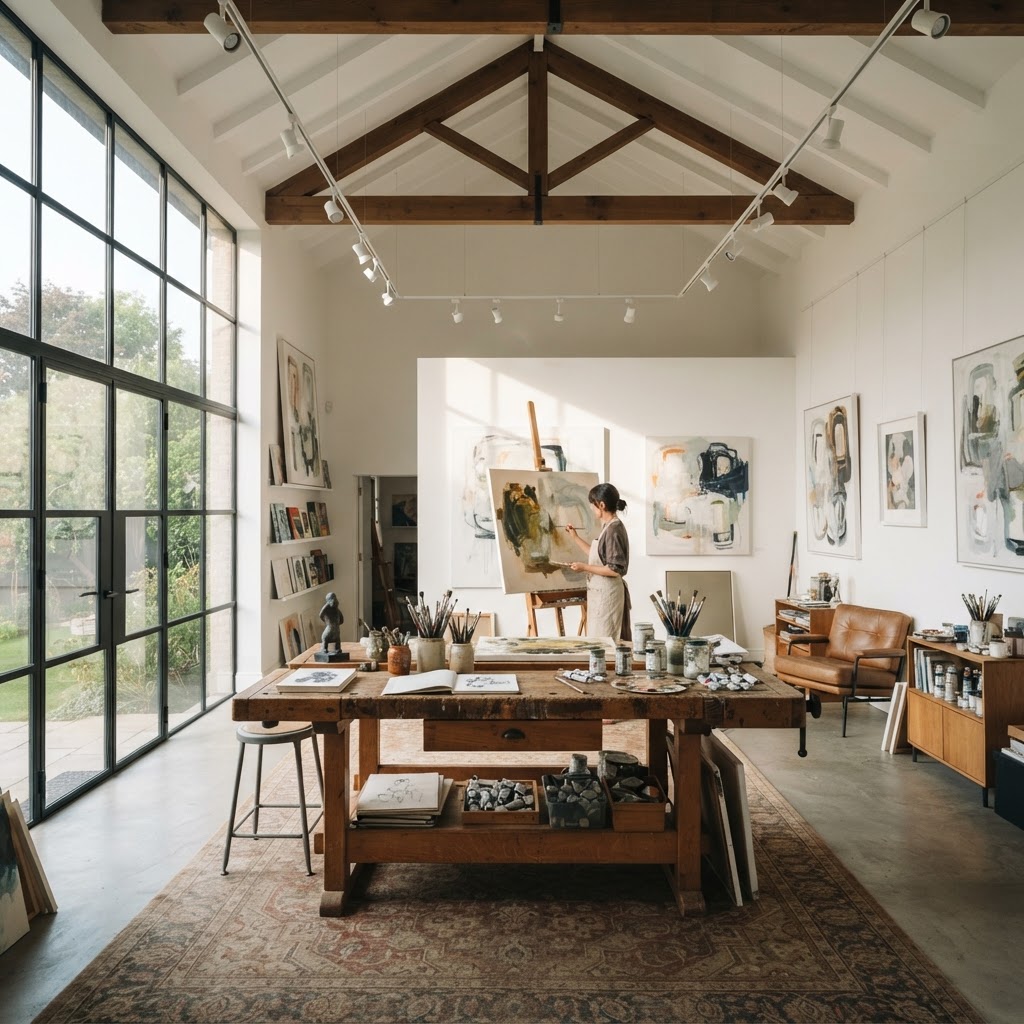
How to Create a Professional Art Studio or Home Gallery That Actually Inspires You
Transforming a spare room into a creative sanctuary requires more than just a desk and a chair. Discover how to balance functional workspace needs with a gallery aesthetic that showcases your work beautifully.
Prioritizing Natural Light for Color Accuracy
Honestly, if there's one thing that separates a truly functional art studio from a glorified storage room with a canvas in the corner, it's light. Natural light specifically. And I don't mean just "having a window." I mean being intentional about how light enters your space, at what time of day, from which direction, and how it hits your work surface. This stuff actually matters, especially if you're doing any kind of color-sensitive work like painting, illustration, or even photography editing.
North-facing windows are the gold standard for artists, and there's a reason professional studios have been designed around them for centuries. The light from a north-facing window is indirect and consistent throughout the day. You won't get those blinding afternoon sun patches that blow out your color perception and make you second-guess every decision you've made with your palette. If you're in the southern hemisphere, that flips to south-facing, just to be clear.
Here's the thing though: not everyone has the luxury of choosing which direction their windows face. If you're working with east or west-facing windows, you can still make it work. Diffusion film on the glass, sheer linen curtains that scatter the light without blocking it, or even a simple adjustable roller shade can take harsh direct sun and turn it into something workable. It's not perfect but it gets you pretty close.
- Use daylight-balanced bulbs (around 5000K to 6500K) for evenings and overcast days when natural light falls short
- Avoid warm-toned overhead lighting in your primary work zone, it skews everything yellow and you won't notice until you take your work into natural light and have a minor crisis
- Position your easel or work table perpendicular to the window rather than directly facing it to minimize glare
- Consider a skylight if you're doing a renovation, overhead natural light is incredibly even and color-neutral
And honestly, don't underestimate how much good light affects your mood and energy in the studio. There's real science behind it and also just plain common sense. You work better when you can actually see what you're doing and when the room doesn't feel like a cave. Natural light wakes up the brain, lifts your spirits, and keeps creative fatigue at bay. The investment in good lighting, whether through architectural changes or smart window treatments, is absolutely worth it.
Smart Storage Solutions That Hide the Clutter
Real talk: creative spaces get messy. That's just the truth. And there's a certain romantic notion that a cluttered studio means a creative mind at work. Sure, maybe. But there's a difference between productive chaos and the kind of clutter that actually kills your motivation the moment you walk in the door. Smart storage is how you get to have both, the creative freedom and the clean visual environment that lets your brain breathe.
The key here is hiding what you don't need to see and displaying what actually inspires you. Built-in cabinetry with solid doors is your best friend. Not because you need to be a minimalist, but because when your supplies are out of sight, your brain stops registering them as tasks. You're not looking at a pile of unfinished projects or a tangle of brush holders and thinking "I should organize that." You're just in the room, ready to create.
Pegboards are genuinely one of the most underrated storage tools for a studio. They're flexible, they're cheap relative to custom cabinetry, and they look intentional when you style them right. Add hooks, small shelves, jars, and clip-holders, and you've got a fully customizable wall system that keeps your most-used tools within arm's reach without living on your work surface. I've seen pegboard setups that look so good they're basically wall art themselves.
- Deep drawers with dividers for flat storage of paper, canvas pads, and prints keep your materials protected and easy to access
- Rolling carts with locking wheels let you move supplies to wherever you're working that day, then tuck them away when you're done
- Clear acrylic containers for small items like brushes, markers, and pencils so you can see what's inside without digging
- Vertical shelving that goes floor to ceiling takes advantage of wall space and keeps the floor clear, which makes any room feel bigger and less chaotic
- A dedicated "in progress" zone with flat files or a wide shallow drawer keeps your current works separated from your archive
Here's the thing about storage that most design articles skip over: it has to fit your actual workflow, not some idealized version of it. If you always work at the kitchen table and then bring things back to your studio to store, your storage needs to accommodate that. If you tend to leave things mid-project for days at a time, you need a clear spot designated for "in progress" work so it doesn't bleed into every surface. Design your storage around your real habits, not the habits you wish you had.
Curating Your Walls as an In-Home Gallery
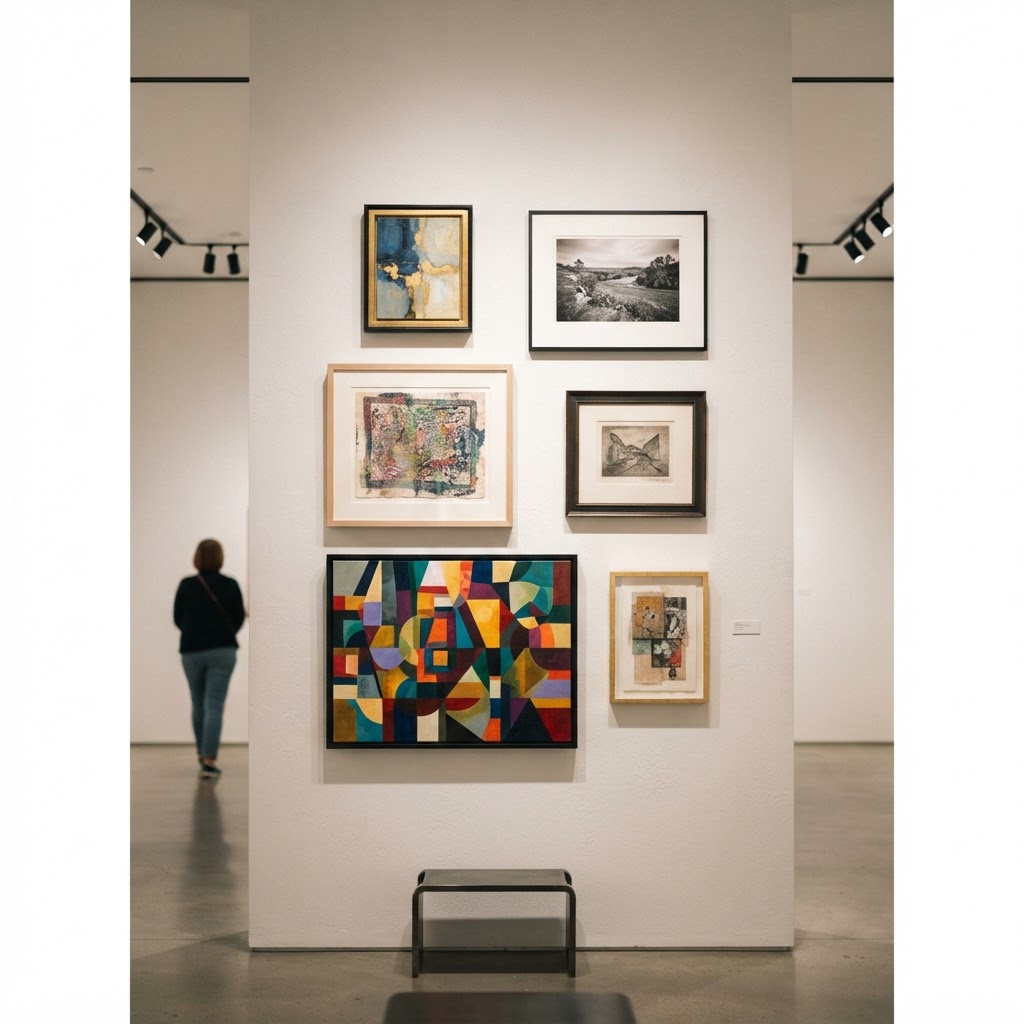
Okay, this is where it gets really fun. If you have an art studio or a home gallery space, your walls aren't just walls. They're part of the experience. And treating them like a real gallery, with actual intention behind what goes where and why, transforms the whole energy of the room. It stops being a place where you keep stuff and starts being a place that actively feeds your creativity.
Start by thinking about the story you want the room to tell. Are you showcasing your own work? A mix of your pieces and work that inspires you? A specific era of your creative journey? Having a loose curatorial concept gives you a framework so you're not just randomly nailing things to the wall and hoping it looks good. And look, sometimes random works, but not as often as people think.
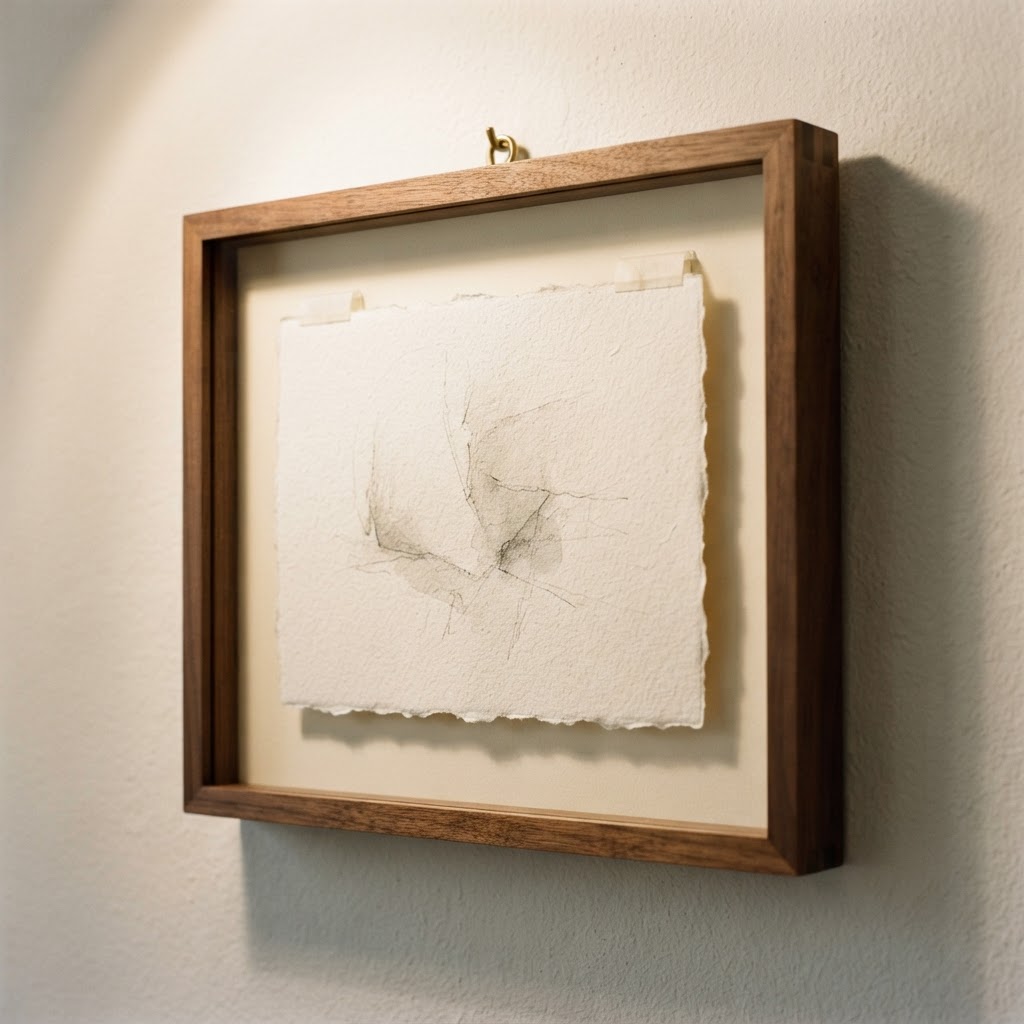
When it comes to hanging, gallery-style means being thoughtful about spacing and alignment. Most professional galleries use a consistent center-line, typically at about 57 inches from the floor, which aligns with the average human eye level. You don't have to be rigid about it, especially in a home context, but having that anchor point keeps things from looking scattered. Mix frame sizes and orientations but try to keep a consistent visual weight across the arrangement.
"A gallery wall should feel like a conversation between the pieces on it, not a competition."
Lighting your gallery wall properly is almost as important as the selection of work itself. Picture lights mounted above individual pieces or adjustable track lighting that you can angle precisely toward your artwork will make everything look more intentional and more valuable. Even a print from a local market can look gallery-worthy with the right light hitting it. Don't skip this step.
Designing the Perfect Creative Workflow Zone
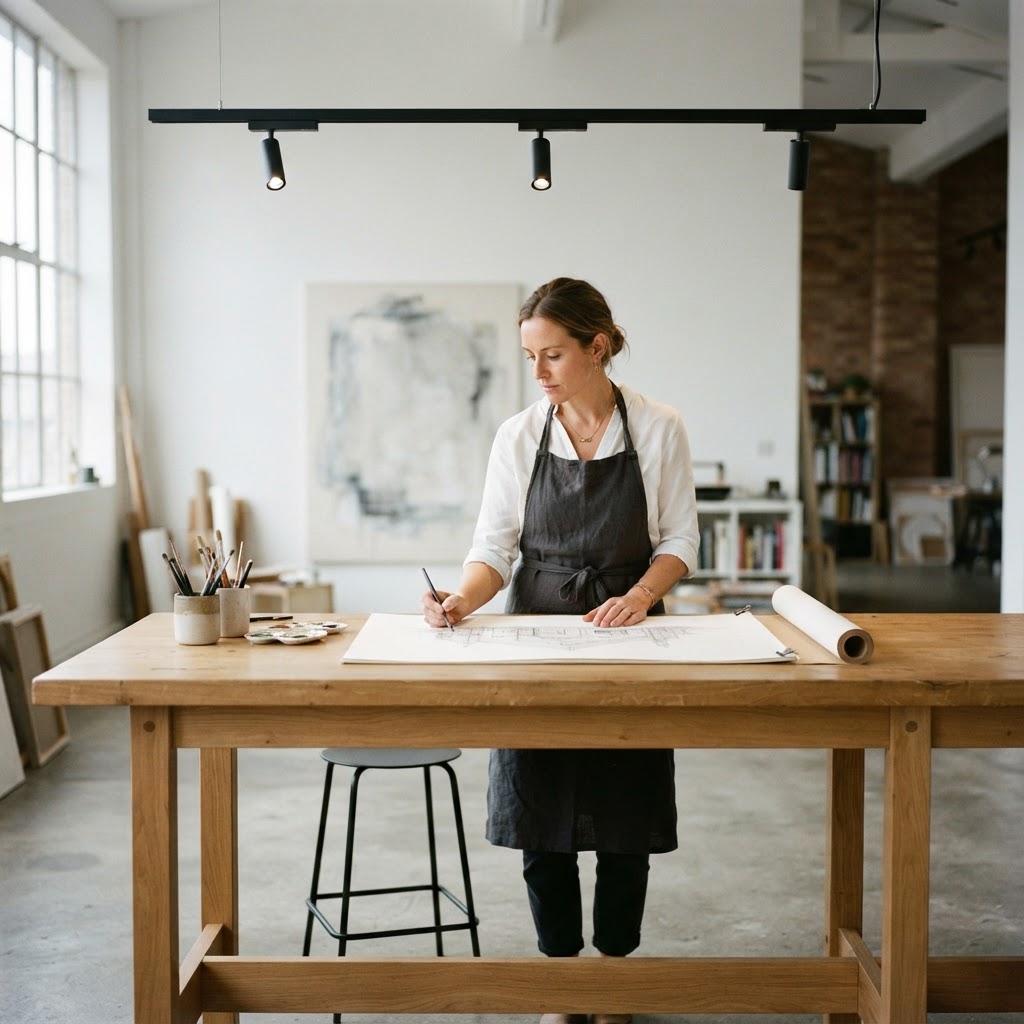
Here's something I think about a lot when it comes to studio design: the difference between a space that looks like a creative studio and one that actually functions as one. They're not always the same thing. Plenty of beautiful studio photos on the internet would be a nightmare to actually work in. The workflow zone, meaning the specific area where you do the majority of your hands-on creating, needs to be designed around ergonomics and efficiency first, aesthetics second.
Your primary work surface should be at the right height for what you do. If you work standing, that's roughly elbow height or a couple of inches below it. If you work seated, your arms should rest comfortably without hunching your shoulders. This sounds obvious but so many people ignore it and then wonder why they feel exhausted after two hours in the studio. Get a surface that's adjustable if you can swing it, the kind that goes from sitting to standing height. Your body will thank you a lot.
Think carefully about the zone around your primary work surface. Everything you reach for regularly, your most-used brushes, your mixing palette, your reference images, your phone or tablet, should be within arm's reach without you needing to stand up or turn significantly. Anything that requires you to walk across the room every time you need it will quietly chip away at your focus and flow. This is the principle behind the ergonomic kitchen triangle applied to creative work, keep your most-used tools in a tight, efficient orbit around where you actually sit or stand.
- Use a task chair with lumbar support if you work seated for long periods, your back is not optional
- Install a secondary light source like a good adjustable desk lamp aimed at your work surface to supplement natural light
- Keep a clean reference wall or board directly in your sightline so you can check your reference without disrupting your physical workflow
- Designate zones within the zone, one area for active work, one for drying or resting pieces, one for reference materials, so things don't bleed into each other
And don't underestimate the power of a good chair mat, an anti-fatigue mat if you're standing, or even just a decent rug under your work area. These small physical comforts are what let you stay in the zone for three hours instead of one. Comfort isn't indulgence in a creative workspace, it's infrastructure.
Incorporating Sustainable Flooring for Durability
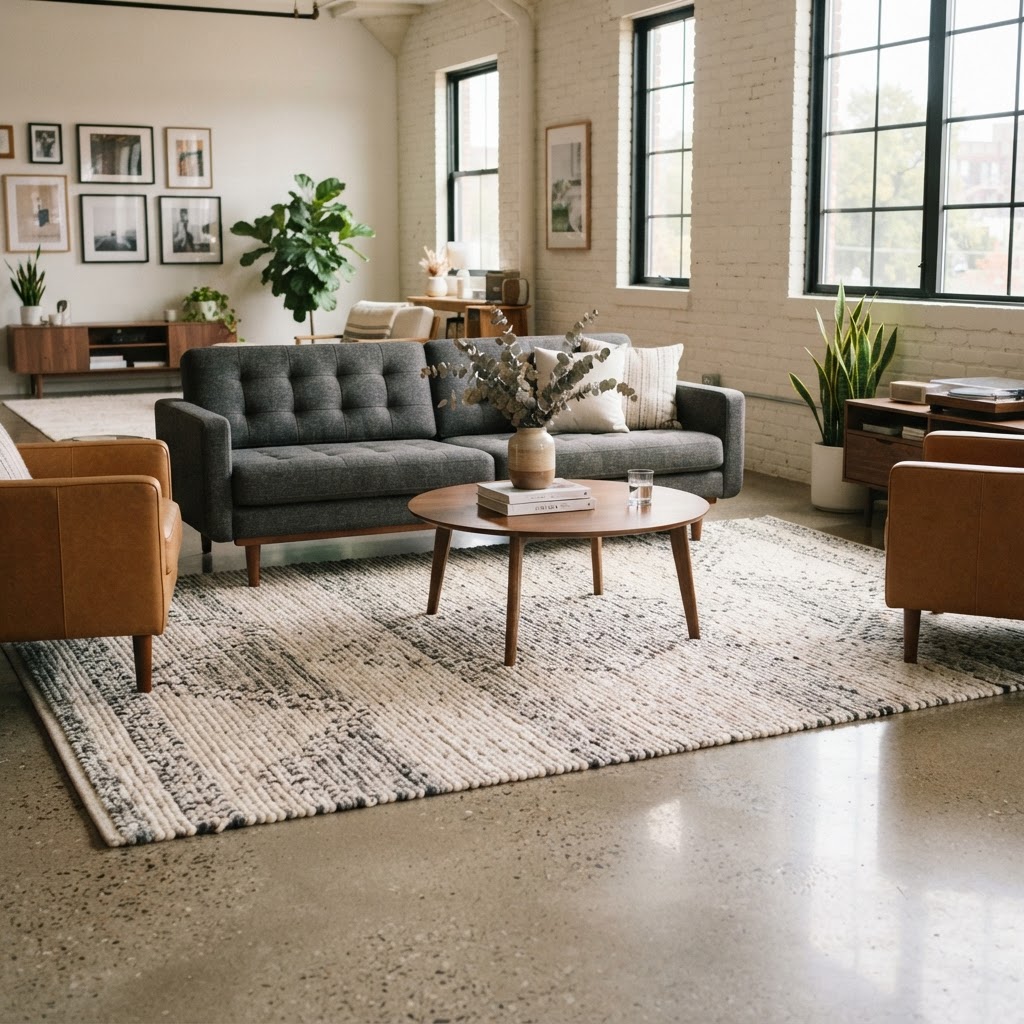
Flooring is one of those things that almost nobody thinks about when they're setting up a studio, and then everyone regrets it later. An art studio floor takes a beating. Paint drips, solvent spills, heavy equipment being moved around, chairs rolling back and forth hundreds of times. Whatever you put down needs to be able to handle all of that without looking destroyed within a year.
Polished concrete is, honestly, the ultimate art studio floor. It's incredibly durable, easy to clean, looks great, and with a proper sealant, it resists practically everything you can throw at it. If your studio is in a basement or ground floor where you have a concrete slab already, consider having it polished and sealed rather than covering it up. You'll save money on materials and end up with something that ages beautifully rather than showing wear.
If you need something with more warmth underfoot, cork flooring is a genuinely excellent sustainable option that doesn't get talked about enough. It's made from the bark of cork oak trees, which regenerates after harvesting, so it's renewable in a real and meaningful way. Cork is naturally cushioned, which reduces fatigue when you're standing at a work table for hours. It's also naturally antimicrobial and reasonably resistant to moisture when properly sealed. The texture can absorb some sound, which is a nice bonus if you're in an apartment building and don't want every dropped tool resonating through the ceiling below.
- Bamboo flooring is another fast-growing, sustainable material that's harder than most hardwoods and handles heavy foot traffic well
- Recycled rubber flooring made from repurposed tires is incredibly tough, cushioned, and often used in commercial settings for exactly this reason
- Vinyl plank flooring with a high wear layer isn't always sustainable in the traditional sense but modern formats are increasingly made with recycled content and are built to last decades
Whatever you choose, think about sealing and maintenance before you commit. A beautiful raw wood floor might seem ideal until you have your first major paint spill. Either seal it properly with a penetrating oil or polyurethane finish rated for high-traffic commercial use, or choose a material that's inherently forgiving from the start. Trust me on this, cleaning paint out of unfinished wood grain is not how you want to spend your creative energy.
Final Thoughts
Creating a studio or home gallery that actually inspires you isn't just about making something that looks good in photos. It's about building an environment that supports the way you actually work, protects your body, keeps your tools accessible, and puts your creative eye in constant conversation with work that excites you. Every decision, from where your light comes in to what you put on your floor, either adds to that environment or takes away from it.
Start with the fundamentals: light, workflow, storage. Get those right and the rest becomes a lot more intuitive. And don't be afraid to iterate. The best studios I've ever seen are the ones that have evolved over time with the person working in them, adjusted, tweaked, rearranged. A good studio is never really finished, and that's kind of the whole point.
More in Commercial
Stay Inspired
Subscribe for new essays on architecture, design, and the spaces that shape us.