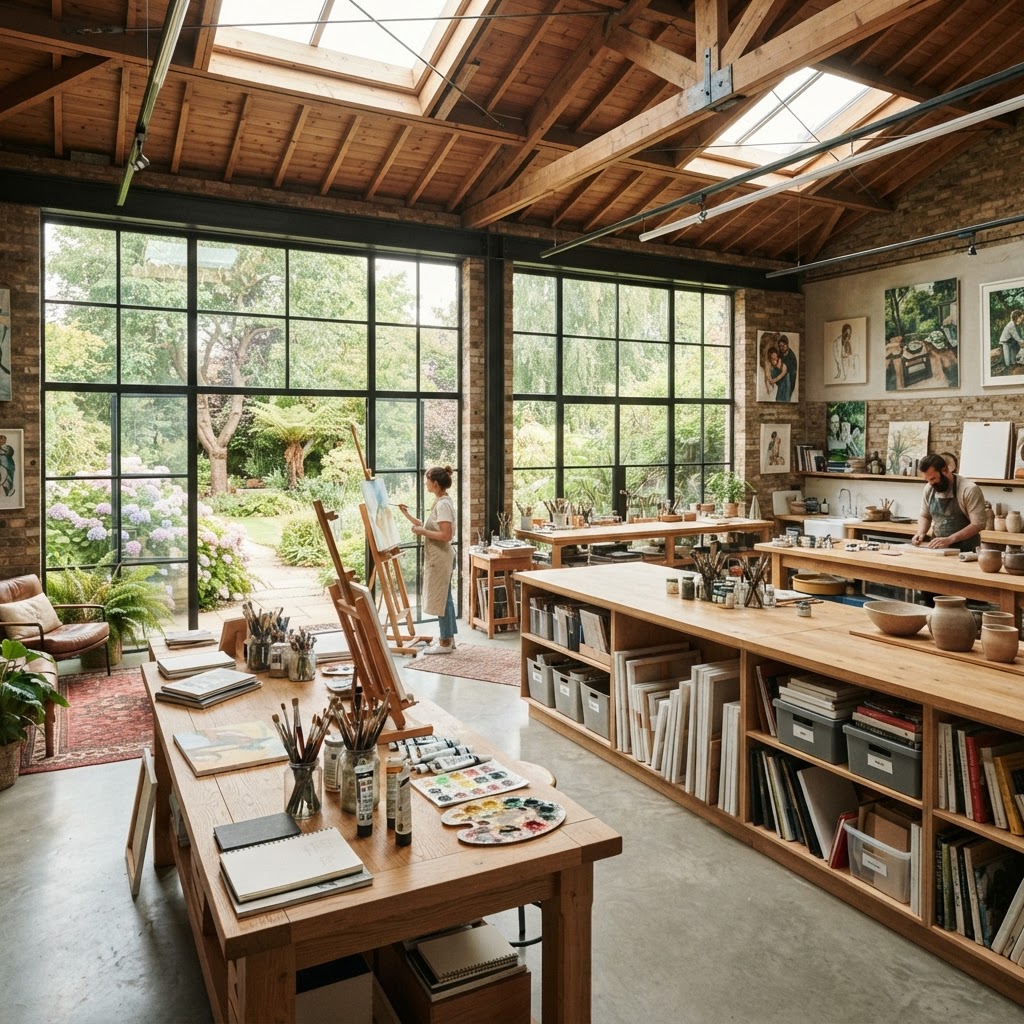
6 Studio Design Ideas to Inspire Your Best Creative Work
Creating a dedicated space for your craft can change how you approach your daily projects. We gathered our favorite studio and gallery design ideas to help you build an environment that keeps you focused and feeling inspired.
Maximizing Natural Light for Color Accuracy
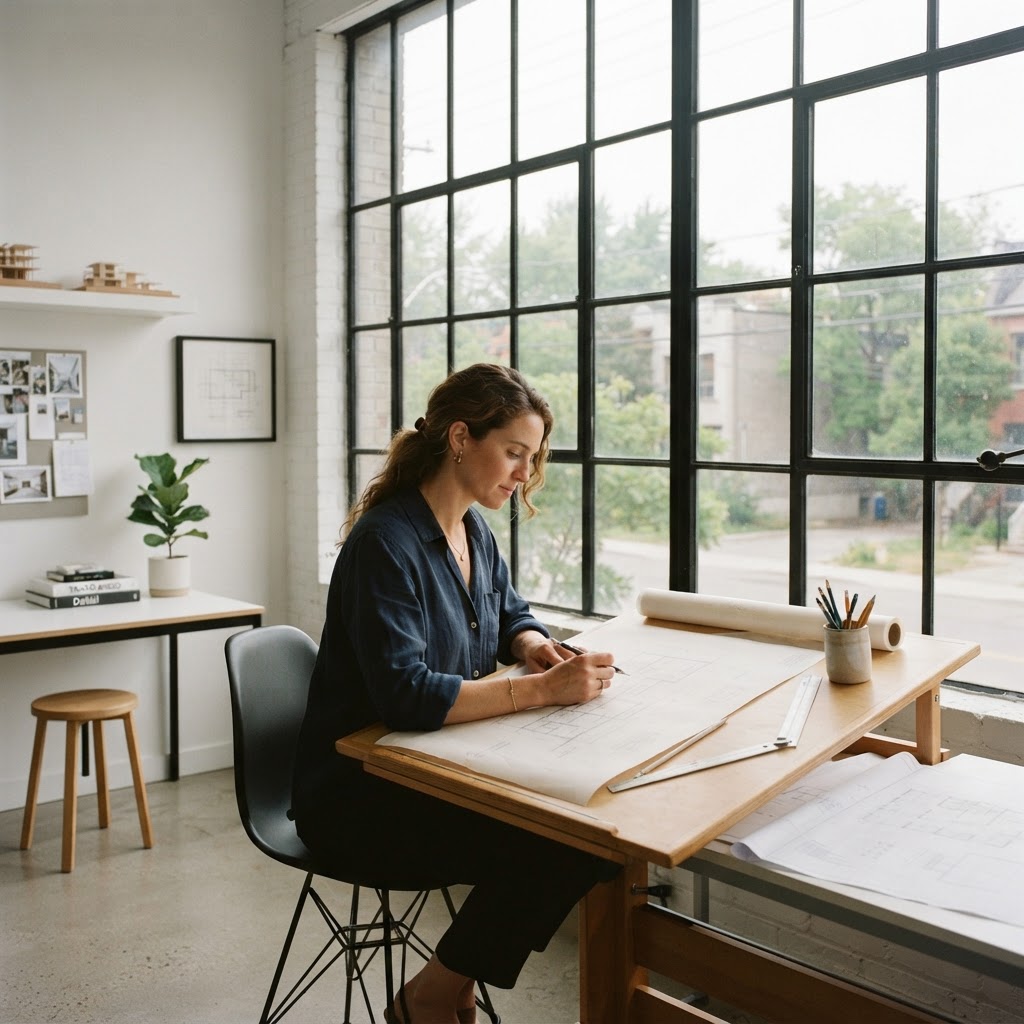
Honestly, this is the one thing I wish someone had told me before I set up my first studio. Natural light isn't just a nice-to-have, it is absolutely foundational to how well you see your work. If you're a painter, photographer, textile designer, or really anyone working with color in any serious capacity, the direction and quality of light in your space will make or break your color accuracy in ways that no amount of expensive lighting equipment can fully compensate for.
North-facing windows are the gold standard for studio light in the northern hemisphere. The light is consistent, indirect, and doesn't shift dramatically throughout the day the way south or west-facing light does. That means you're not chasing a moving target every couple of hours. If you don't have north-facing windows, don't panic. East-facing light is soft and cool in the mornings, and you can work around it. The bigger problem is harsh west-facing afternoon sun, which tends to blow out colors and create intense glare. Good sheer curtains or diffusion film on the glass can genuinely save you there.
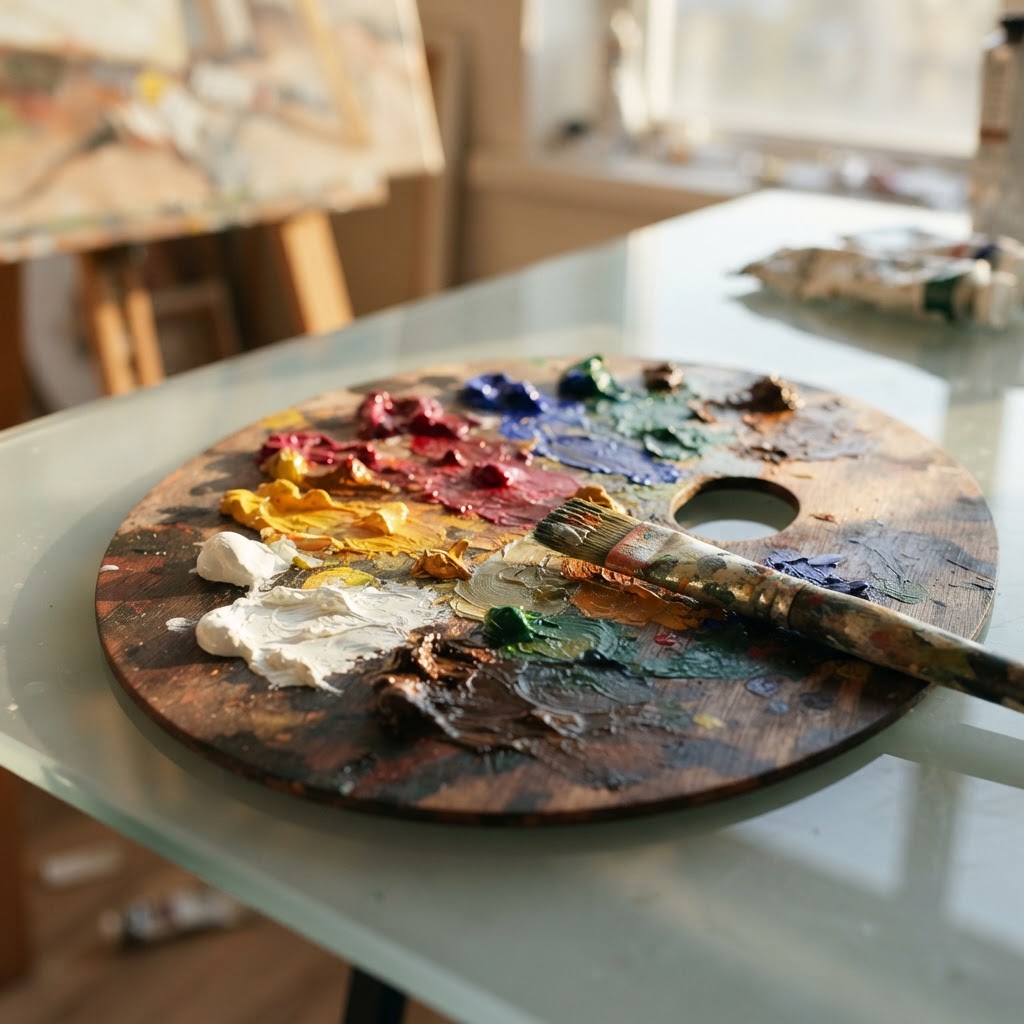
Here's the thing about supplemental lighting: it matters more than most designers admit. When natural light fades or on overcast days, you want bulbs rated at around 5000K to 5500K color temperature. That's the daylight spectrum. Anything warmer and your whites will look yellow, your blues will go muddy, and you'll make corrections in your work that look completely wrong in proper daylight the next morning. I've seen this drive people crazy and it's such an easy fix.
Think also about the color of your walls. White or very light neutral walls reflect light evenly and don't cast color onto your work. A lot of studios go with a warm off-white and then wonder why their color mixing feels slightly off. Keep it cool, keep it neutral, and let the work itself provide the color in the room. Trust me on this one, it makes a bigger difference than it sounds.
- Prioritize north-facing windows if you have any choice in your studio location
- Use diffusion film on windows that get direct harsh sunlight
- Invest in daylight-spectrum bulbs rated between 5000K and 5500K
- Paint walls a cool neutral to avoid color cast affecting your work
- Position your main worksurface perpendicular to the window, not facing it directly
Smart Storage Solutions for Small Footprints
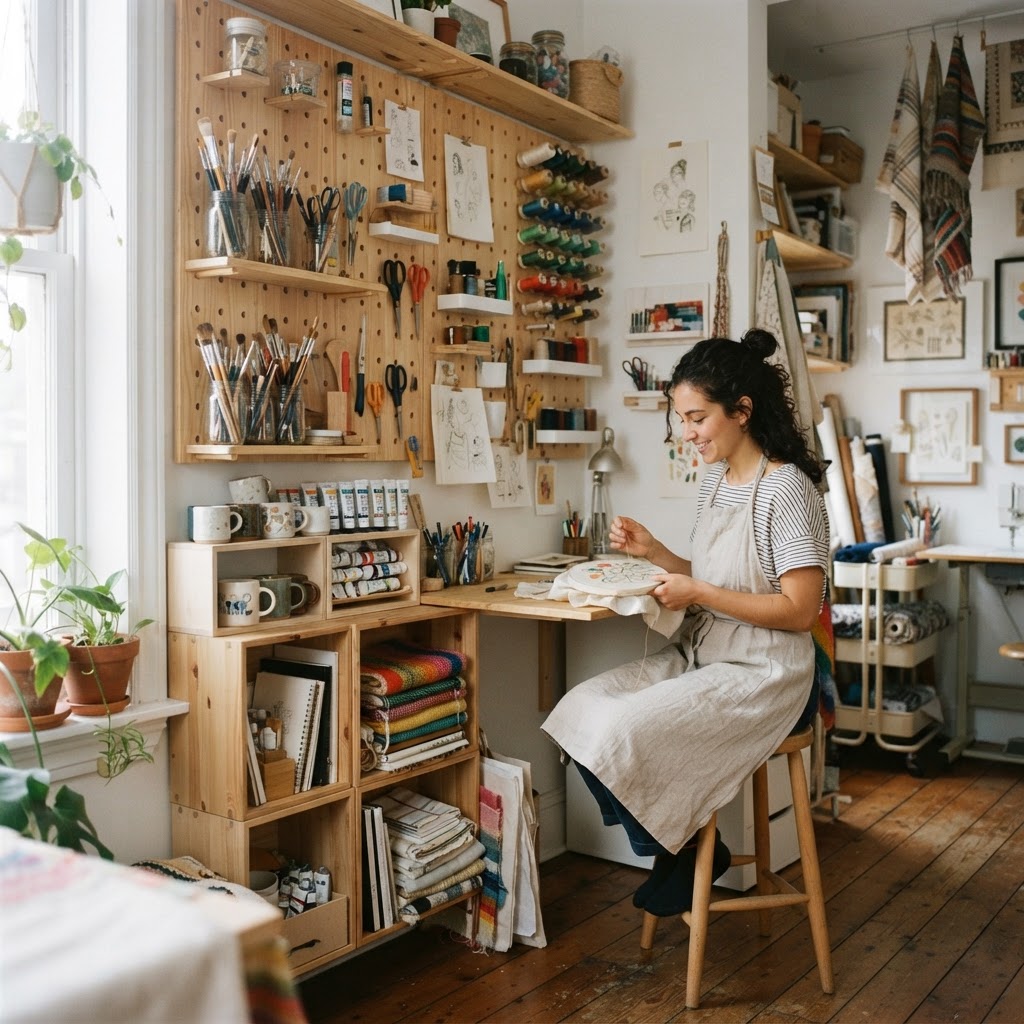
Real talk: most creative studios are not spacious. Most of us are working in converted spare bedrooms, garage corners, basement spaces, or compact commercial units that cost way more than they should. And yet, the amount of stuff that comes with creative work is staggering. Supplies, references, equipment, fabric samples, paper stocks, tools, half-finished projects, props. It accumulates fast and if you don't have a real storage strategy from the start, it will swallow your workspace whole.
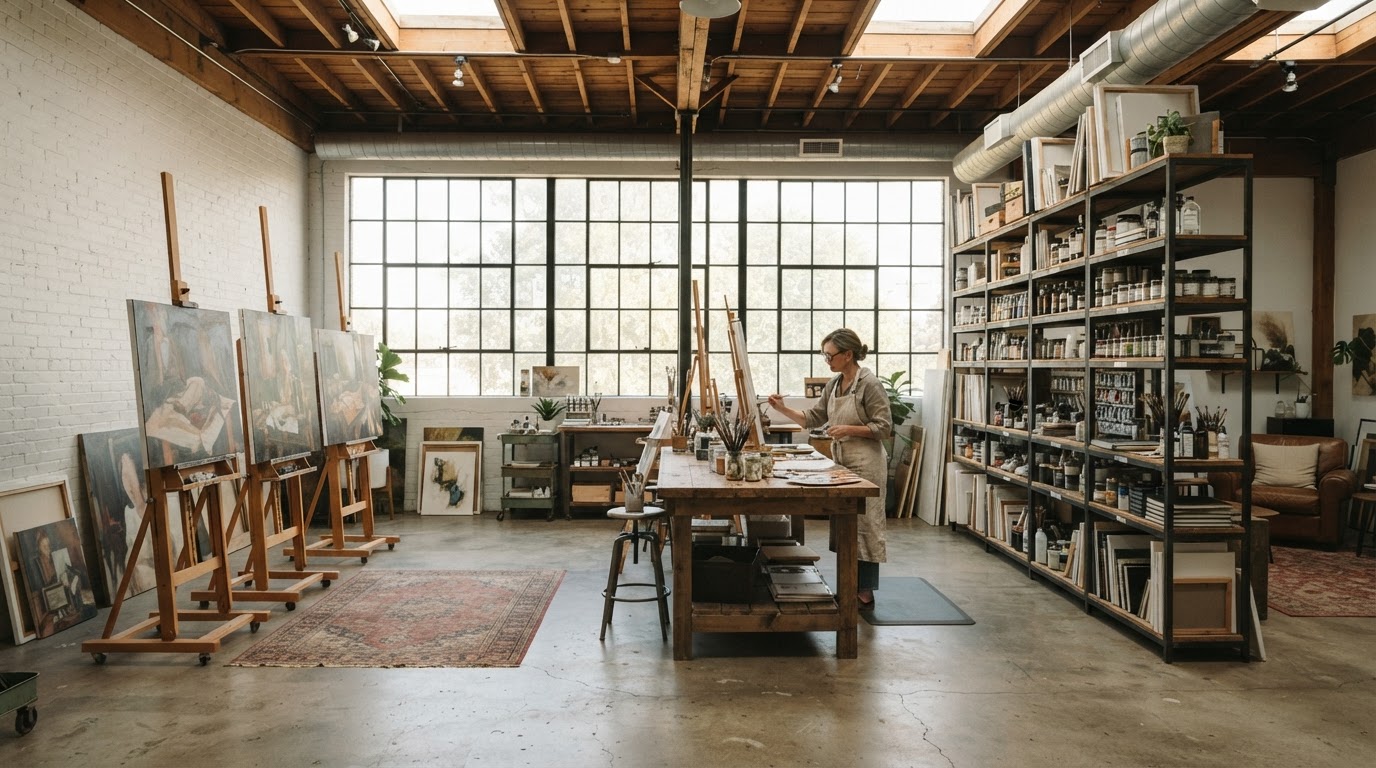
Going vertical is the single most impactful thing you can do in a small studio. Floor-to-ceiling shelving along one full wall instantly gives you enormous storage capacity without taking up any additional floor space. Open shelving works well if you're disciplined about organization and honestly, in a studio context, having things visible can actually be useful. You see what you have, you reach for it quickly, and you're less likely to buy duplicates of things you've forgotten about. Closed cabinets have their place too, particularly for things that collect dust or look chaotic. A combination of both tends to work best.
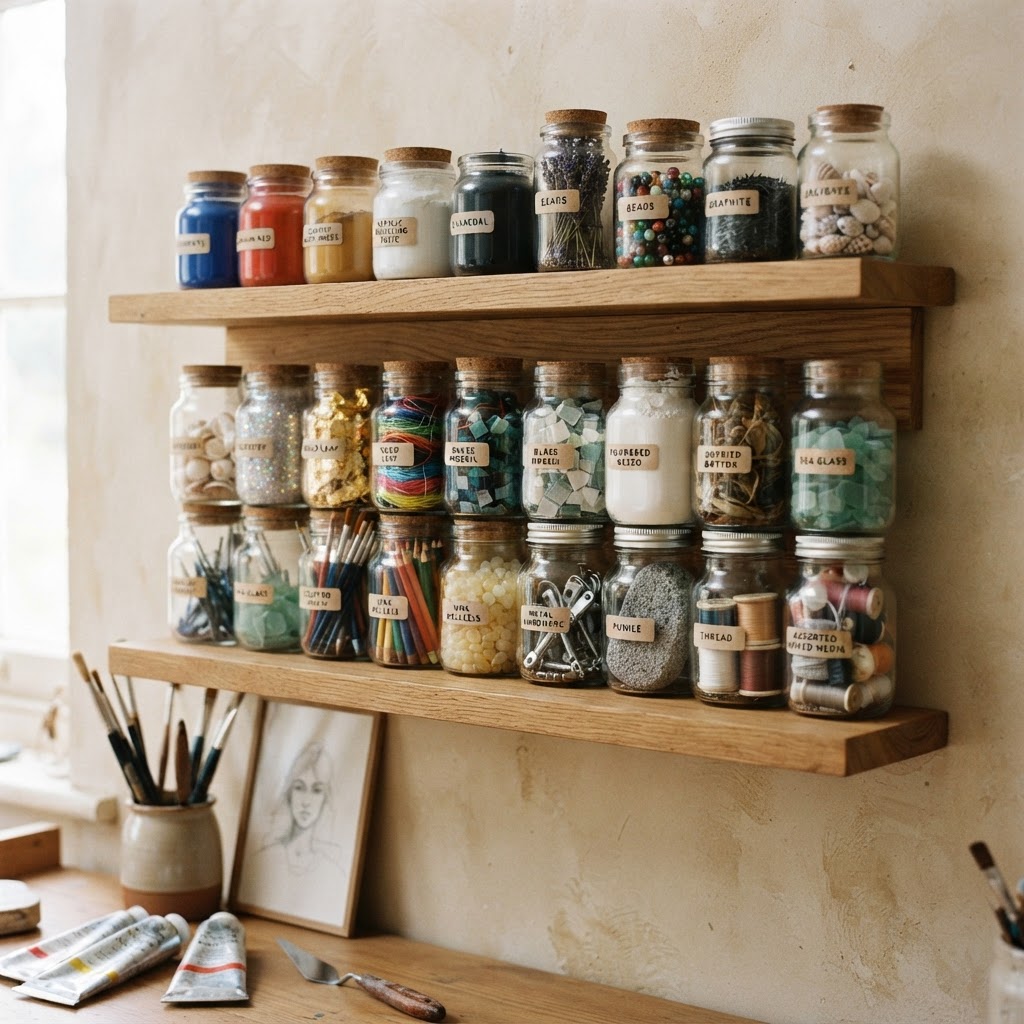
Mobile storage is another thing I genuinely love for studios. Rolling carts, trolleys with drawers, and caster-fitted cabinets let you reconfigure your space depending on what you're working on. Some days you need a big clear floor for layout work. Other days you need everything close at hand at your main desk. Being able to roll things around rather than permanently fix them in place gives you flexibility that a small space desperately needs.
And look, don't underestimate the power of pegboards. Properly installed pegboards on a wall give you incredibly adaptable storage for tools, supplies, and equipment that you reach for constantly. The beauty of them is that the layout can change as your needs change. You're not locked into anything. Pair a pegboard with some shallow shelves underneath and a worksurface, and you've got a highly functional zone that punches well above its weight in terms of storage density.
Gallery Walls that Showcase Your Process
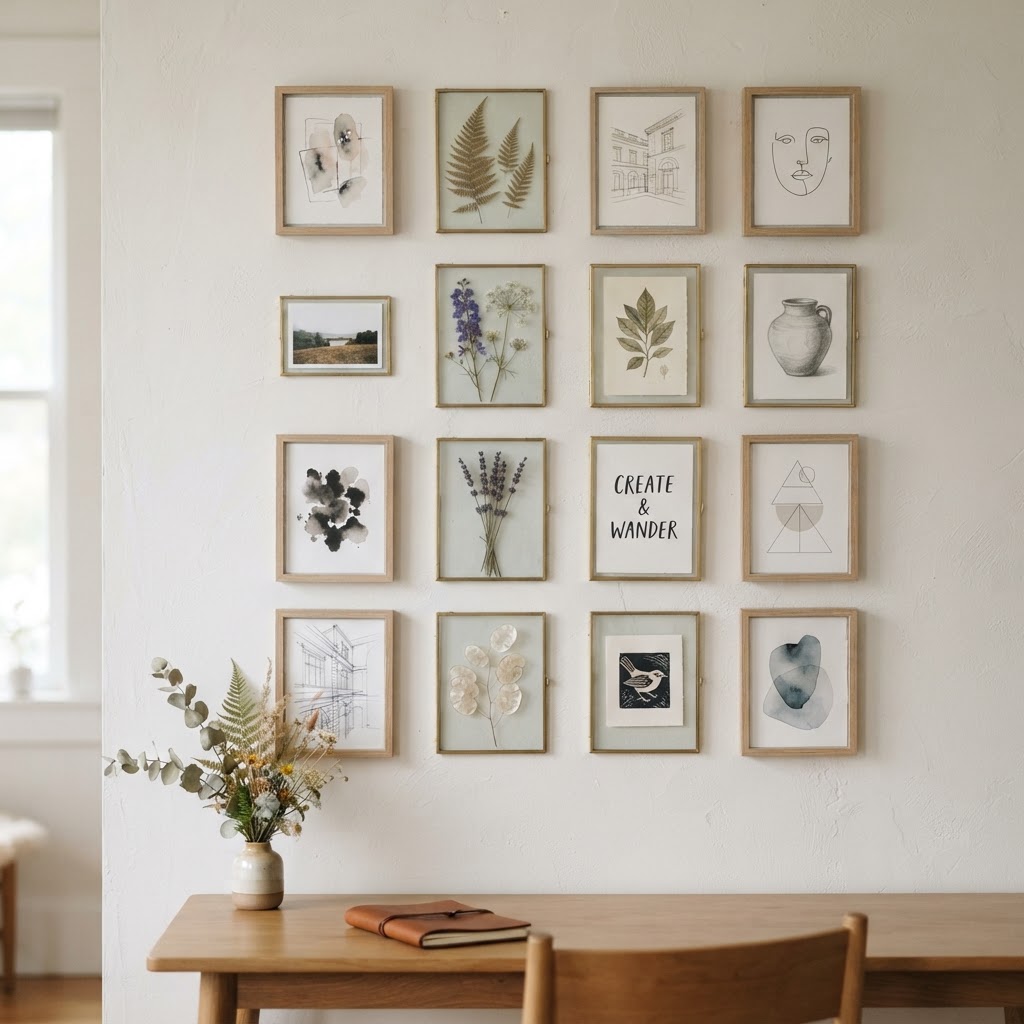
Here's something that took me a while to understand: a gallery wall in a working studio serves a completely different purpose than one in a home. At home, a gallery wall is decorative. In a studio, it's functional. It's a visual record of where your thinking is, what's influencing you, what problems you're chewing on, and where you want to go. Done well, it becomes almost like an external hard drive for your creative brain.
The key is being intentional about what goes up there. A lot of people use their studio gallery wall as a dumping ground for everything they find interesting, and while that feels creative, it can actually create visual noise that muddies your thinking rather than sharpening it. Pick a loose theme or a current project focus. Pin up reference images, color swatches, sketches, test prints, things that are actively connected to what you're working on. Rotate it regularly. When something stops feeling relevant, take it down. Keep it alive and responsive rather than static and decorative.
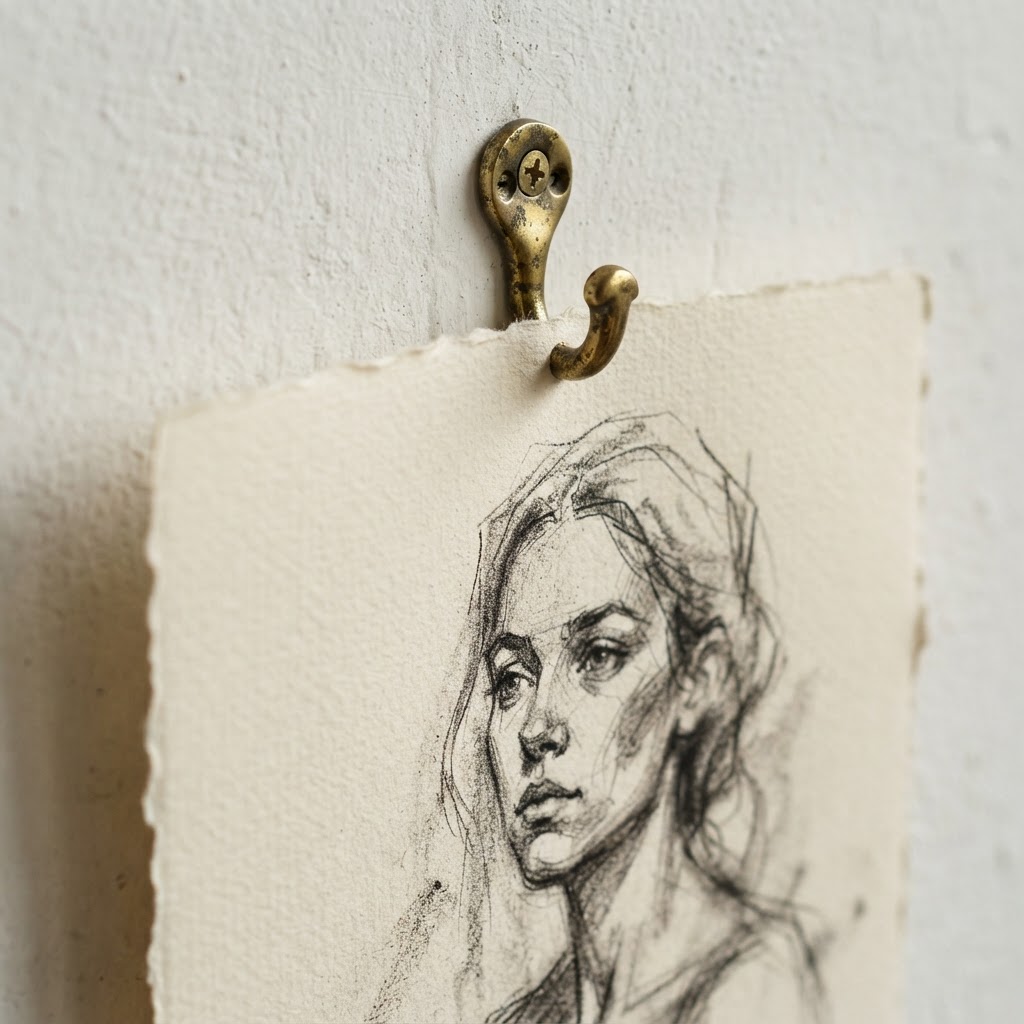
From a practical standpoint, using a large pinboard or a floor-to-ceiling corkboard panel makes it easy to add and remove things without damaging your walls. Magnetic paint is another option that I think is underused. Paint a section of wall with magnetic primer and finish, and you've got a flexible display surface that looks clean and intentional. Combine it with simple clip frames for pieces you want to display more formally alongside pinned sketches and loose references, and you've got a gallery wall that genuinely works as a creative tool.
"Your studio walls should be working as hard as you are. If what's hanging there isn't actively feeding your current thinking, it's just decoration."
And honestly, if you're running a commercial studio where clients come through, a well-curated process wall does something extra. It communicates how you think. It shows depth, curiosity, and craft. Clients respond to that. It's one of the most authentic ways to convey your process without having to explain it verbally every single time.
Creating a Dedicated Inspiration Nook
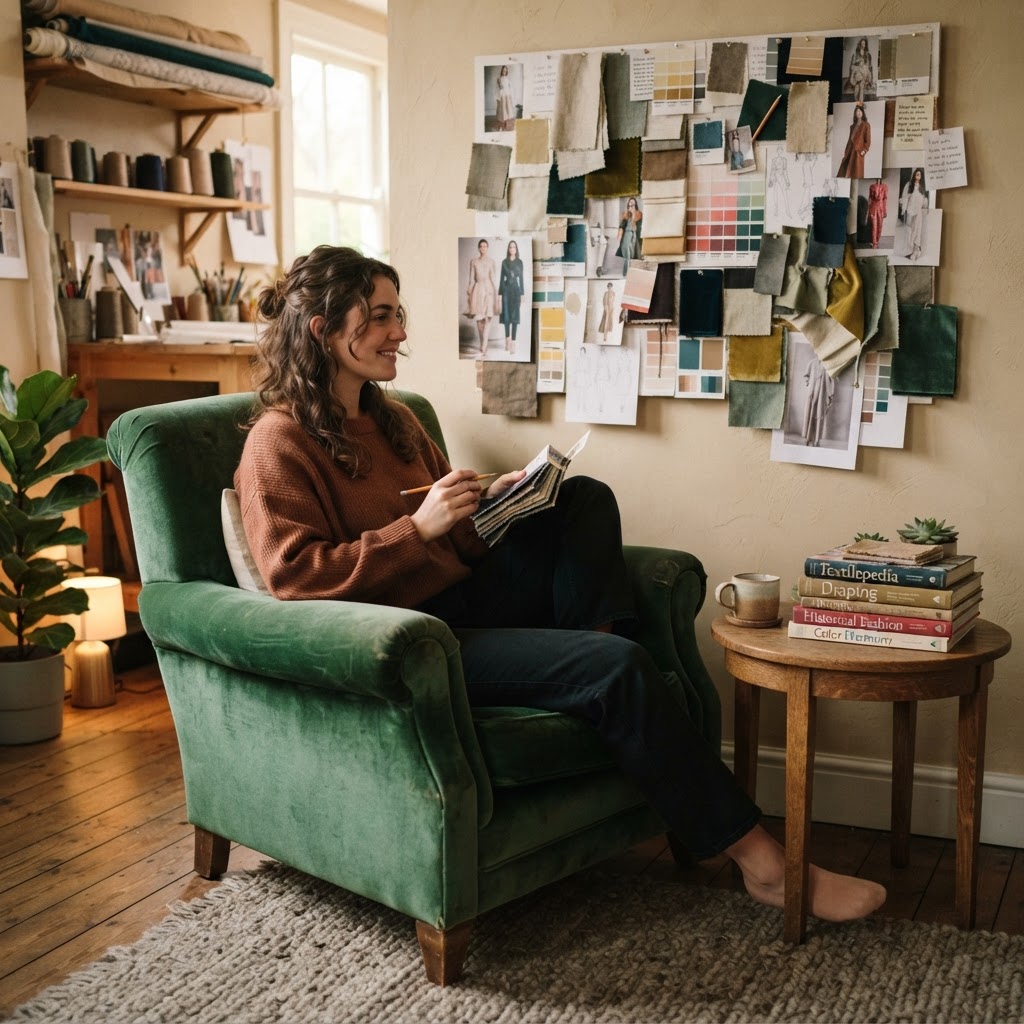
This is one of those ideas that sounds a little indulgent until you actually try it, and then you wonder how you ever worked without one. An inspiration nook is basically a small, intentionally designed corner of your studio that is separate from your main work zone. It's where you go to think rather than to produce. To look at books, sketch loosely, sit with a problem, or just let your mind wander in a directed way.
The physical separation is important. Even if it's just a different chair positioned slightly away from your main desk, the change in your physical orientation signals something to your brain. You're not in execution mode anymore. You're in thinking mode. Creatives who struggle with getting stuck or with that particular kind of mental fatigue that comes from staring at the same work surface for hours will often find that having a separate spot to retreat to genuinely loosens things up.
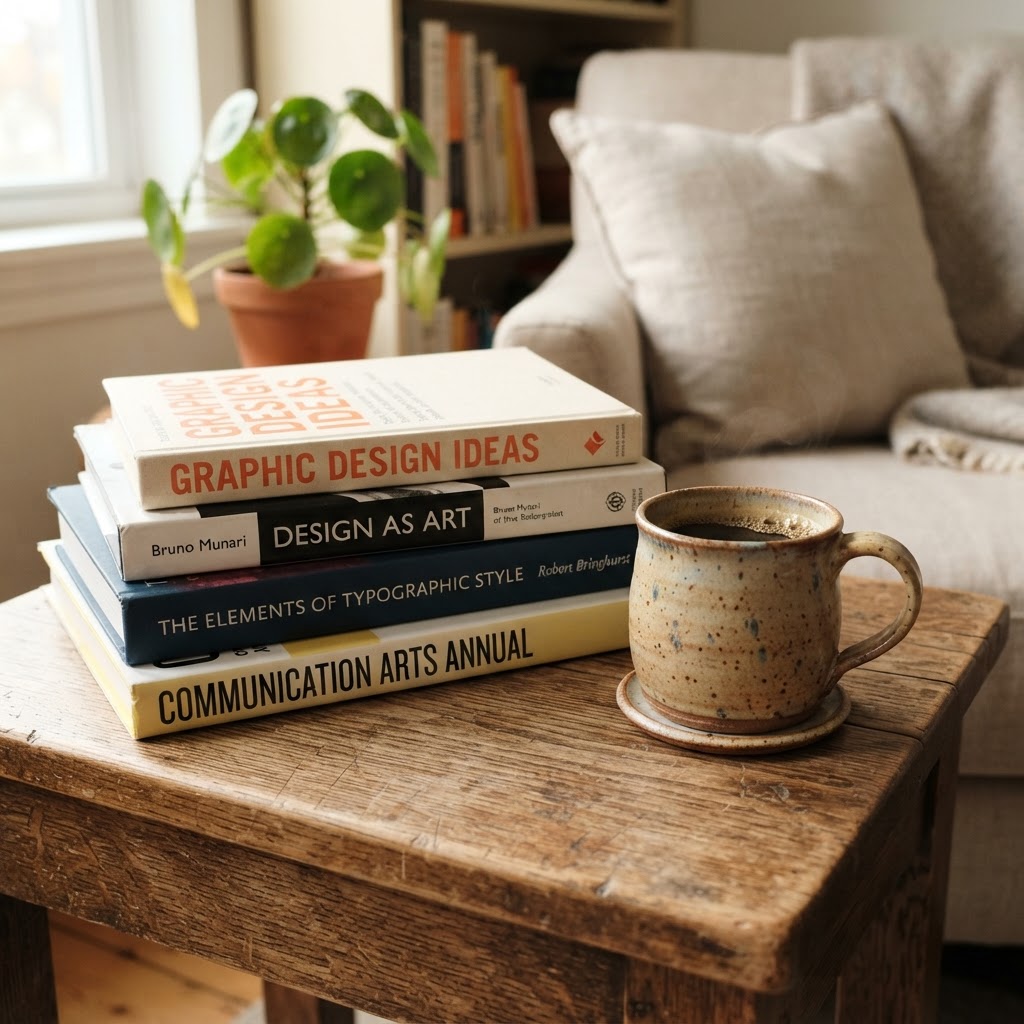
Stock the nook with things that feed your imagination. A curated stack of books, some object specimens or material samples, a sketchbook kept specifically for that spot rather than for finished work. The idea is that everything in this corner is about input rather than output. You're filling the creative well, not drawing from it. Keep a small lamp with warm light to distinguish it from the cooler task lighting at your main workstation, and that shift in light alone will help your brain switch modes.
Look, I know not every studio has the square footage to carve out a whole extra zone. But even in a very tight space, you can create the psychological effect of a nook with a single comfortable chair, a small side table, and a few carefully chosen objects. It doesn't need to be big. It needs to feel different. That contrast is what makes it work.
Sustainable and Natural Material Choices
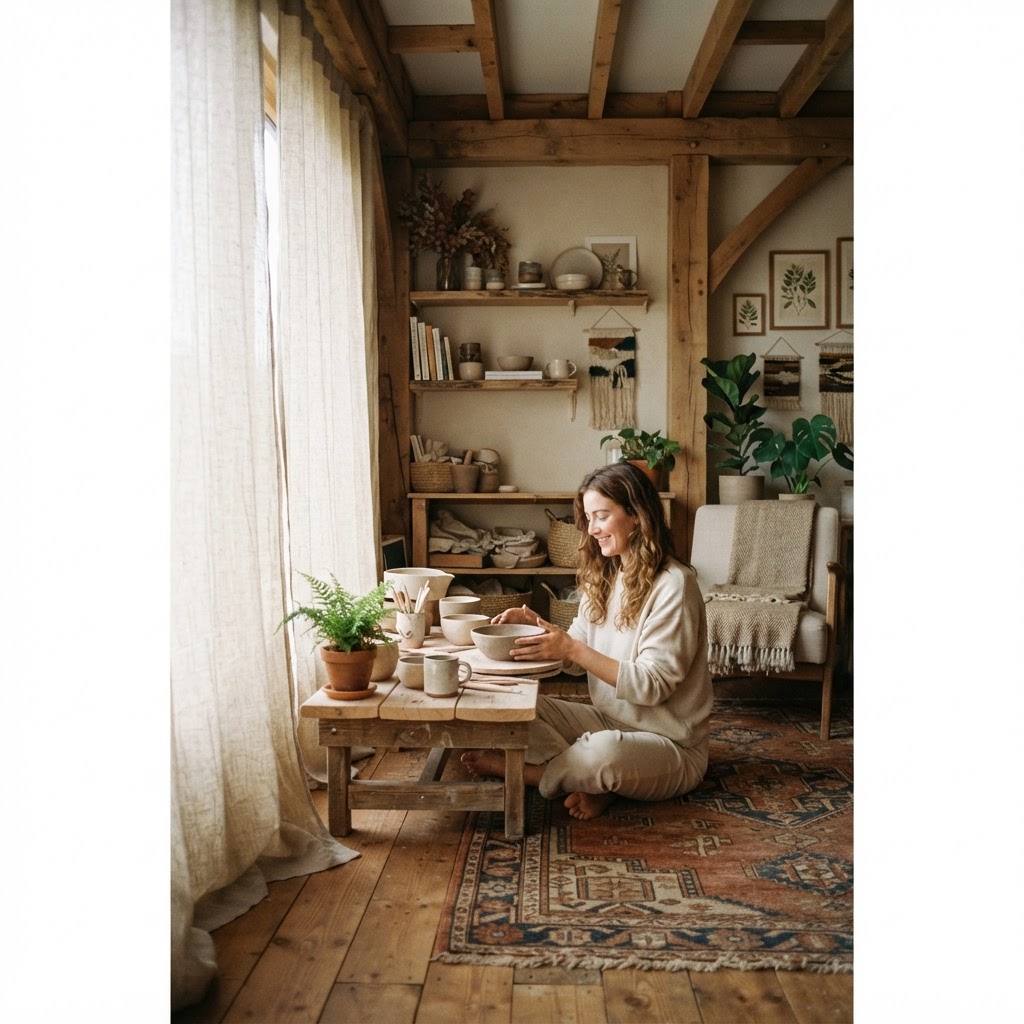
There's a reason that studios designed with natural materials just feel better to work in. It's not purely aesthetic, though honestly the aesthetic is great. It's also tactile, sensory, and even psychological. Spending long hours in a space that has some warmth and texture to it, some connection to natural materials, is genuinely less fatiguing than spending the same hours in a space full of hard plastics, synthetic surfaces, and flat laminate. The materials around you influence your energy more than most people give them credit for.
Timber is the obvious starting point. Whether it's a solid hardwood worksurface, reclaimed wood shelving, or just some well-chosen furniture, wood brings warmth and a sense of groundedness to a studio that's hard to replicate with other materials. It also ages beautifully, which matters in a workspace that's going to see a lot of use. Cork is another one that I find genuinely underused in studio design. Cork flooring is comfortable underfoot for long standing sessions, has natural acoustic dampening properties, is sustainable, and looks beautiful in a studio context. Cork wall tiles double as pinboards. It's an incredibly versatile material.
Natural textiles matter too. Linen curtains, wool throws in the inspiration nook, cotton canvas storage. These things soften a space acoustically and visually, and they're all biodegradable and responsibly sourceable. When you're thinking about furniture, look for solid wood pieces over particleboard, and pay attention to finish choices as well. Low-VOC paints and natural oil finishes on wood surfaces mean you're not breathing in off-gassing chemicals during long studio sessions, which actually matters quite a lot for your health over time.
- Choose solid timber for worksurfaces and shelving over laminate alternatives
- Consider cork flooring for its comfort, acoustics, and sustainability credentials
- Use natural textiles throughout for softness and acoustic dampening
- Specify low-VOC paints and natural wood finishes for a healthier air environment
- Source second-hand or reclaimed pieces where possible for both sustainability and character
And honestly, sustainable choices don't have to cost more. Reclaimed timber often costs less than new hardwood. Second-hand furniture sourced thoughtfully can be far more characterful than new flat-pack. The key is being intentional about what you bring into the space rather than defaulting to whatever is cheapest and most convenient. A studio designed with care for its materials will outlast trends, improve with age, and feel genuinely good to inhabit every single day.
Final Thoughts
Designing a studio well is genuinely one of the most impactful investments you can make in your creative practice. It's not about having a beautiful Instagram-worthy space, though that's a nice side effect. It's about building an environment that actively supports how you think, how you work, and how you sustain your energy over long creative sessions. The five ideas here, getting your light right, solving storage intelligently, using your walls as creative tools, making space for thinking, and choosing materials that feel good to be around, cover the fundamentals pretty comprehensively.
Start with whatever feels most urgent. If your current space is chaotic and cluttered, tackle storage first. If you're struggling with creative blocks, the inspiration nook might be the thing that shifts something. If you're working with color professionally and your lighting is a mess, that has to come first. You don't need to overhaul everything at once. Make one good change, see how it affects your work and your energy in the space, then build from there. A great studio evolves over time, and that's honestly part of what makes it yours.
More in Commercial
Stay Inspired
Subscribe for new essays on architecture, design, and the spaces that shape us.