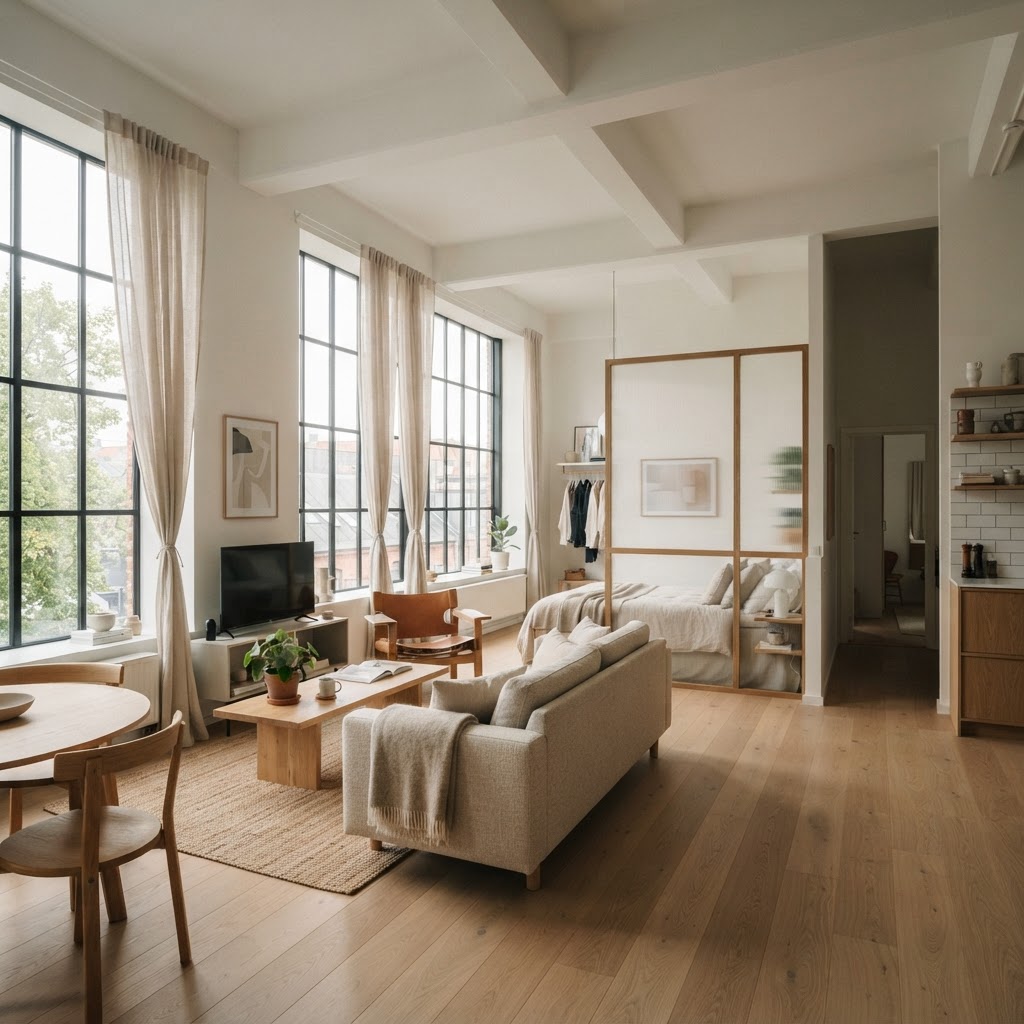
5 Studio Apartment Layouts That Actually Maximize Your Space
Living in a studio does not mean you have to sacrifice style or functionality. These five layout ideas prove that you can create distinct zones and a spacious feel even in the smallest of homes.
1. The Strategic Partition Approach
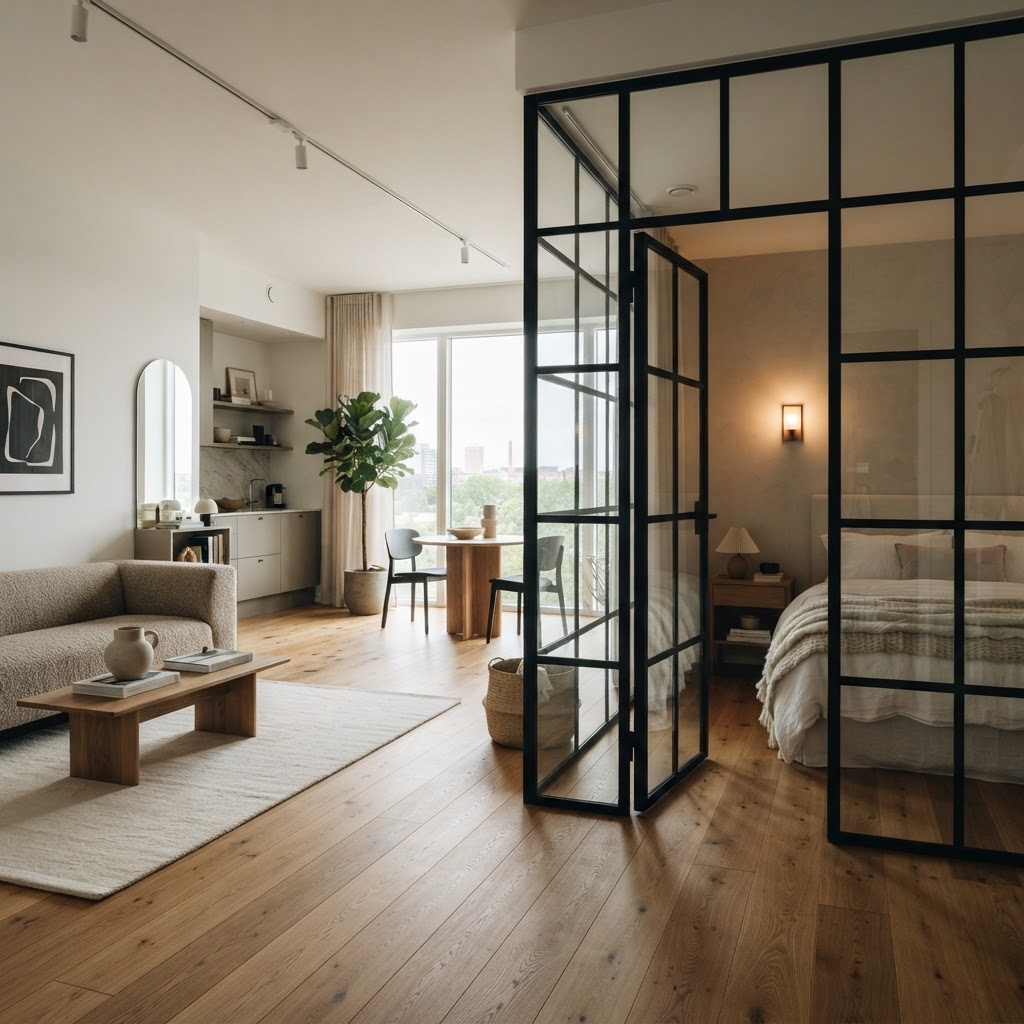
Honestly, this is probably my favorite approach to studio living because it gives you that apartment-within-an-apartment feeling without requiring a single load-bearing wall. The basic idea is simple: you use physical or visual dividers to carve up your open floor plan into zones that actually feel like separate rooms. And when it's done right, it's kind of magical.
The key word here is strategic. Throwing up a random bookshelf in the middle of your studio doesn't count. You need to think about your traffic flow, where your natural light comes from, and what activities you actually do in the space. Most studios have one good window wall, and you never, ever want to block that. So partitions should run perpendicular to your light source, not parallel to it.
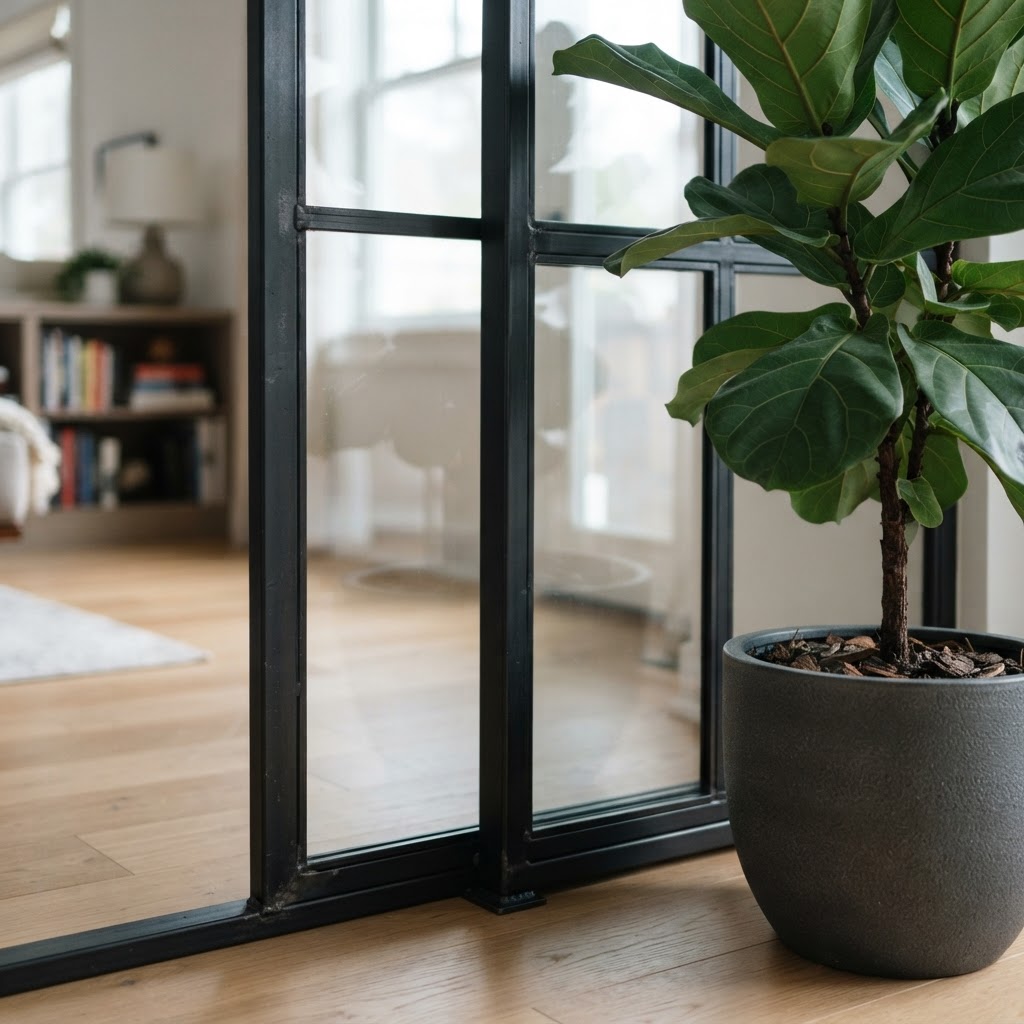
Some of the best partition options I've seen in real studios include open-back bookshelves (IKEA Kallax, honestly, is a classic for a reason), slatted wood screens, curtain tracks mounted to the ceiling, and even plants arranged on tiered stands. The curtain track option is especially underrated because you get full flexibility. Open it up during the day for an airy feel, close it at night to give your sleeping area some actual privacy.
- Bookshelf partitions: Double as storage, keep light flowing through, and are totally moveable
- Ceiling-mounted curtains: Maximum flexibility, low cost, and they add a really soft, boutique-hotel feel
- Slatted wood screens: Architectural and beautiful, great if you want a more permanent, designed look
- Plant walls: Unusual but incredibly effective, especially in studios with good natural light
Real talk, the partition approach works best in studios that are at least 400 square feet. Below that, you might feel more cramped than before. But if you've got the square footage, this layout strategy can genuinely make people walk into your studio and forget it's a studio.
2. Elevated Sleeping Platforms
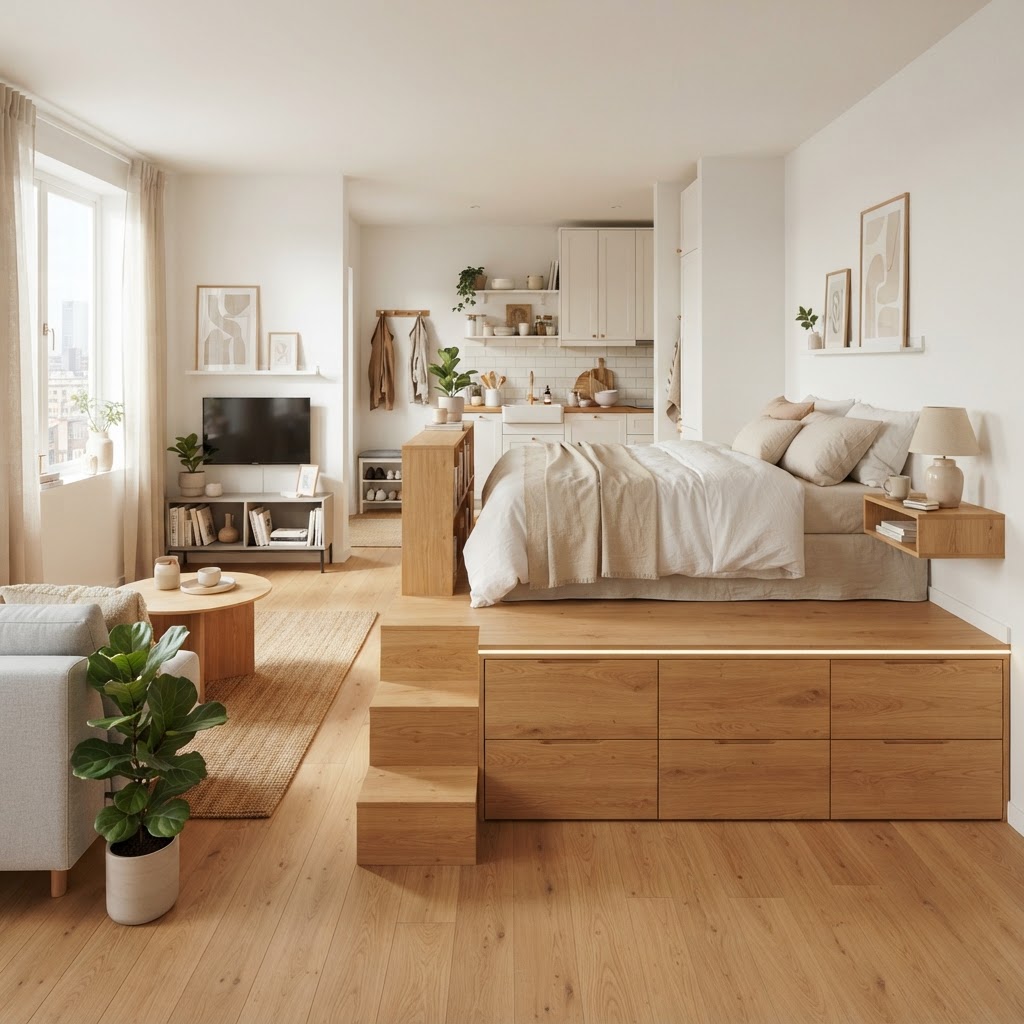
Look, this one requires a bit more commitment, but it might just be the single most transformative thing you can do to a studio apartment. An elevated sleeping platform essentially creates a mezzanine-lite situation in your home. Your bed lives up on a raised platform, usually anywhere from 18 to 36 inches off the ground, and the space underneath becomes a whole new functional zone.
That underbed zone is where things get really exciting. Depending on your ceiling height and how high you build, you can tuck a compact desk under there, build in deep drawers for clothing storage, create a cozy reading nook, or even fit a small wardrobe. In a 350 square foot studio, reclaiming that footprint is honestly enormous. Your bed takes up roughly 30 to 40 square feet of floor space, and with a platform, you're essentially getting that square footage back on a functional second level.
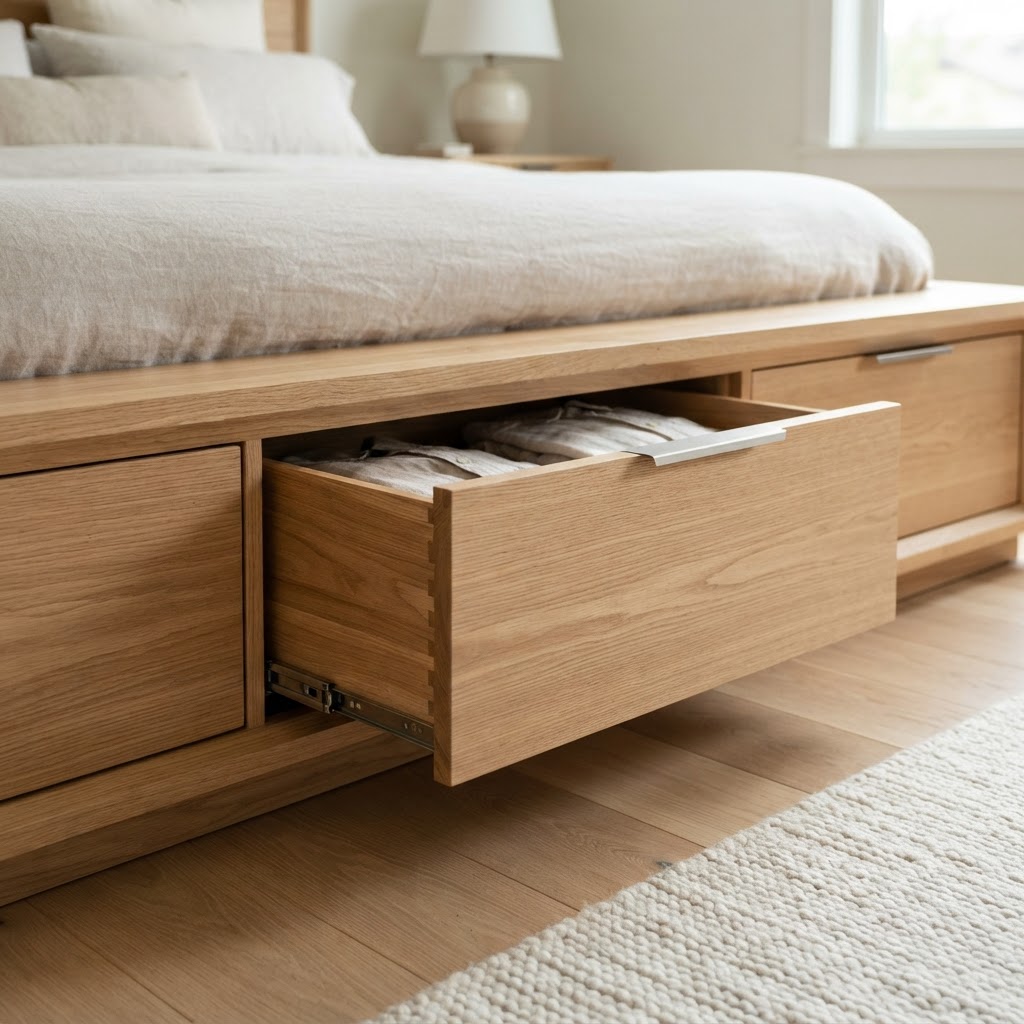
The one thing you absolutely need to check before going down this road is your ceiling height. You need at minimum 8 feet, and honestly 9 feet is more comfortable. You want to be able to sit up in bed without hitting your head, and you want the space below to feel usable, not cave-like. If you're in an older building with 10 or 11 foot ceilings, consider yourself lucky because you can go even more ambitious with this.
There's also a really nice psychological benefit here that people don't talk about enough. When your sleeping area is physically elevated and slightly set apart from the rest of your living space, your brain starts to register it as a separate room. You sleep better. Your living area feels more intentionally like a living area. It's a small thing but trust me on this, it makes a real difference in how you experience the space day to day.
- Build in steps with drawer storage for maximum efficiency
- Use the platform edge as a visual anchor for your bedroom zone
- Consider a built-in reading light or outlet on the platform itself
- Keep the underside height consistent, at least 48 inches for a functional workspace
3. Multifunctional Furniture Anchors
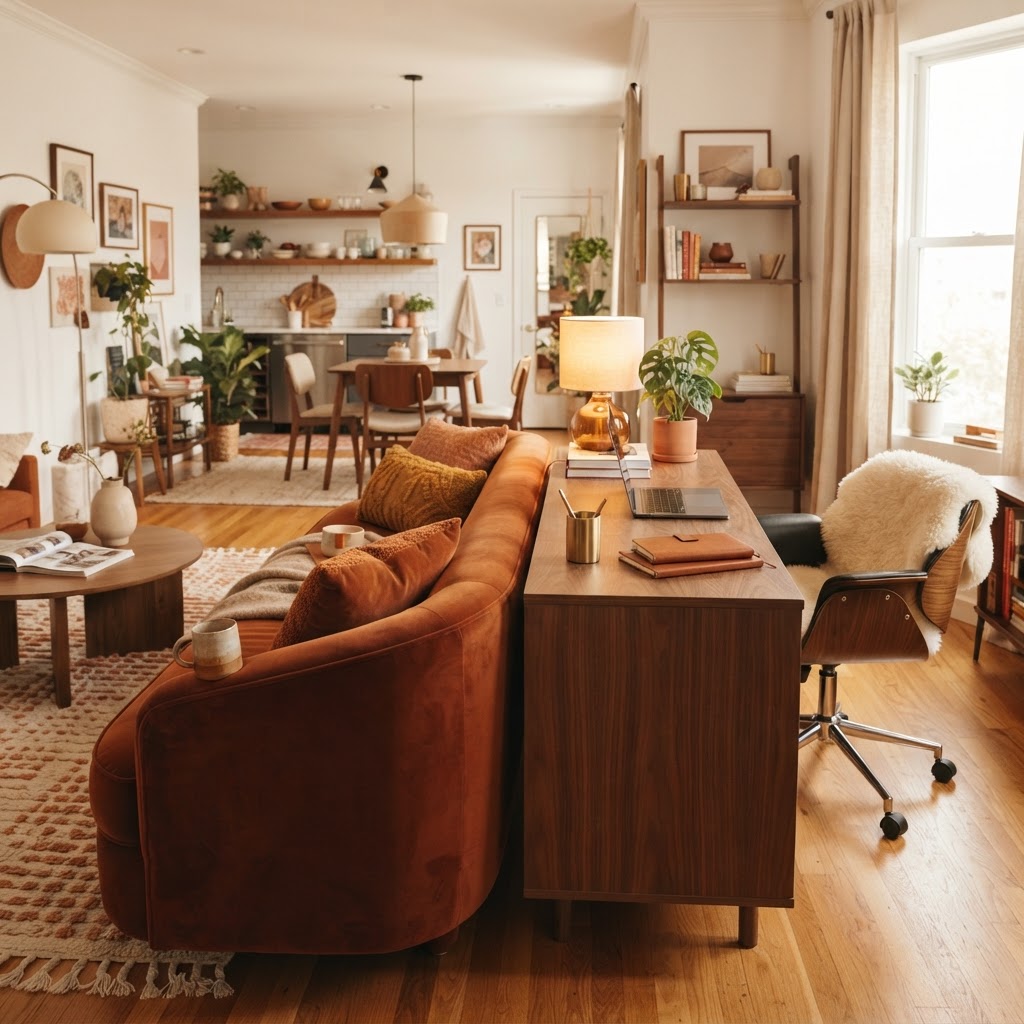
Here's the thing about multifunctional furniture: it sounds great in theory but a lot of people get it wrong. They buy every convertible gadget they can find and end up with a studio that looks like a furniture showroom, feels chaotic, and somehow has less storage than when they started. The trick is to be selective. Choose one or two anchor pieces that do heavy lifting, and build your layout around them.
An anchor piece is exactly what it sounds like. It's the big, central piece of furniture that defines a zone and serves multiple purposes. A Murphy bed with an integrated sofa is the classic example, and honestly, the modern versions of these are genuinely beautiful now, nothing like the clunky fold-down beds of the past. When the bed is up, you have a full sofa and often a desk or shelving unit. When it's down, you have a proper queen or king bed. That one piece replaces your bed frame, your sofa, and often your desk.
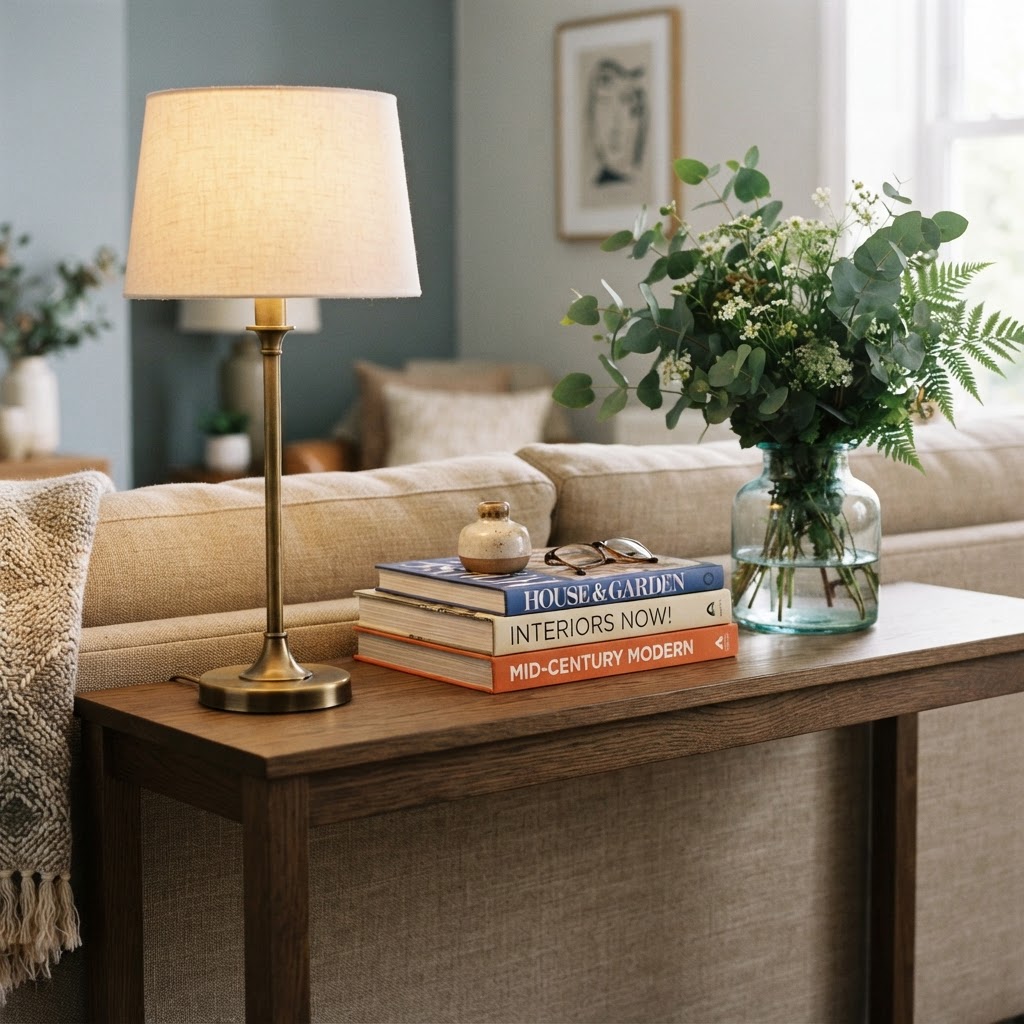
Other great anchor pieces include extendable dining tables that fold flat against a wall, ottomans with internal storage that work as coffee tables and extra seating, and bed frames with integrated headboard shelving and side tables. The goal is always to reduce the number of individual pieces of furniture you need. Every separate piece takes up not just floor space but also visual space, and visual clutter makes small rooms feel smaller fast.
And honestly, investing in one really good multifunctional anchor piece is almost always worth it financially too. A quality Murphy bed system costs money upfront, but when you factor in that you're not buying a separate sofa, desk, and bed frame, the math starts to make a lot of sense. Buy once, buy right. That's the mantra in small space living.
4. The Open Flow Concept
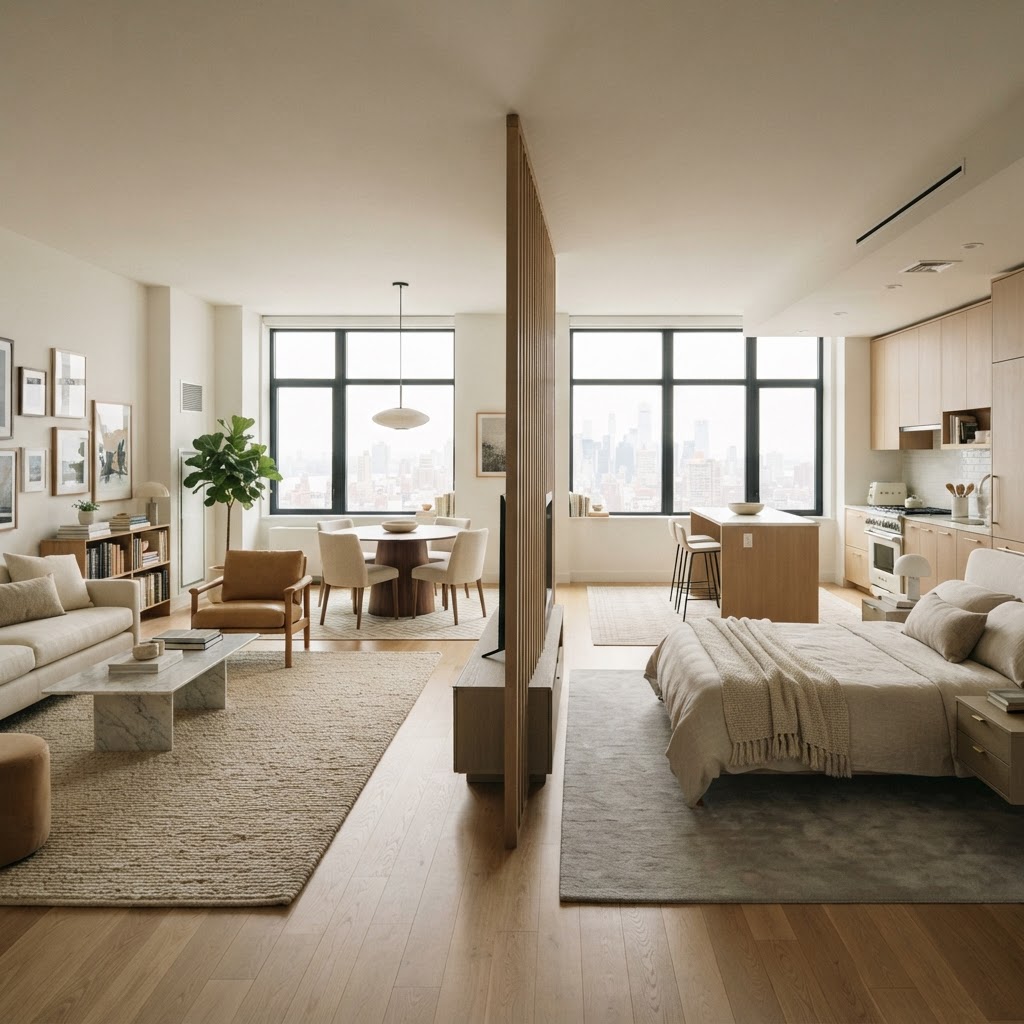
This is the layout that goes against the instinct most people have when they move into a studio. When you've got one open room to work with, the temptation is to section it off, divide it up, make it feel like there are more rooms than there actually are. The open flow concept says no to all of that. Instead, it leans into the openness and uses furniture arrangement, rugs, and lighting to create zones that feel defined without any physical barriers.
The foundation of this layout is a really thoughtful furniture placement plan. Your sofa, for example, does a lot of work here. Placed with its back to the living area, facing the main space, it creates a dividing line between the living zone and the sleeping zone without blocking any sightlines. Area rugs are your best friend in this layout, each zone gets its own rug and suddenly your brain registers those as separate spaces even though nothing is physically dividing them.
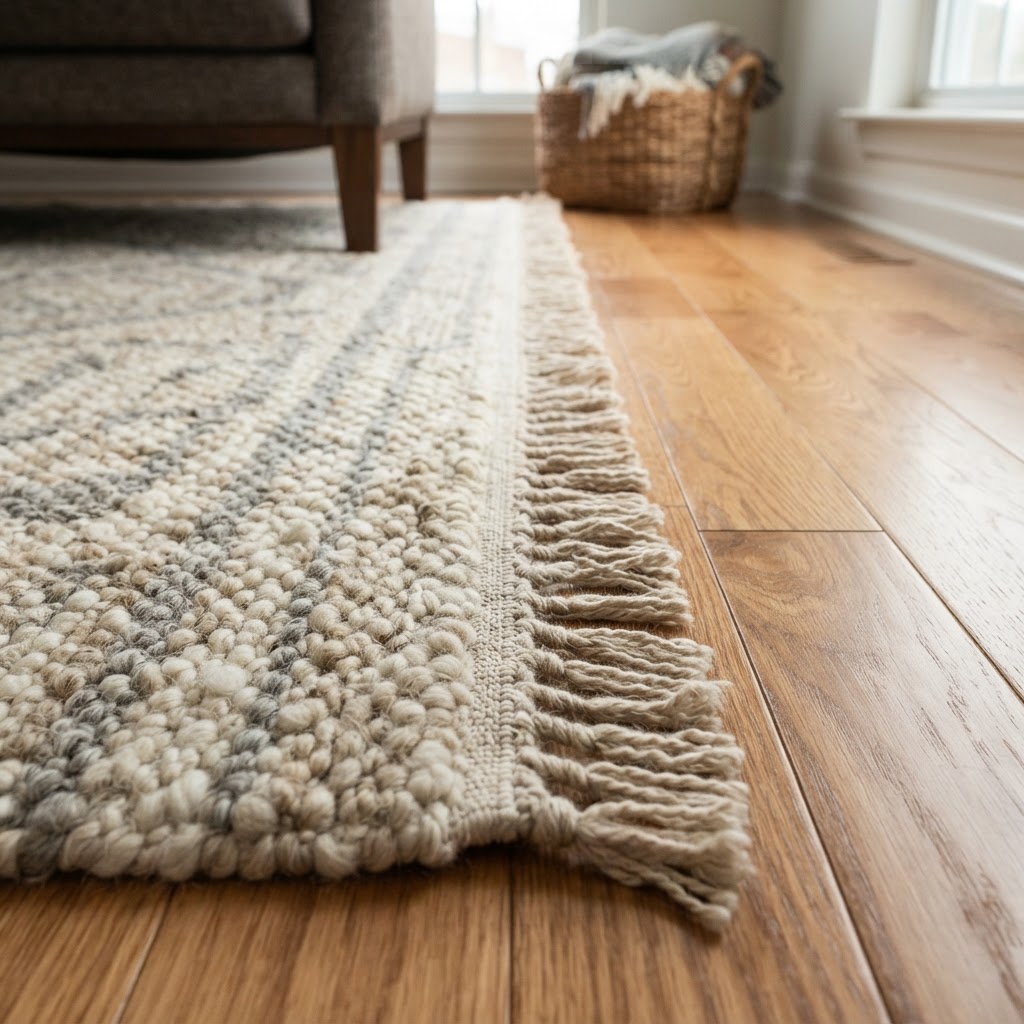
Lighting is the other secret weapon here. Use different lighting fixtures for each zone, a pendant or floor lamp for the living area, a wall sconce or bedside lamp for the sleeping area, under-cabinet lighting in the kitchen. When you control which lights are on, you're essentially controlling which room you're in. It's a psychological trick but it works incredibly well.
The open flow concept also benefits enormously from a cohesive color palette. When everything flows together visually, a small space feels calm and intentional rather than cramped. Stick to three or four colors max, and use them across all your zones. Contrast is your enemy in small spaces. Cohesion is your best friend.
- Use the back of your sofa as a soft room divider
- One rug per zone, sized generously, not too small
- Layer your lighting with different fixtures for each area
- Keep your color palette tight and consistent throughout
- Low-profile furniture keeps sightlines open and the space feeling larger
5. Vertical Living Solutions
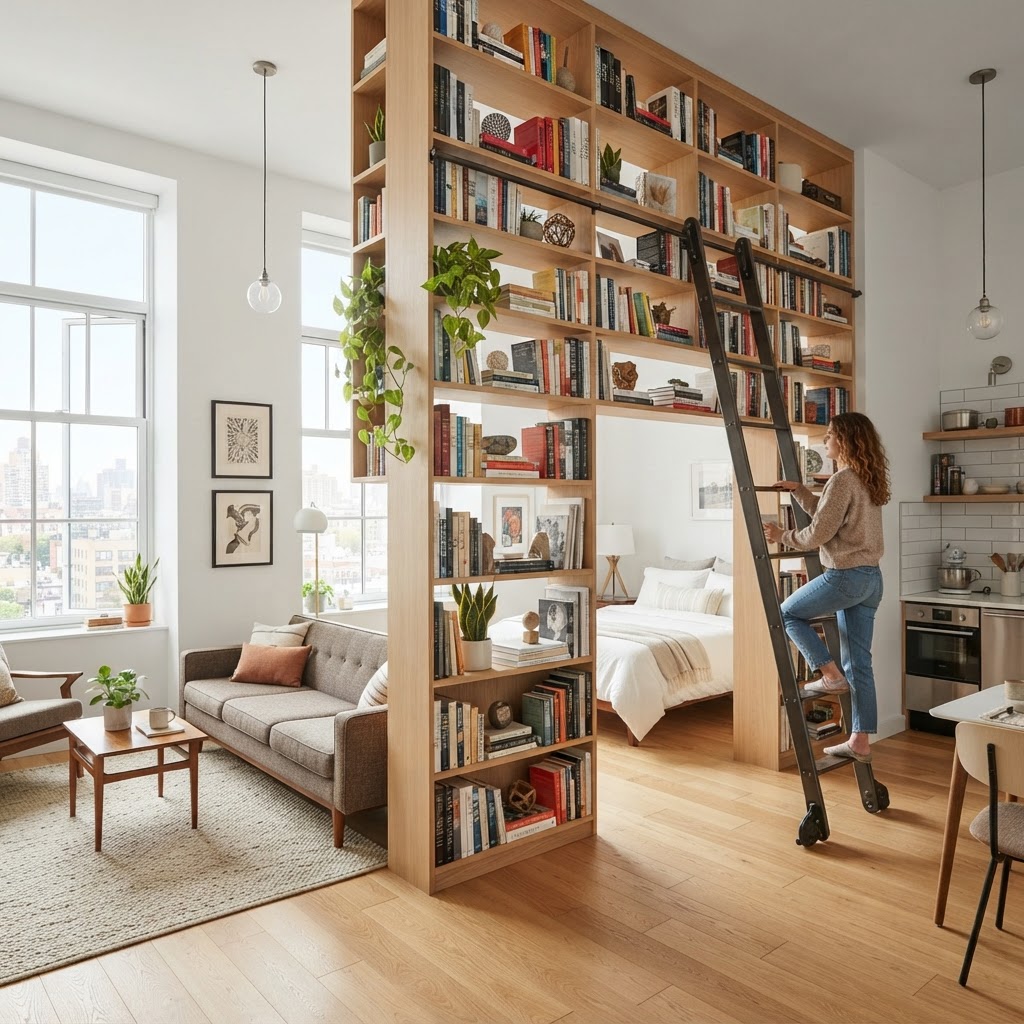
Most people in studio apartments are thinking about their floor space constantly. Every square foot of floor feels precious. But here's the thing that a lot of people miss entirely: your walls are an untapped resource. From the baseboards to the ceiling, you've got vertical real estate that most studio dwellers completely ignore, and that's a massive missed opportunity.
Vertical living is about shifting your storage and functionality up off the floor and onto the walls. Floor-to-ceiling shelving is the most obvious expression of this. A single wall lined with tall shelving gives you an almost absurd amount of storage while taking up almost zero floor space. Books, plants, kitchen items, clothing, art supplies, whatever you've got, it can live on a well-designed wall unit.
But vertical living goes beyond shelving. Think about wall-mounted desks that fold down when you need them and fold flat when you don't. Pegboards in the kitchen or home office zone that keep tools and supplies accessible without needing a surface. Hooks and rails near the entry for bags, coats, and keys. Even your TV should be wall-mounted in a studio, keeping your media console footprint to zero.
- Floor-to-ceiling shelving on at least one full wall
- Wall-mounted fold-down desk for a flexible home office
- Pegboards in kitchen and workspace zones for accessible storage
- Wall-mounted TV to eliminate the media console entirely
- Magnetic knife strips, hanging pot racks, and rail systems in the kitchen
The psychological effect of vertical storage is really interesting too. When your storage goes up rather than out, it draws the eye upward and makes ceilings feel higher. Rooms feel taller and therefore larger. It's counterintuitive but filling your walls actually makes your space feel bigger, not more stuffed. The key is keeping it organized and intentional. Chaotic vertical storage is worse than no storage at all, so invest in decent shelving, use baskets and bins, and keep it curated.
Final Thoughts
Living in a studio apartment doesn't mean living small in a bad way. Honestly, some of the most beautifully designed spaces I've ever seen were studios under 500 square feet. The layouts above aren't just clever workarounds, they're genuine design strategies that can make your studio feel more intentional, more livable, and more you than a lot of bigger apartments manage to be.
The truth is, you don't need to use just one of these approaches. The best studio layouts usually combine a few of them. Maybe you go with the vertical living approach for storage, the open flow concept for your main layout, and add one or two multifunctional anchor pieces. Mix and match based on your actual lifestyle, how you spend time at home, what you need your space to do for you.
Start with what bothers you most about your current setup, and solve that problem first. Small space design is really just problem solving with good taste. You've got this.
More in Interior
Stay Inspired
Subscribe for new essays on architecture, design, and the spaces that shape us.