5 Secrets to Mastering Layered Lighting in Any Room
Want to transform your space with the power of light? This guide will show you how to layer different types of lighting to create functionality and ambiance in any room. Discover the secrets to achieving the perfect lighting balance!
Understanding Different Types of Lighting
Okay, let's start at the very beginning because honestly, this is where most people go wrong. Before you can layer lighting effectively, you have to actually understand what the different types are. And I don't mean just knowing the word "ambient" because you heard it on a design show once. I mean really getting what each layer does and why it exists in the first place.
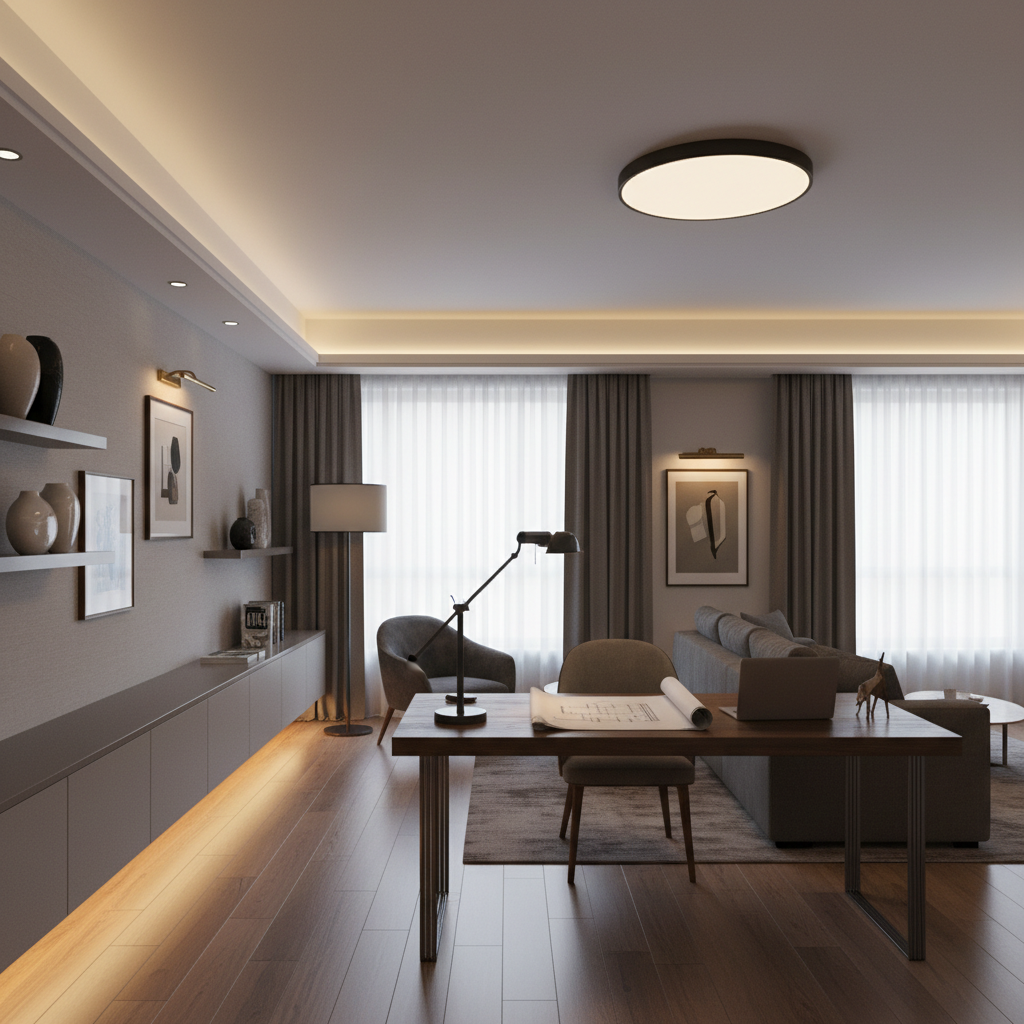
There are three foundational types of lighting that every room needs to consider: ambient, task, and accent. Ambient lighting is your base layer, the general illumination that fills a room and makes it functional at a basic level. Think recessed ceiling lights, flush mounts, or even natural light coming through windows. It's not exciting on its own, but it's the backbone of everything else. Without it, the room just feels dark and wrong, no matter how beautiful your other fixtures are.
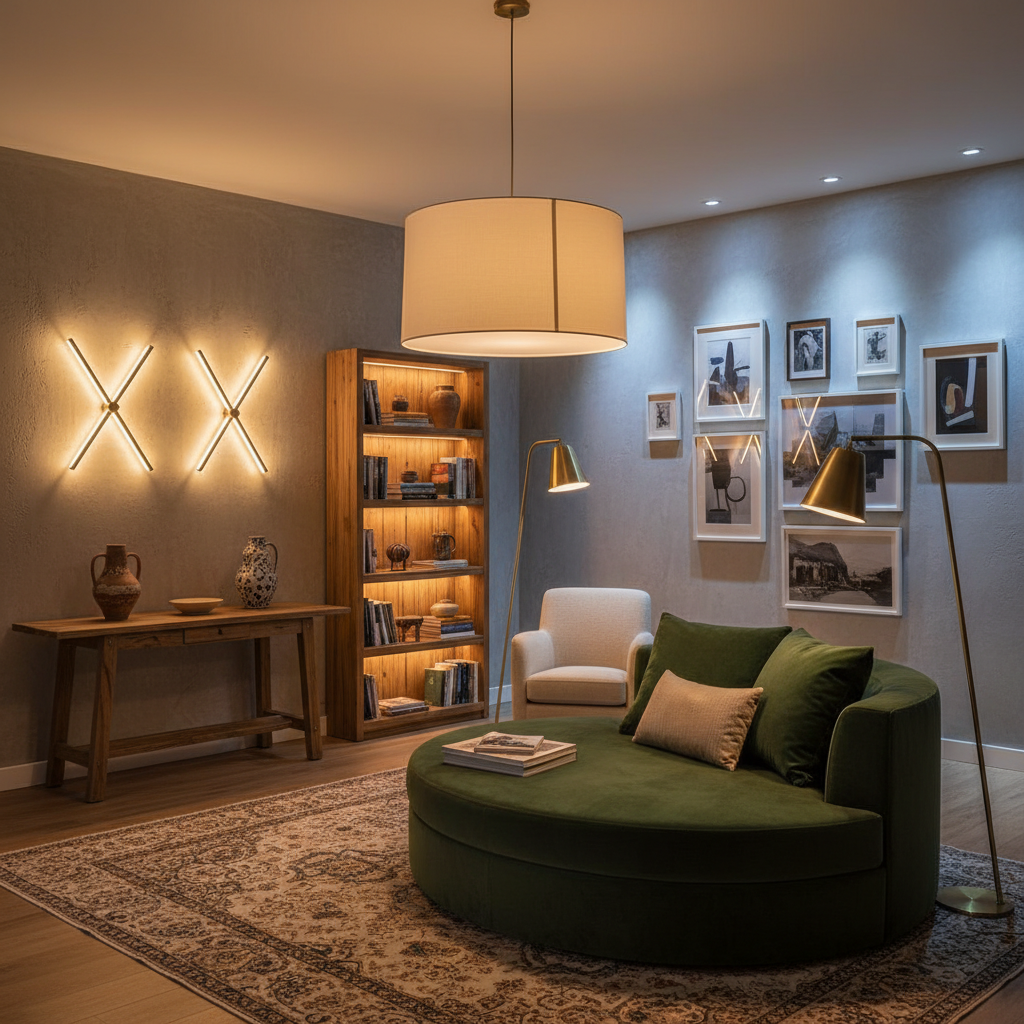
Task lighting is exactly what it sounds like. It's lighting designed to help you do something specific, whether that's reading, cooking, applying makeup, or working at a desk. It's focused, intentional, and brighter than ambient light. And then there's accent lighting, which is my personal favorite because it's where rooms start to look truly designed rather than just functional. Accent lighting draws the eye to specific features, creates depth, and adds drama. Picture those picture lights above artwork or the soft glow under a floating shelf.
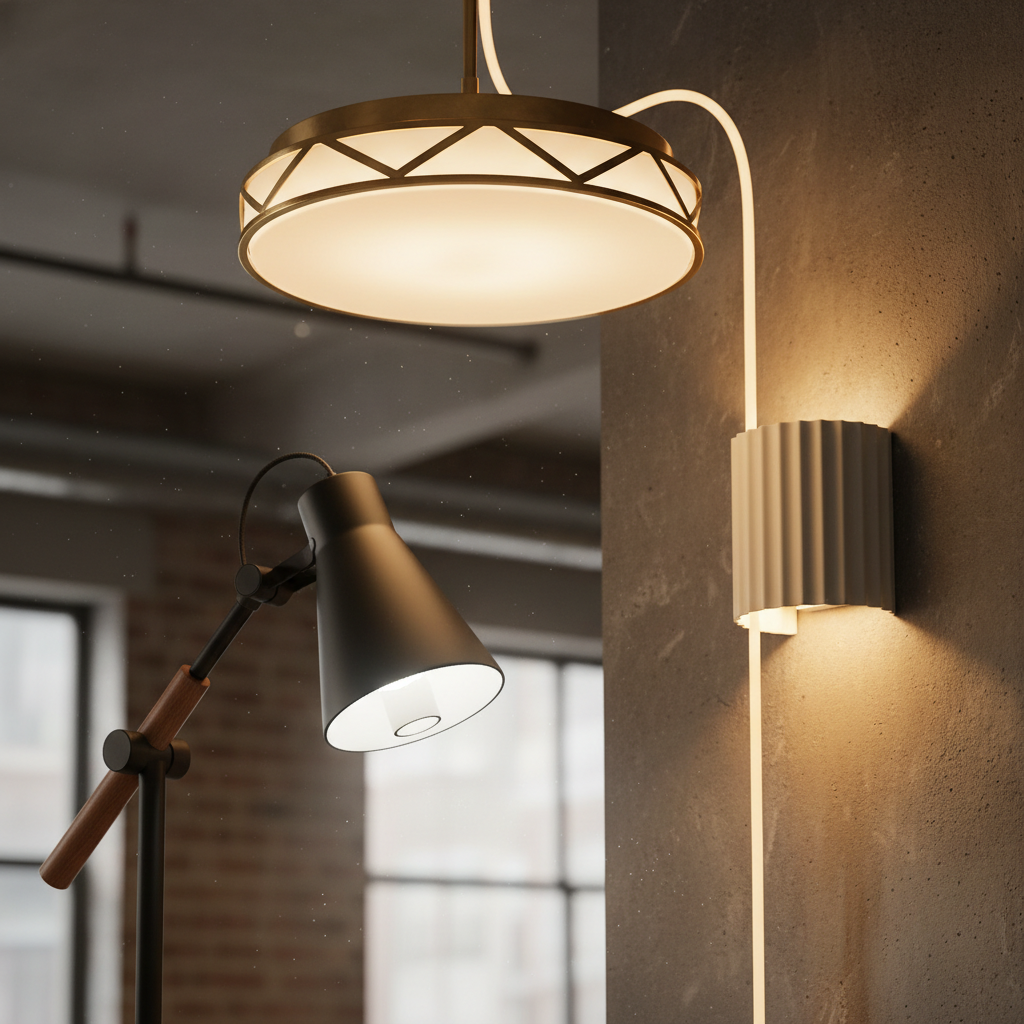
Here's the thing: most rooms you walk into only have one of these layers, usually ambient. Someone slapped a ceiling light in the center of the room and called it a day. And that's why so many homes feel flat and a little depressing at night, even when they look perfectly nice during the day. Natural light from windows covers a lot of sins, but once the sun goes down, you're stuck with whatever artificial layers you've built.
Real talk, understanding these three categories is genuinely the most important step. Once it clicks, you'll start seeing every room you enter completely differently. You'll notice what's missing, what's overdone, and what's working beautifully. It becomes second nature, and that's when you can start making smart, intentional decisions about your own space.
Layering for Functionality: How to Illuminate Workspaces
Now we get into the practical stuff, and honestly, this section might be the one that changes your daily life the most. Functional lighting is about making sure you can actually do the things you need to do without straining your eyes or working in your own shadow. It sounds simple, but getting it right requires a bit more thought than most people realize.
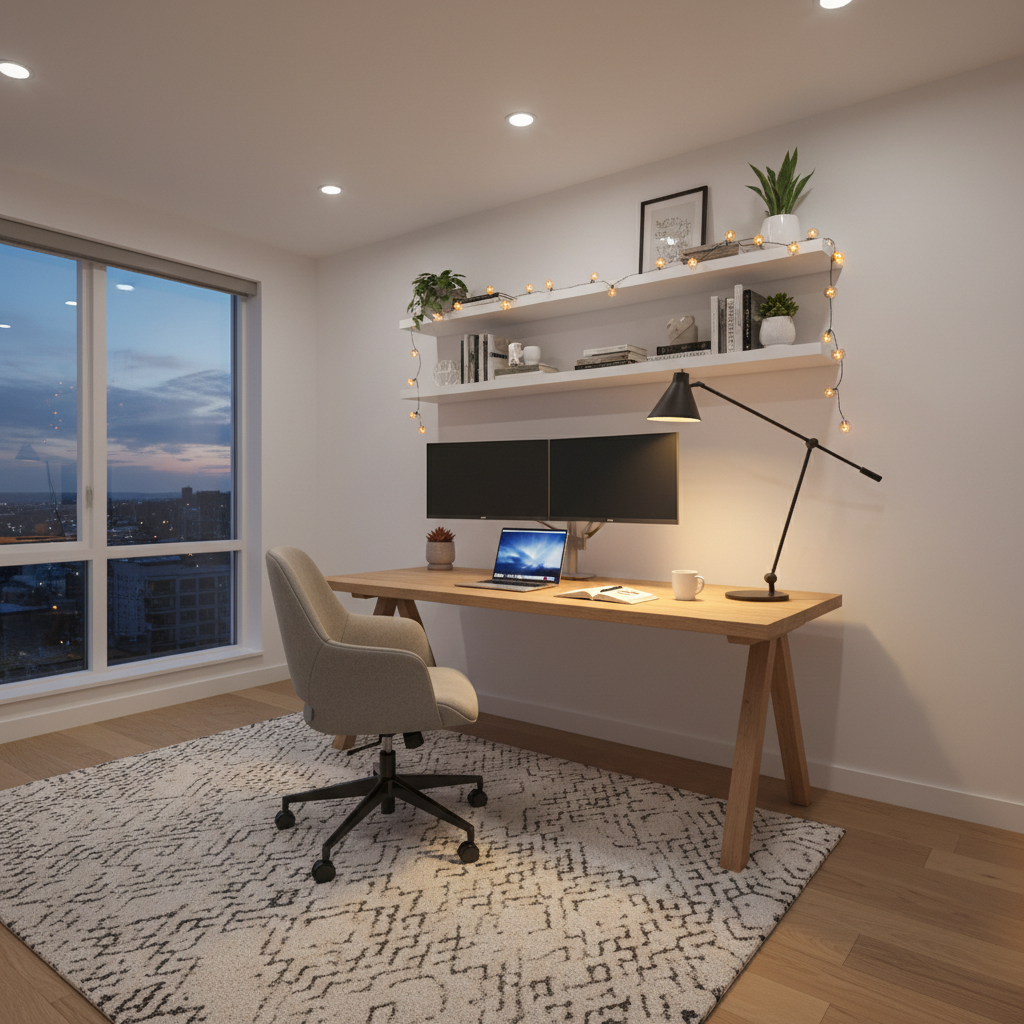
Let's talk about home offices first, because so many people are working from home now and their lighting setups are, to put it kindly, a disaster. The number one mistake I see is relying on overhead ambient lighting alone for a workspace. That single ceiling light is usually positioned directly above your head, which means it casts shadows right onto your desk and your screen. It's maddening. What you actually need is a dedicated task light placed to the side of your dominant hand, angled toward your work surface. This eliminates those annoying shadows and reduces eye fatigue dramatically.
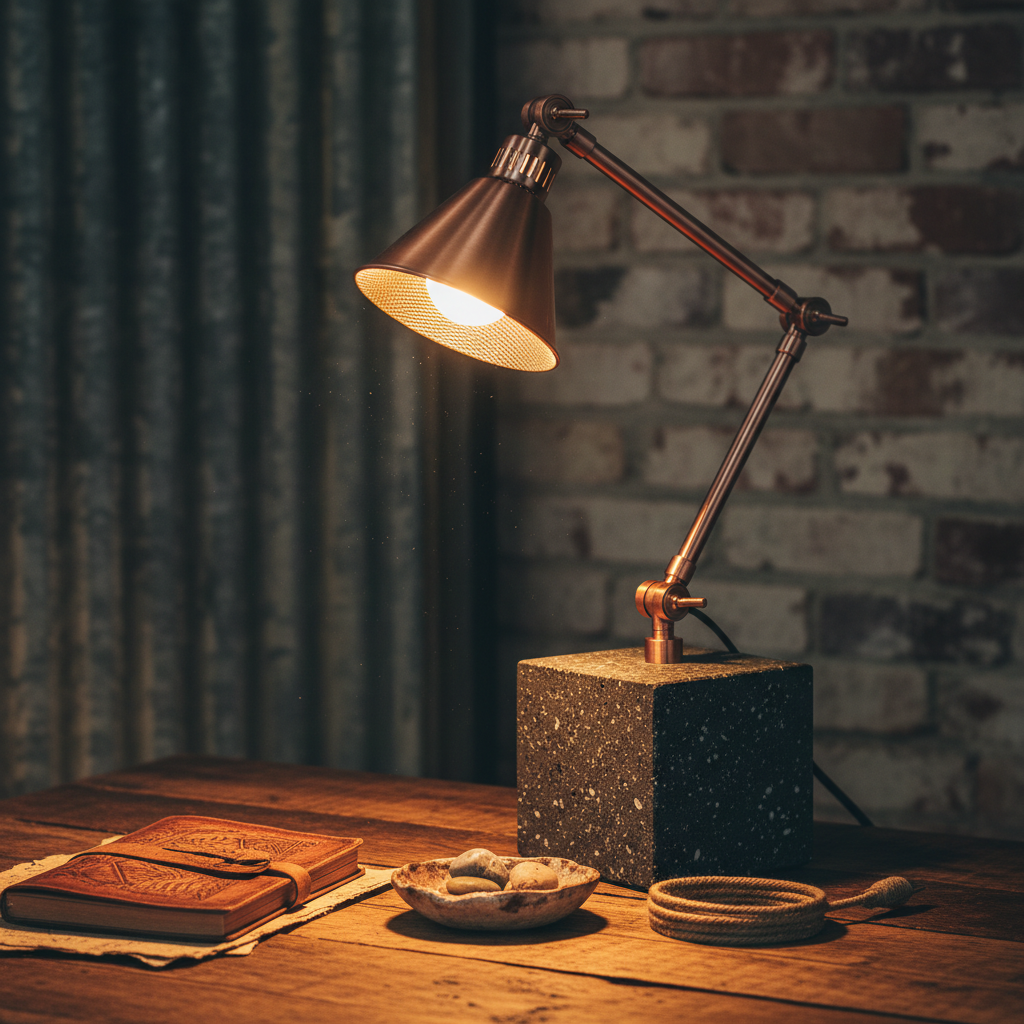
Kitchens are another workspace that gets this wrong constantly. People invest in gorgeous overhead pendants, and sure, they look amazing, but those pendants are doing almost nothing to light the actual counter where you're chopping vegetables. Under-cabinet lighting is one of the most practical upgrades you can make to a kitchen, and it's not even that expensive. A strip of LED lights under your upper cabinets throws direct light onto the counter surface and honestly transforms how usable the space feels.
- Position task lights to the side, not directly above, to prevent shadow casting on your work surface
- Use adjustable or dimmable task lights so you can dial up the intensity when you need focus and soften it when you don't
- Consider color temperature carefully. Cooler whites around 4000K are great for focus-heavy workspaces, while warmer tones are better for relaxed areas
- Layer task lighting over your ambient base rather than replacing it. Both layers should coexist and complement each other
Trust me on this one: functional lighting doesn't have to be ugly or purely utilitarian. There are stunning desk lamps, beautiful under-cabinet options, and elegant reading sconces that do their job brilliantly while still contributing to the overall aesthetic of the room. You really don't have to choose between form and function here.
Creating Ambiance: Setting the Mood with Lighting
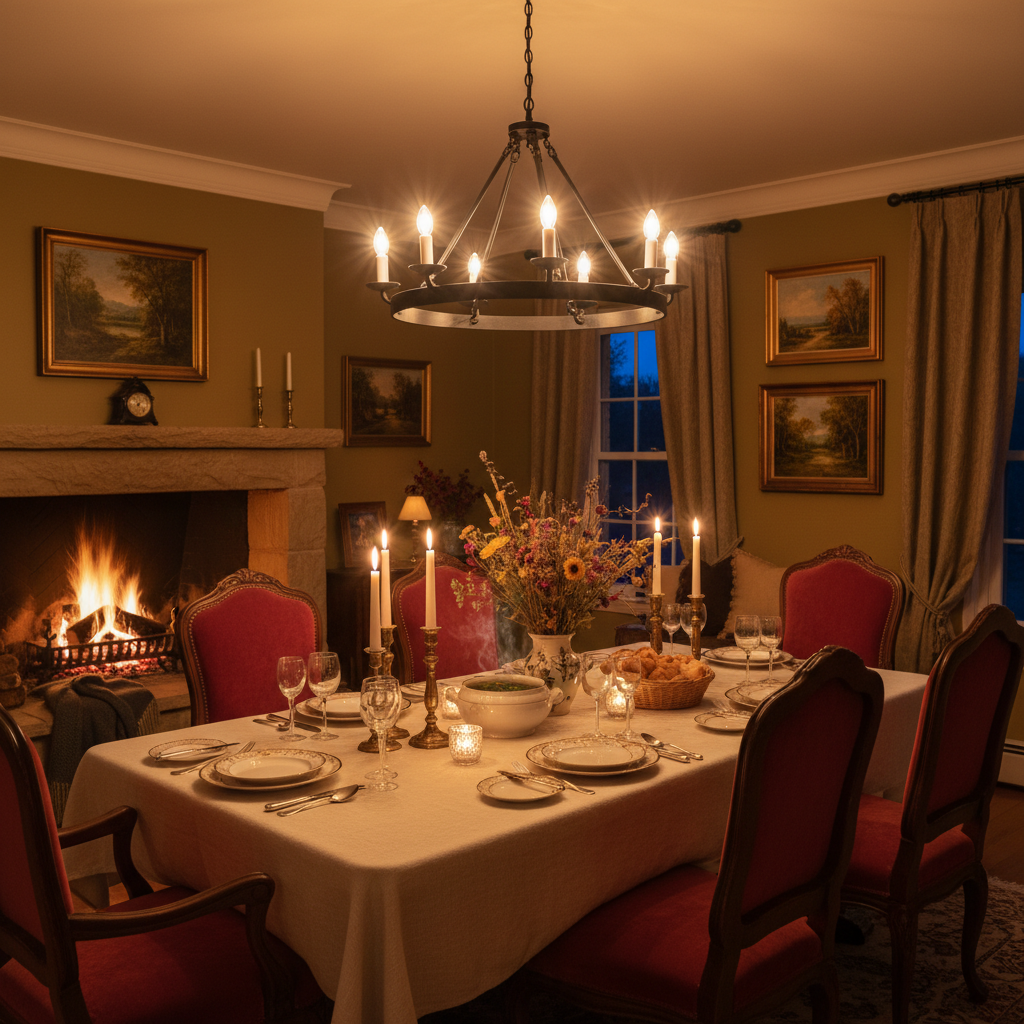
This is where lighting design becomes truly magical, and I genuinely get a little excited talking about it. Ambiance is that feeling you get when you walk into a room and something just feels right. The room feels warm, or romantic, or energizing, or serene. That feeling isn't accidental. It's engineered, and lighting is doing a huge portion of that work.
The single most powerful tool you have for creating ambiance is the dimmer switch. I cannot overstate how much a dimmer transforms a room. Installing dimmers on your overhead lights costs almost nothing, and the difference it makes is extraordinary. A dining room at full overhead brightness feels like a cafeteria. The same room dimmed to about 40 percent with a few candles on the table feels like a restaurant you'd actually want to linger in. Same room, completely different experience.
"Lighting is the jewelry of architecture. It can elevate the ordinary to the extraordinary, or reduce the spectacular to something forgettable. The mood of a room lives and dies by how it's lit after dark."
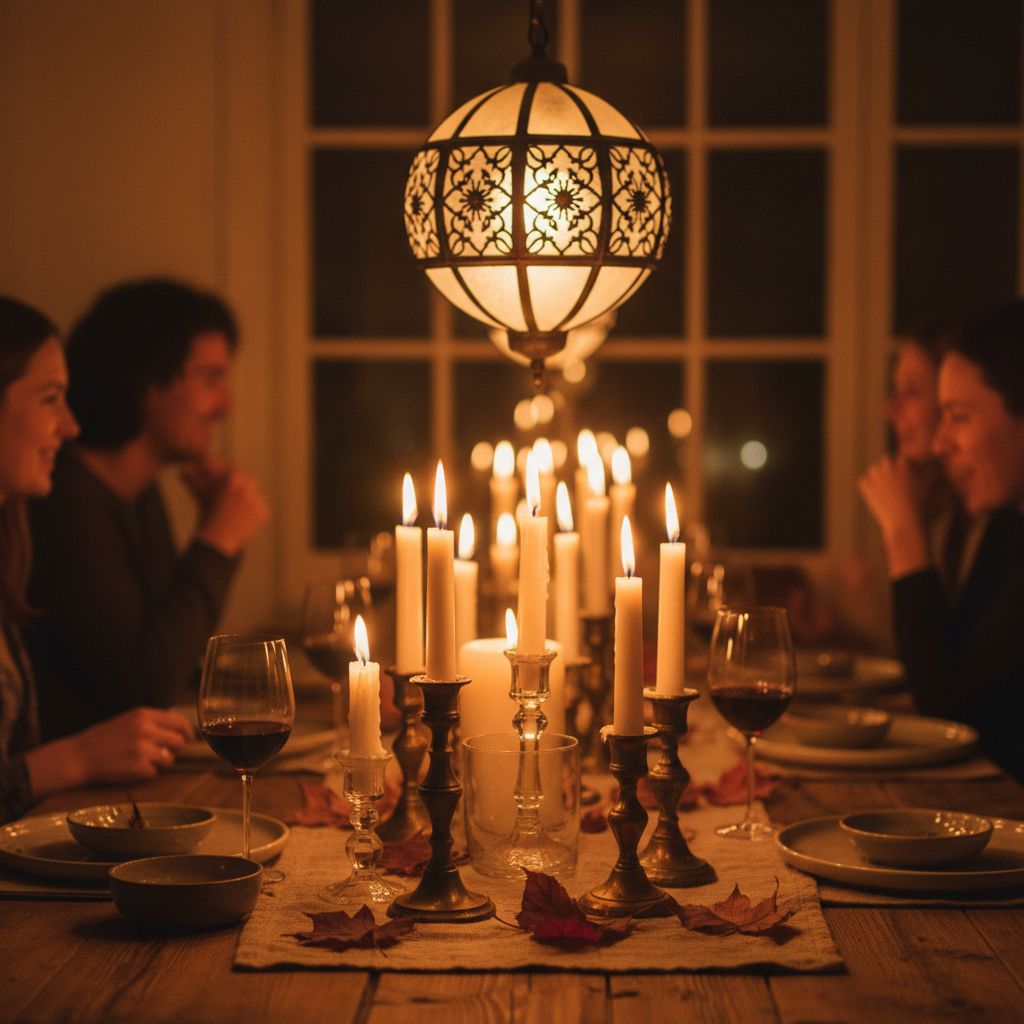
Color temperature is another massive piece of this puzzle. Warm light, in the range of 2700K to 3000K, makes skin look great, creates a sense of coziness, and slows people down. It's why good restaurants and hotel lobbies always feel so relaxing. Cool light, above 4000K, is alerting and energizing, which is great for a gym or an office but terrible for a bedroom or a living room where you're trying to unwind. A lot of people buy bright white LED bulbs because they seem "cleaner" and then wonder why their living room never quite feels comfortable. That's your answer right there.
Look, the goal when designing ambiance lighting is to think about how the room will be used at different times of day and by different people. A living room might need to feel energizing during a family game night, intimate during a movie, and warm and social during a dinner party. The only way to accommodate all of those needs is to have multiple light sources at different heights and intensities that can be adjusted independently. One ceiling light on a single switch will never do that for you.
Accent Lighting: Highlighting Artwork and Features
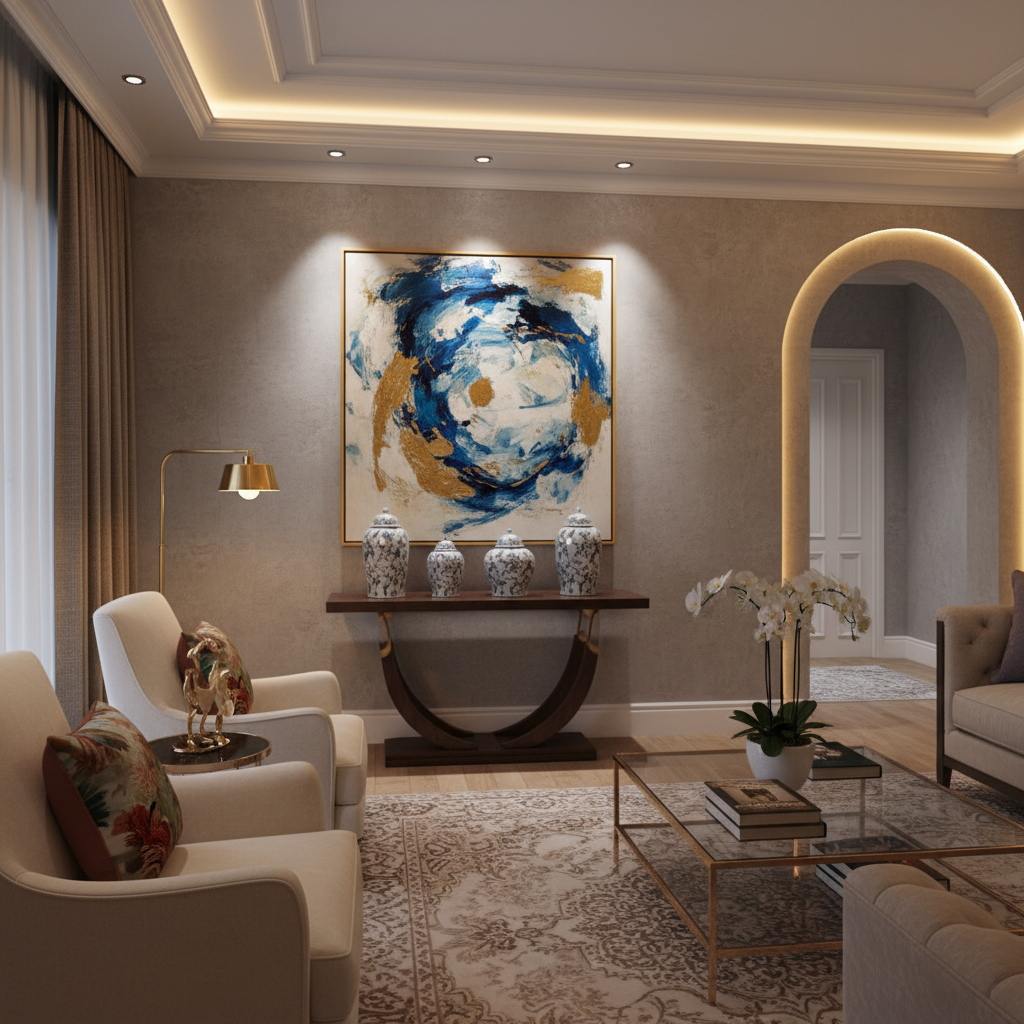
Okay, accent lighting is honestly where I lose my mind a little because it's so effective and so underused in residential spaces. Walk into any high-end hotel, gallery, or well-designed restaurant and you'll notice that there are pools of light drawing your eye to certain things: a piece of art, a textured wall, an architectural detail. That's accent lighting doing its job, and it makes a space feel curated and intentional in a way that nothing else quite replicates.
The basic principle of accent lighting is that you want to create a contrast ratio. Specifically, accent light should be roughly three times brighter than the ambient light surrounding it. That contrast is what creates the visual drama and makes the highlighted object pop. If your ambient light is too bright, the accent lighting gets washed out and loses all its impact. This is actually another great argument for keeping your ambient layer dimmable, so you can create that contrast whenever you want it.
For artwork specifically, there are a few different approaches that work really well. Picture lights mounted directly on the frame are a classic choice and they work beautifully for traditional or gallery-style spaces. Adjustable recessed spotlights or track lighting give you more flexibility because you can repoint them as your collection changes. And for three-dimensional pieces like sculptures or decorative objects on shelves, lighting from slightly above and to the side creates beautiful shadows that emphasize form and texture.

- Wall washing is a technique where light is aimed at a wall from a close angle, creating a gradient effect that adds depth and makes ceilings feel higher
- Grazing involves lighting positioned very close to a textured surface, like exposed brick or a rough plaster wall, to dramatically emphasize the texture through shadow play
- Spotlighting uses a tight beam to focus on a single object, great for sculptures, plants, or a featured piece of furniture
- LED strip lights tucked under floating shelves, inside bookcases, or along toe kicks create a soft glow that makes built-ins look far more expensive and considered
And here's the thing about accent lighting that people often miss: it doesn't always have to highlight something valuable or precious. Lighting a beautiful plant from below creates a stunning shadow pattern on the ceiling. Lighting a simple textured wall can make it look like a high-end architectural feature. You're not just showing off things you own, you're creating visual moments throughout the space that keep the eye moving and make the room feel dynamic rather than flat.
Maintenance and Adjustments: Keeping Your Lighting Fresh

This section doesn't get nearly enough attention in lighting discussions, and I think that's a real mistake. Getting your layered lighting set up beautifully is one thing, but keeping it working the way you intended requires some ongoing thought and occasional tweaking. Lighting is not a set-it-and-forget-it situation, and the rooms that always look amazing are usually the ones where someone is actually paying attention and making adjustments over time.
Let's start with the obvious stuff. Bulbs burn out and when they do, a lot of people just grab whatever's available at the store without thinking about whether it matches what they had before. This is how rooms end up with a warm bulb in one sconce and a cool bulb in another, creating this weirdly mismatched feeling that's hard to pinpoint but genuinely bothers people even if they can't say why. Keep a note somewhere of the color temperatures and wattages you're using in each fixture. It sounds overly fussy, but it takes two minutes and it saves so much visual inconsistency.
Seasonally revisiting your lighting setup is also something I'd really encourage. In summer, you have way more natural light coming in, often for longer periods, so your artificial lighting plays a supporting role. In winter, especially in northern climates, artificial light is doing much heavier lifting and you might find that you need to add lamps or adjust positions to compensate for the loss of natural light. The setup that felt perfect in July might feel inadequate and dim by November.
- Clean your fixtures regularly. Dust and grime on lampshades, diffusers, and bulbs can reduce light output significantly over time
- Reassess after furniture moves. Rearranging a room often means your accent and task lighting is now pointing at the wrong things entirely
- Upgrade to smart bulbs where it makes sense. Being able to adjust color temperature and brightness from your phone means you can fine-tune your lighting without any rewiring
- Check that dimmers are still calibrated correctly. Some older dimmers develop a flicker at low settings over time and may need replacing
- Be willing to edit. Sometimes a light source you added with good intentions just isn't working with the rest of the room. It's okay to move it, remove it, or swap the fixture entirely
Honestly, the best lighting designers I know treat a room's lighting as a living, evolving thing. They check in on it, notice what's changed, and adjust accordingly. Your life changes, your furniture changes, your taste changes, and your lighting should be flexible enough to change with it. Investing a little time in regular maintenance and thoughtful adjustments means your space will keep looking its best for years rather than slowly fading into something that feels tired and uninspired.
Final Thoughts
Look, mastering layered lighting isn't some mystical skill reserved for professional designers. It's a set of principles that anyone can learn and apply, and the impact it has on how your home looks and feels is genuinely transformative. Start with understanding your three layers, make sure every room has at least two of them working together, and give yourself the flexibility to adjust with dimmers and moveable sources. From there, it's just about paying attention and being willing to tweak things as you go.
The rooms that feel truly alive and beautiful at night are almost always the ones where someone thought carefully about every source of light and how they work together. That could absolutely be your home. Start small if you need to, maybe just add a floor lamp and a dimmer to one room and see how it changes things. I'd bet anything you'll be hooked immediately, and then there's no going back.
More in Interior
Stay Inspired
Subscribe for new essays on architecture, design, and the spaces that shape us.