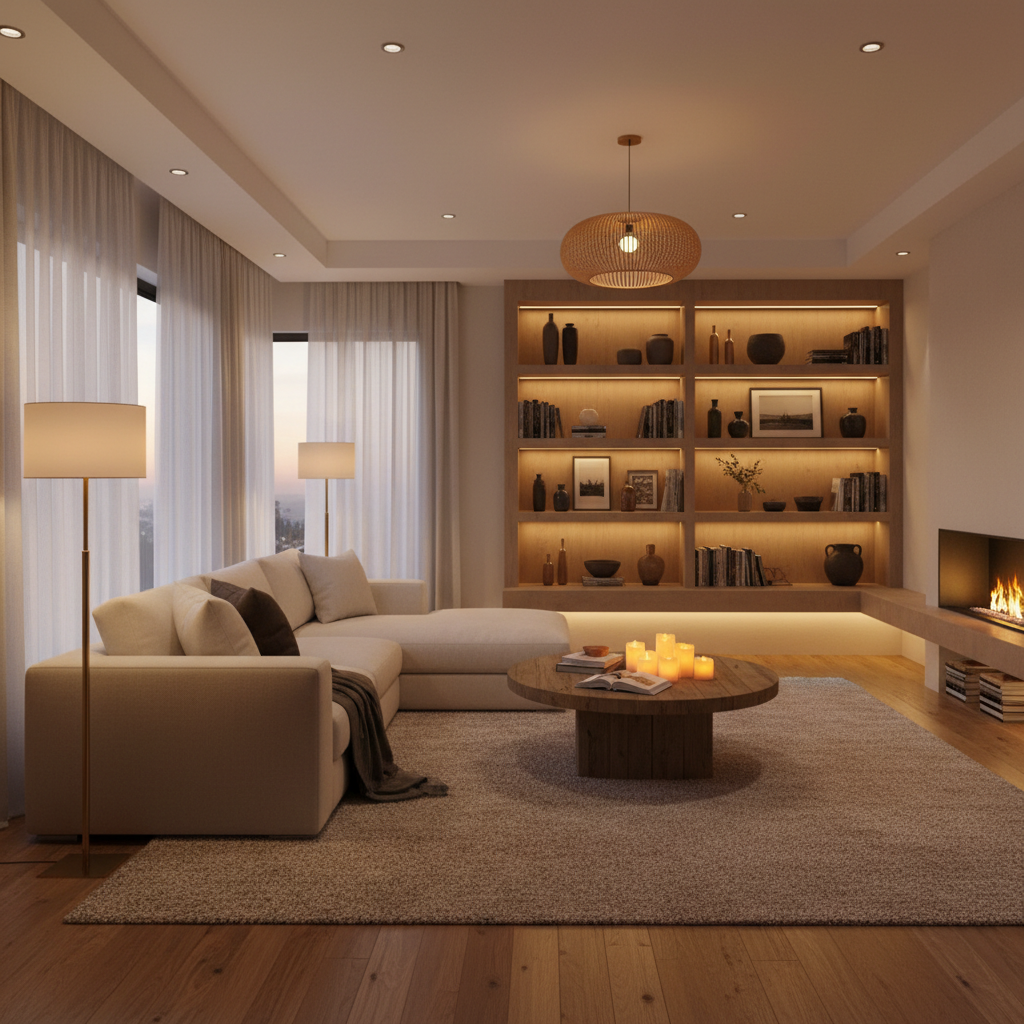
The Ultimate Guide to Layering Lighting in Any Room
Want to elevate your space with perfect lighting? This guide covers everything you need to know about layering light to create the ideal ambiance in any room. From ambient to task lighting, learn how to design a well-lit home that feels inviting and functional.
Understanding the Three Layers of Lighting
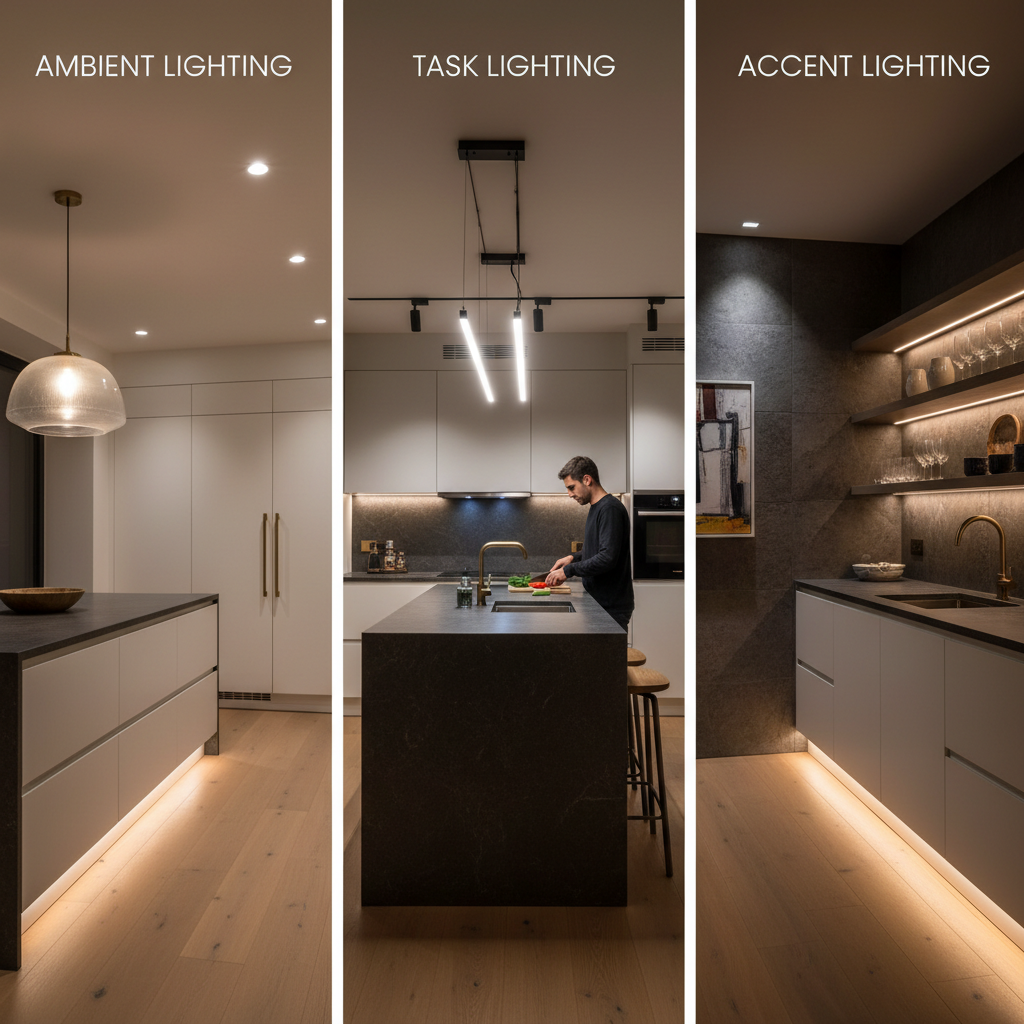
Okay, so here's the thing about lighting that most people completely overlook: it's not just about having enough light in a room. It's about having the right light, in the right places, doing the right jobs. And the whole concept of layering lighting comes down to understanding three distinct types, each serving a totally different purpose. Once this clicked for me, I started looking at every room I walked into completely differently.
The first layer is ambient lighting, and this is your baseline. Think of it as the room's overall glow, the general illumination that makes a space functional and navigable. Recessed ceiling lights, flush mounts, chandeliers, even a well-placed pendant can all serve as ambient sources. This is what most people default to when they think about lighting, and honestly, it's only the beginning.
The second layer is task lighting. This one is exactly what it sounds like: light that helps you actually do stuff. Under-cabinet lights in the kitchen, a reading lamp next to your favorite chair, a vanity light in the bathroom. Task lighting needs to be brighter and more focused than ambient, and it should be positioned to minimize shadows in the areas where you're working. Real talk, this layer is the one most DIY decorators skip, and it's why so many beautifully styled rooms are genuinely annoying to function in.
The third layer is accent lighting, and this is where rooms go from nice to genuinely stunning. Accent lighting is all about drama and intention. Picture lights over artwork, uplights behind a tall plant, LED strips inside a bookcase. The general rule of thumb is that accent lighting should be about three times brighter than your ambient layer in order to create that real sense of contrast and focus.
When all three layers are working together, a room feels alive. It has depth and dimension. It draws your eye in interesting directions and makes you feel something when you walk in. Without layering, you get flat, lifeless illumination that makes even the most thoughtfully decorated space feel like a waiting room. Don't let that be your living room.
Choosing the Right Fixtures
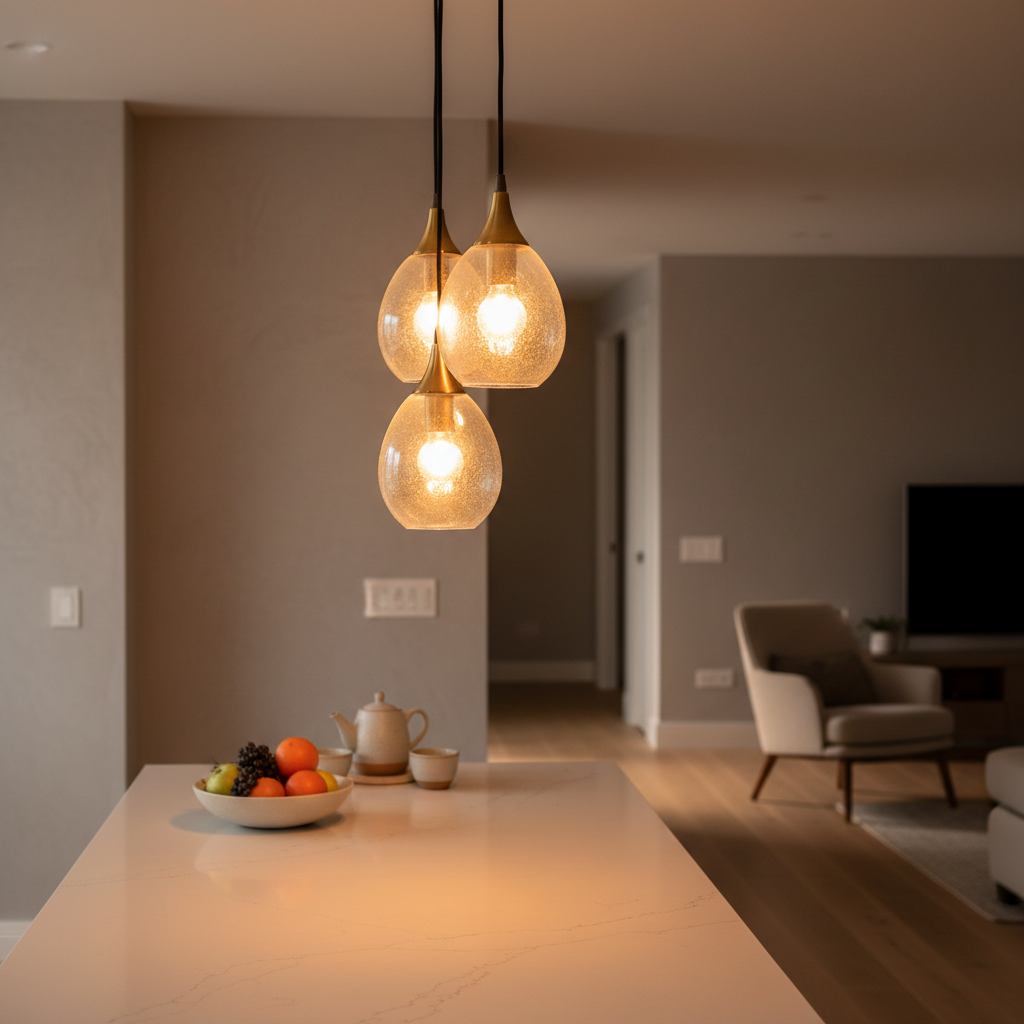
Look, fixture selection is one of those decisions that people tend to either obsess over or completely rush, and honestly, both extremes cause problems. Choosing the right fixtures isn't just about aesthetics, though that matters enormously. It's about understanding scale, light output, and how a fixture will perform in the specific context you're putting it in. A gorgeous oversized pendant that looks amazing in a magazine might completely overwhelm a small dining nook or cast terrible shadows over your table.
Scale is everything. There's a simple rule I always come back to: add the room's length and width in feet, and that number in inches is roughly the right diameter for a central fixture. So a room that's 12 by 14 feet would do well with a fixture around 26 inches wide. It sounds overly simple, but it works surprisingly well as a starting point. From there, you adjust based on ceiling height, the room's purpose, and your own aesthetic instincts.
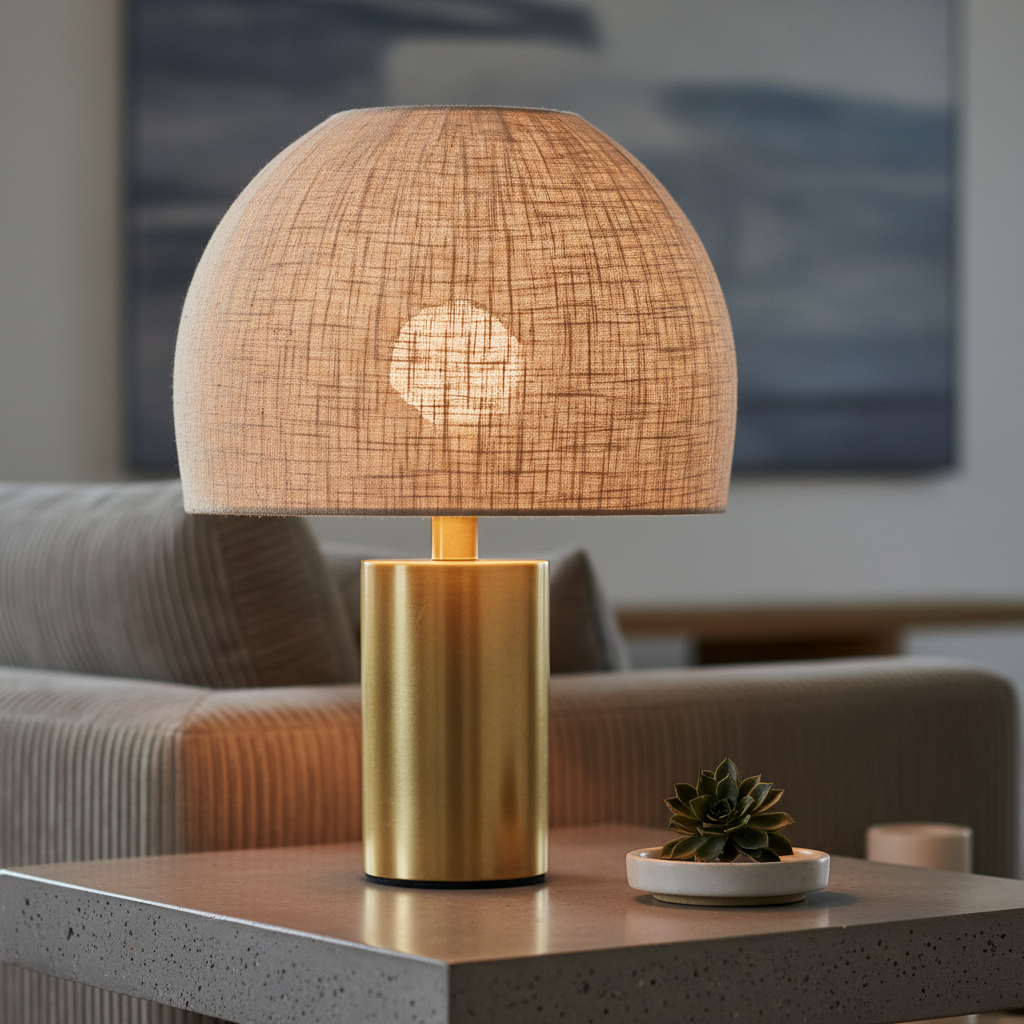
Material and finish choices matter more than most people realize. Mixing metals is totally fine and can actually look incredibly intentional, but you want some through line tying things together. Maybe all your warm metals are brass and all your cool ones are brushed nickel. Or maybe every fixture in an open-plan space shares the same finish even if the styles differ. What you want to avoid is a random assortment that feels like you grabbed things from five different stores on five different trips without ever thinking about how they'd coexist.
- Pendants: Best over dining tables, kitchen islands, or in entryways where you want a focal point.
- Recessed lighting: Ideal for ambient layers in rooms with lower ceilings or a cleaner, more minimal aesthetic.
- Floor lamps: Incredibly versatile for adding ambient or accent light without any electrical work.
- Sconces: Perfect for flanking mirrors, headboards, or artwork, and they free up surface space from table lamps.
- Track lighting: Genuinely underrated for spaces that need flexible, directable accent or task light.
One thing I'd push back on is the idea that you need to spend a lot to get quality fixtures. Trust me on this, there are incredible options at every price point right now. What matters more is thoughtful placement and getting the bulb right. A mediocre fixture with a great warm-toned LED bulb will outperform an expensive fixture with the wrong bulb every single time.
Creating Zones with Lighting
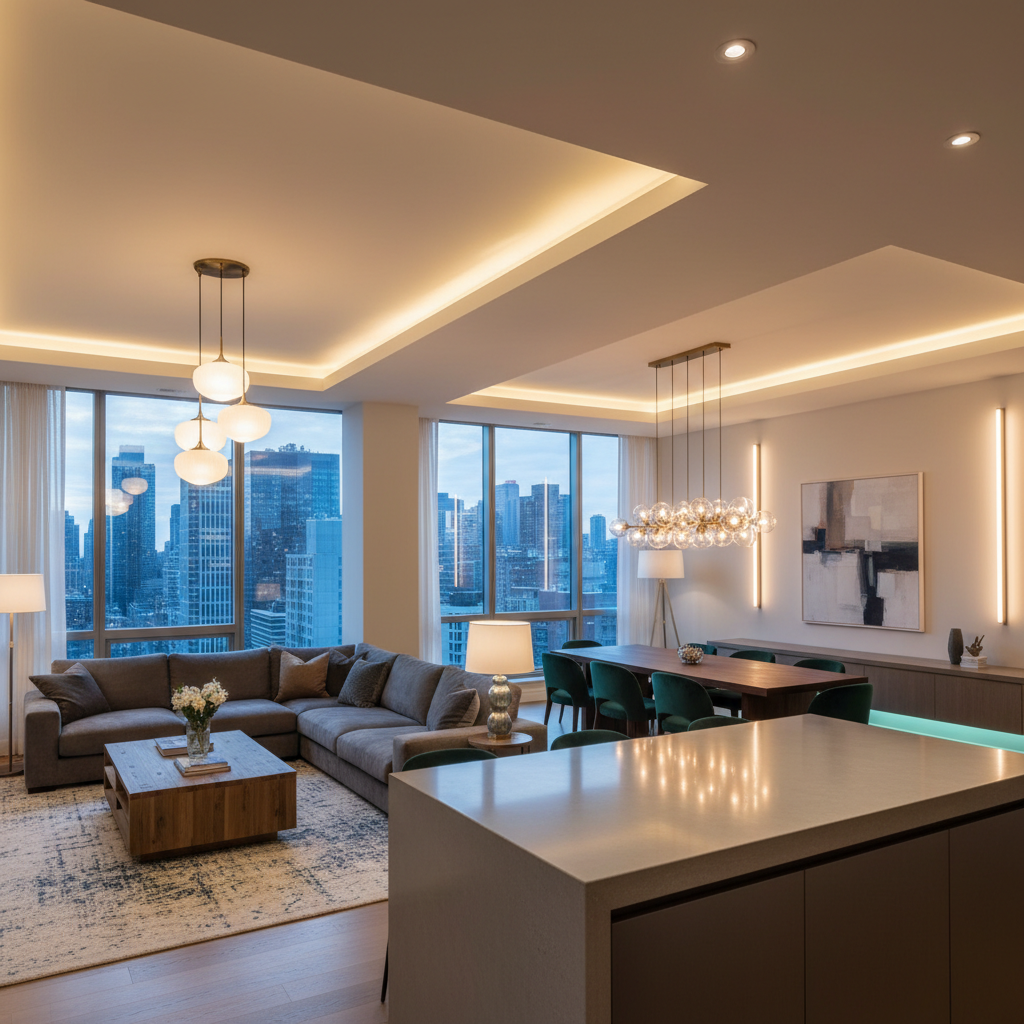
This is where lighting stops being a practical concern and starts becoming actual interior design. Zoning with light is how you take an open-plan space and give it structure without building walls. It's how you make a large bedroom feel cozy instead of cavernous. And honestly, it's one of the most powerful tools in any decorator's kit, because you can completely change how a room feels just by controlling which parts of it you illuminate and how.
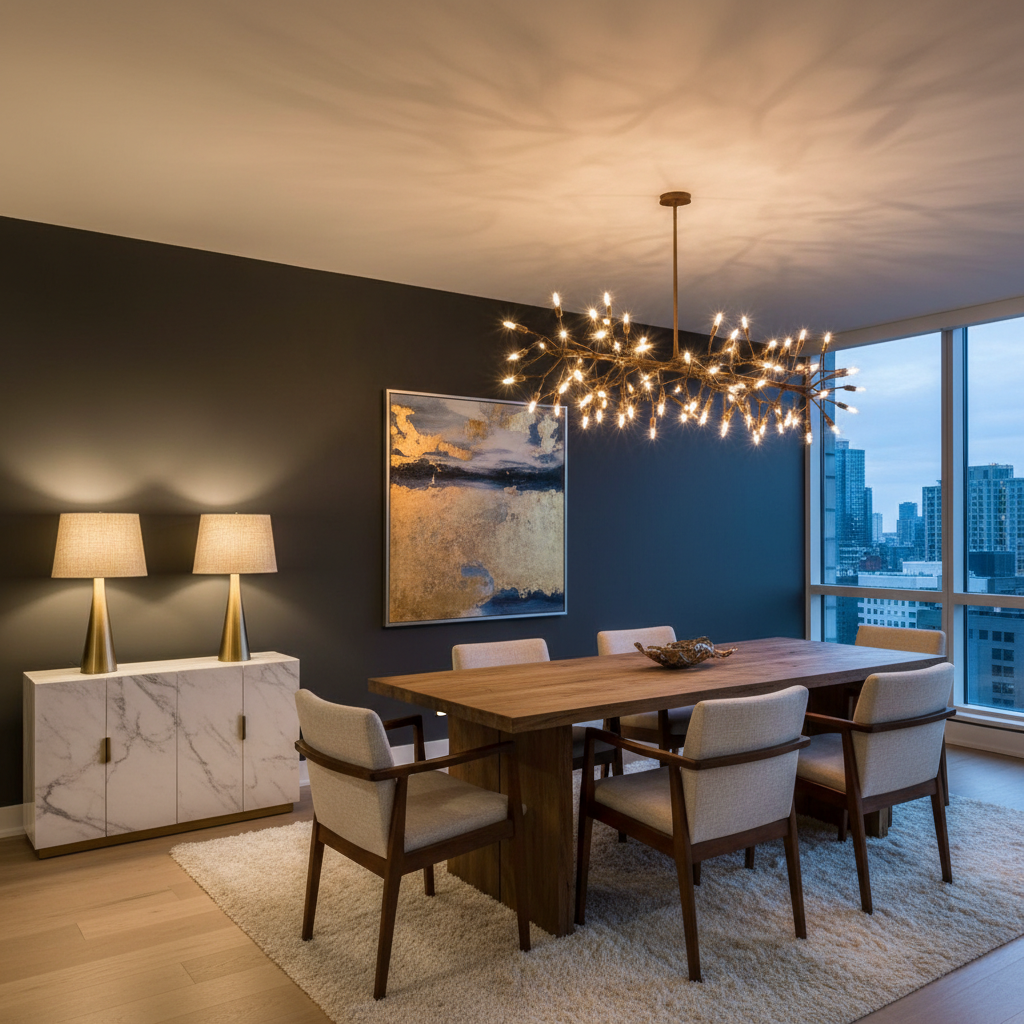
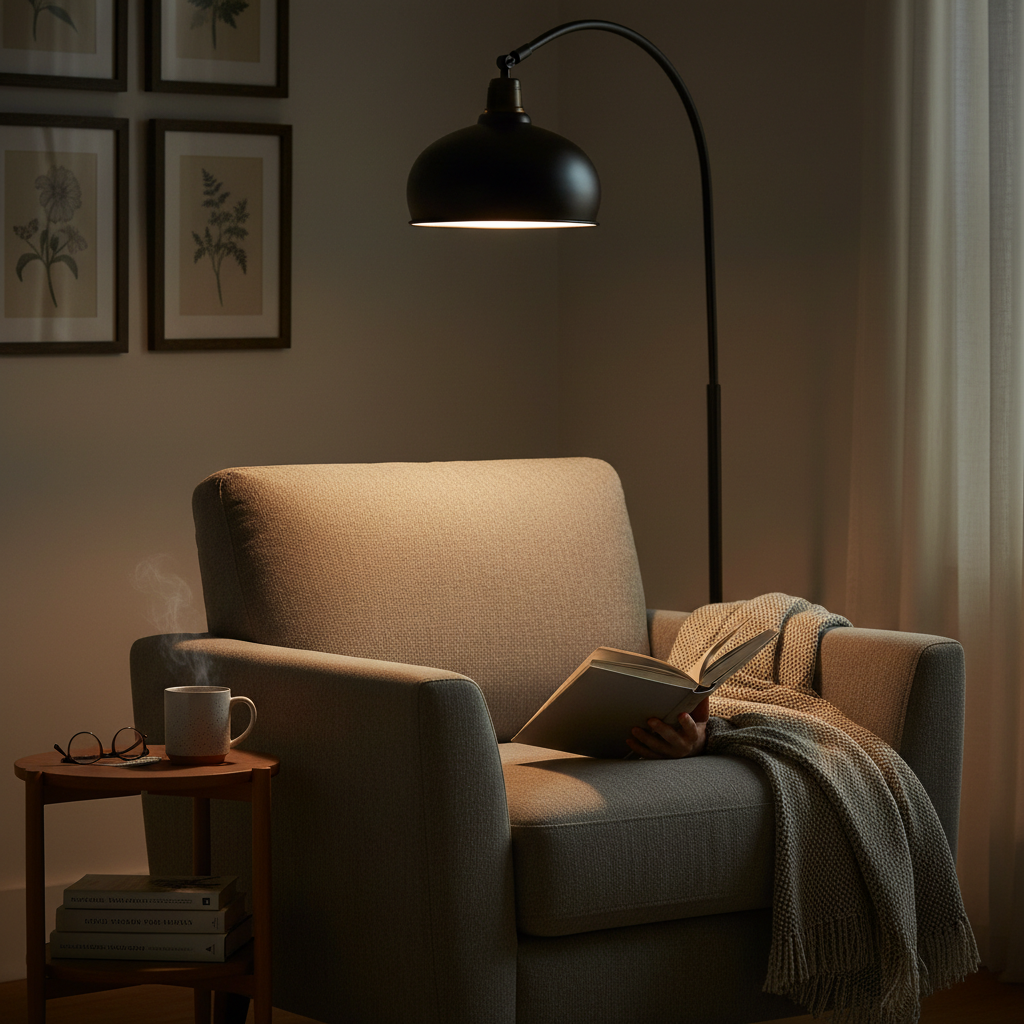
The basic principle is this: wherever you want someone to linger, you create a warm, inviting pool of light. Wherever you want to direct attention, you bring in brighter or more focused illumination. A reading nook lit by a warm floor lamp and a small table lamp immediately signals "come sit here and stay a while." A dining table lit by a pendant positioned low and close overhead says "this is where we gather." The light does the work of the architecture.
In open-plan spaces, this becomes especially critical. Without zoning, a combined living and dining area can feel like one undifferentiated blob of room. By giving each area its own distinct lighting setup, you create definition. The living area might have a mix of floor lamps, a central overhead fixture on a dimmer, and some accent lighting on the shelving. The dining area has its own pendant or chandelier centered over the table. Even though there's no wall between them, they feel like separate spaces with separate purposes.
Dimmers are absolutely non-negotiable here. If there's one upgrade I'd tell every homeowner to make, it's installing dimmers on every circuit where it's physically possible. Being able to dial down the ambient light in a living room while keeping task lights on creates that layered, zoned effect effortlessly. It transforms the same room from bright and functional during the day to warm and intimate in the evening without changing a single fixture.
Incorporating Smart Lighting Solutions
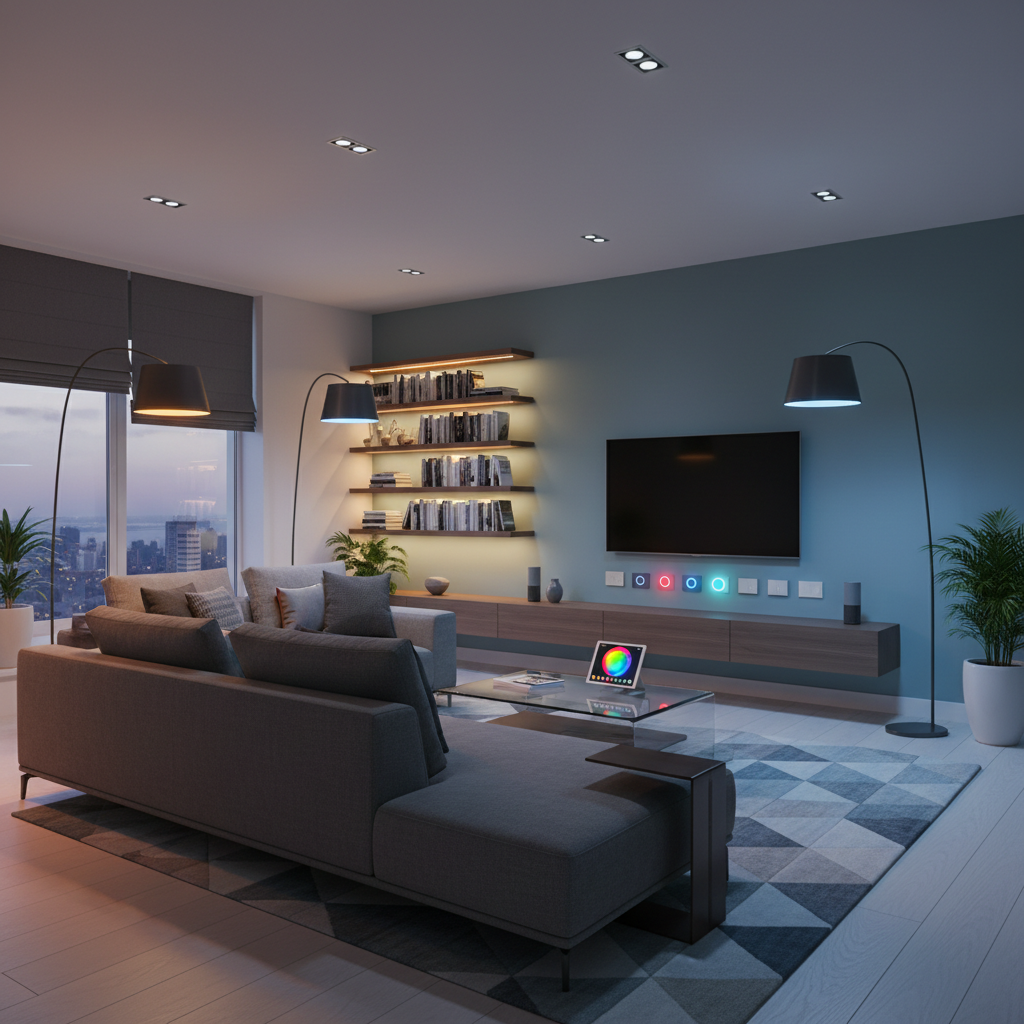
I'll be honest, I was skeptical about smart lighting for a long time. It felt like a tech-for-tech's-sake situation, and I wasn't convinced it had anything real to offer a well-designed space. Then I actually started using it, and now I genuinely can't imagine going back. Smart lighting isn't just convenient, though it is extremely convenient. When it's set up thoughtfully, it's a design tool that lets your lighting adapt to the way you actually live.
The most obvious benefit is scene setting. With a good smart lighting system, you can program a "movie night" scene that dims the overheads, brightens a backlight behind the TV, and turns off the kitchen lights, all with a single tap or voice command. You can have a "morning" scene that brings lights up gradually to ease you awake. You can set a "dinner party" scene that makes your living room look like it was styled by a professional. These aren't gimmicks, they're just well-designed layered lighting that's been saved and made repeatable.

Color temperature control is another feature that's genuinely useful. The ability to shift from a cool, energizing 4000K in the morning to a warm, relaxing 2700K in the evening isn't just pleasant, it actually supports your body's natural circadian rhythm. Cooler light in the morning promotes alertness. Warmer light in the evening signals your brain to start winding down. Smart bulbs that do this automatically throughout the day are, and I say this without exaggeration, a genuinely life-improving technology.
"The best smart lighting setup is one you barely notice because it's always showing you the right light at the right time."
If you're just getting started with smart lighting, you don't need to overhaul everything at once. Start with the rooms you spend the most time in, get a basic hub or opt for a Wi-Fi-based system that doesn't require one, and just play with it. Set a few scenes, see how it changes the feel of your spaces, and go from there. The investment pays off quickly, both in terms of energy savings and in how much better your home feels to actually live in.
Maintenance and Adjustments for Optimal Lighting
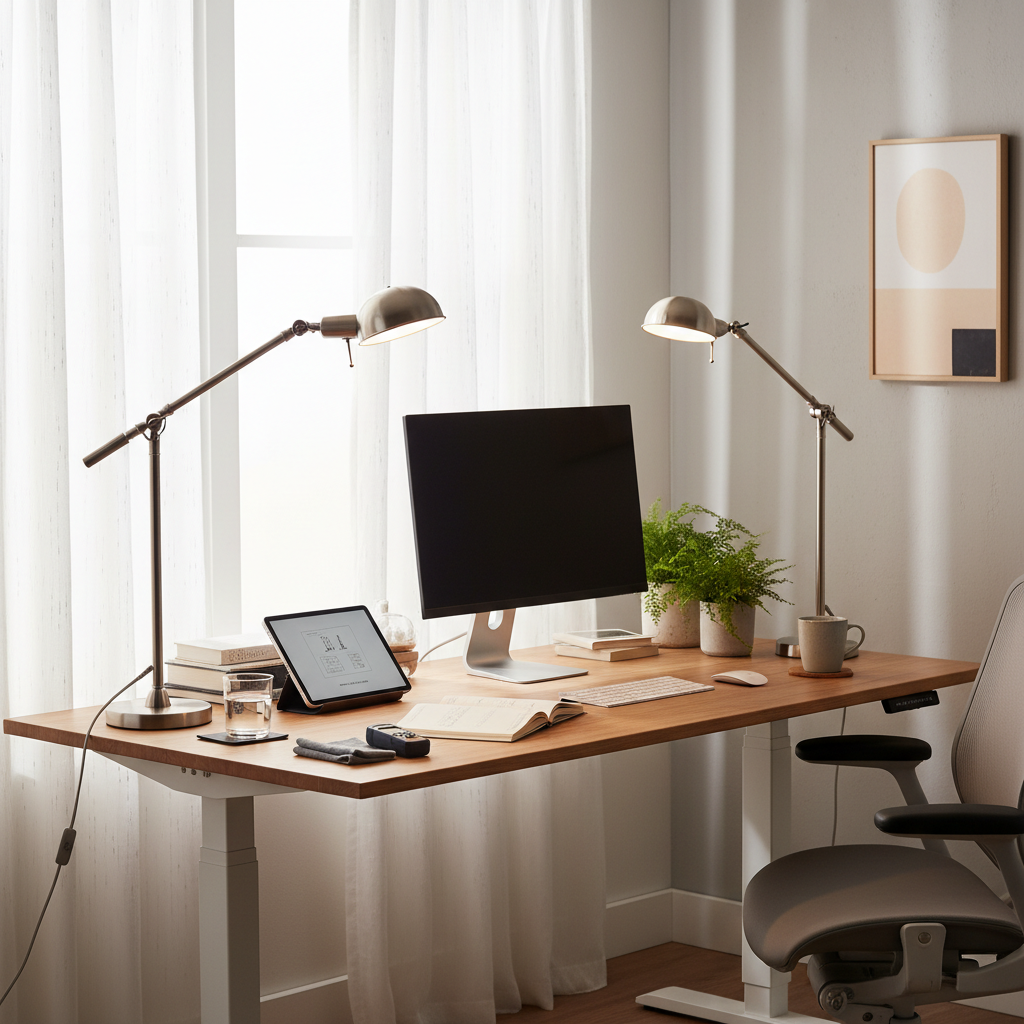
Here's the part nobody talks about, and honestly, it's so important: maintaining your lighting isn't just about replacing blown bulbs. A thoughtfully layered lighting scheme needs to be revisited, adjusted, and cleaned regularly to keep working the way it was intended. Dust on lamp shades and fixtures can reduce light output by a surprisingly significant amount. Bulbs that are starting to dim or shift in color temperature can throw off the whole balance you worked to create.
Get into the habit of doing a lighting audit every few months. Walk through each room in the evening, when you're actually using your lighting, and assess it honestly. Does the ambient layer feel even, or are there dark corners that have crept in? Is your task lighting still hitting the right spots? Has a bulb gone out in an accent fixture that you've been ignoring because it wasn't dramatic enough to notice right away? These small things add up, and they quietly erode the quality of your space.
Seasonal adjustments are something I feel strongly about. The way natural light enters your home in summer versus winter changes enormously, and your artificial lighting should respond to that. In winter, when natural light is scarce and the days are short, you might find yourself leaning more heavily on warmer, cozier lighting setups. In summer, when daylight floods in for more hours, you might need to rethink where task lighting is positioned to avoid glare. Lighting a room well isn't a one-time job. It's an ongoing conversation between you, your space, and the seasons.
- Clean shades and globes every three months to maintain maximum light output.
- Replace all bulbs in a fixture at the same time to ensure consistent color temperature.
- Reassess the placement of movable fixtures like floor and table lamps with each seasonal furniture refresh.
- Check that dimmers are functioning correctly, faulty dimmers can cause flickering and reduce bulb lifespan.
And look, don't be afraid to change things up entirely if something isn't working. Lighting is one of the most forgiving design elements to experiment with, especially if you've invested in floor lamps and table lamps rather than purely hardwired solutions. Move things around, try a bulb with a different color temperature, hang a pendant lower or higher. The "right" lighting setup is the one that makes you feel good in your home, and that's worth fine-tuning until you get there.
Final Thoughts
Layering lighting is one of those skills that genuinely transforms how a home feels, and the best part is that you don't need a huge budget or a full renovation to do it well. Start with understanding the three layers, choose fixtures that suit your scale and style, use light to define zones and create atmosphere, explore what smart lighting can do for your daily life, and then maintain the whole thing with a little regular attention. Do all of that and you'll have a home that looks and feels considered, intentional, and genuinely beautiful at any hour of the day. That's worth every bit of effort.
More in Interior
Stay Inspired
Subscribe for new essays on architecture, design, and the spaces that shape us.