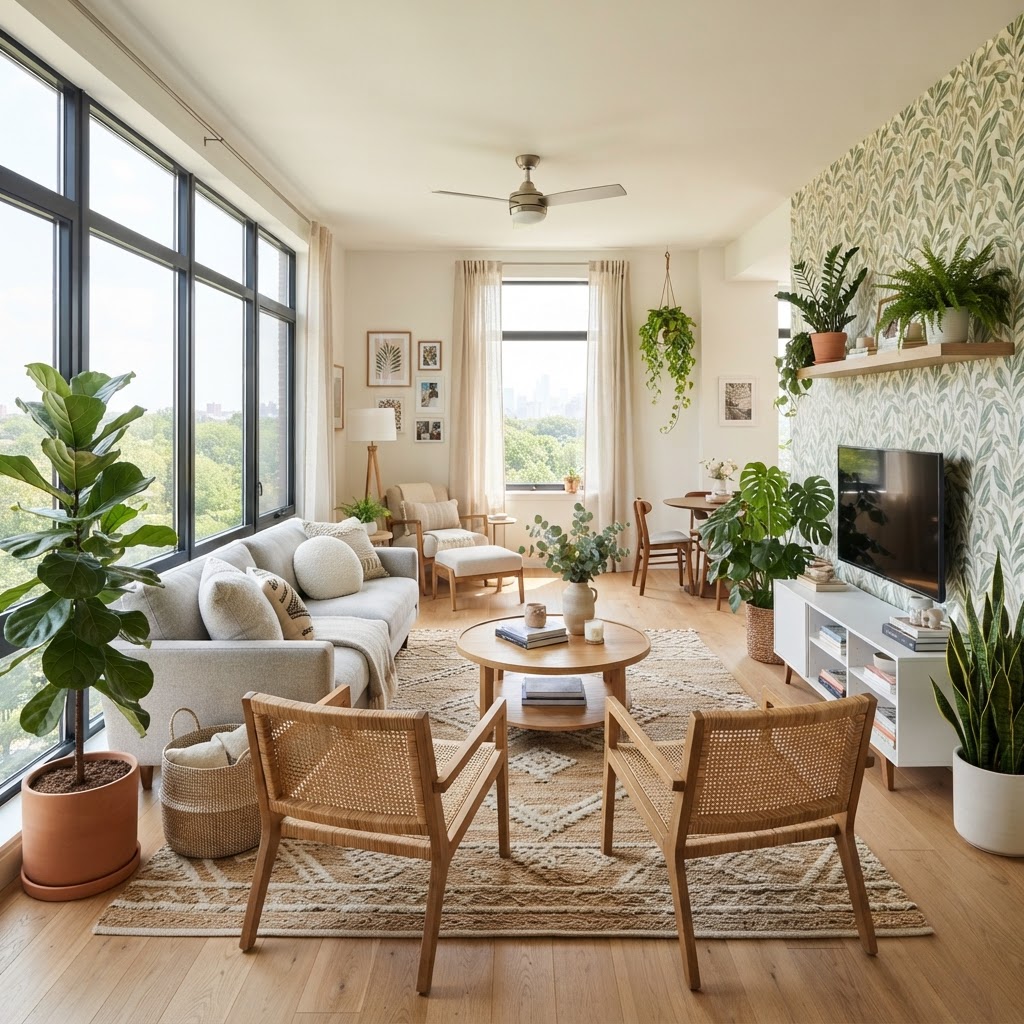
Rental Friendly Hacks That Will Actually Save Your Security Deposit
Transforming your rental into a stylish sanctuary does not have to mean losing your security deposit. These clever design tips help you customize your space without making any permanent changes to the property.
Swap Out Hardware Instead of Cabinets
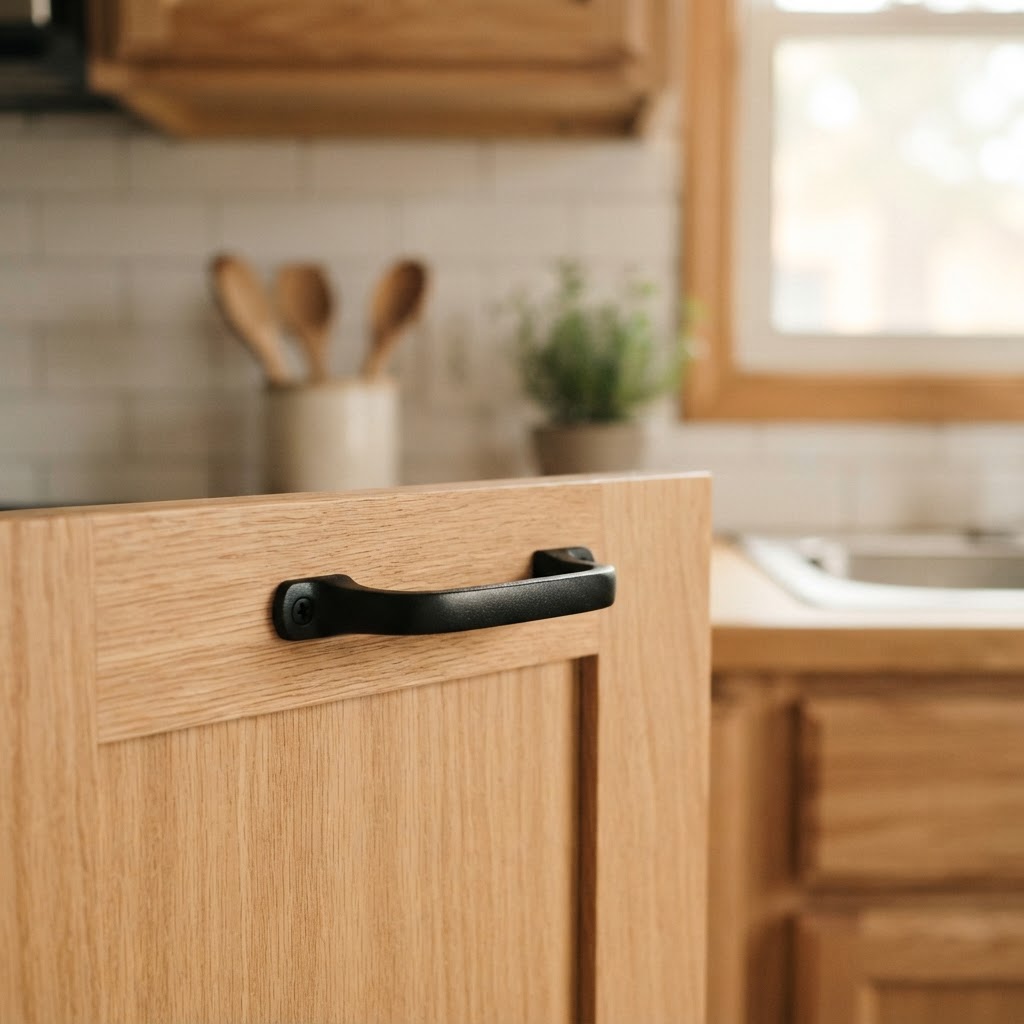
Okay, let's start with the one that genuinely blows people's minds when they realize how easy it is. Your rental kitchen probably has those sad, builder-grade cabinet pulls that look like they were sourced from the clearance bin at a hardware store circa 2003. Here's the thing: you don't have to live with them. You just have to be smart about it.
Swapping out cabinet hardware is completely reversible, takes about twenty minutes with a screwdriver, and the difference it makes is honestly staggering. We're talking about going from "fine, I guess" to "wait, did you renovate?" without touching a single thing that can't be put back exactly as it was. The trick is to keep the original hardware in a labeled ziplock bag, store it somewhere safe like the back of a closet shelf, and reinstall it before you move out.
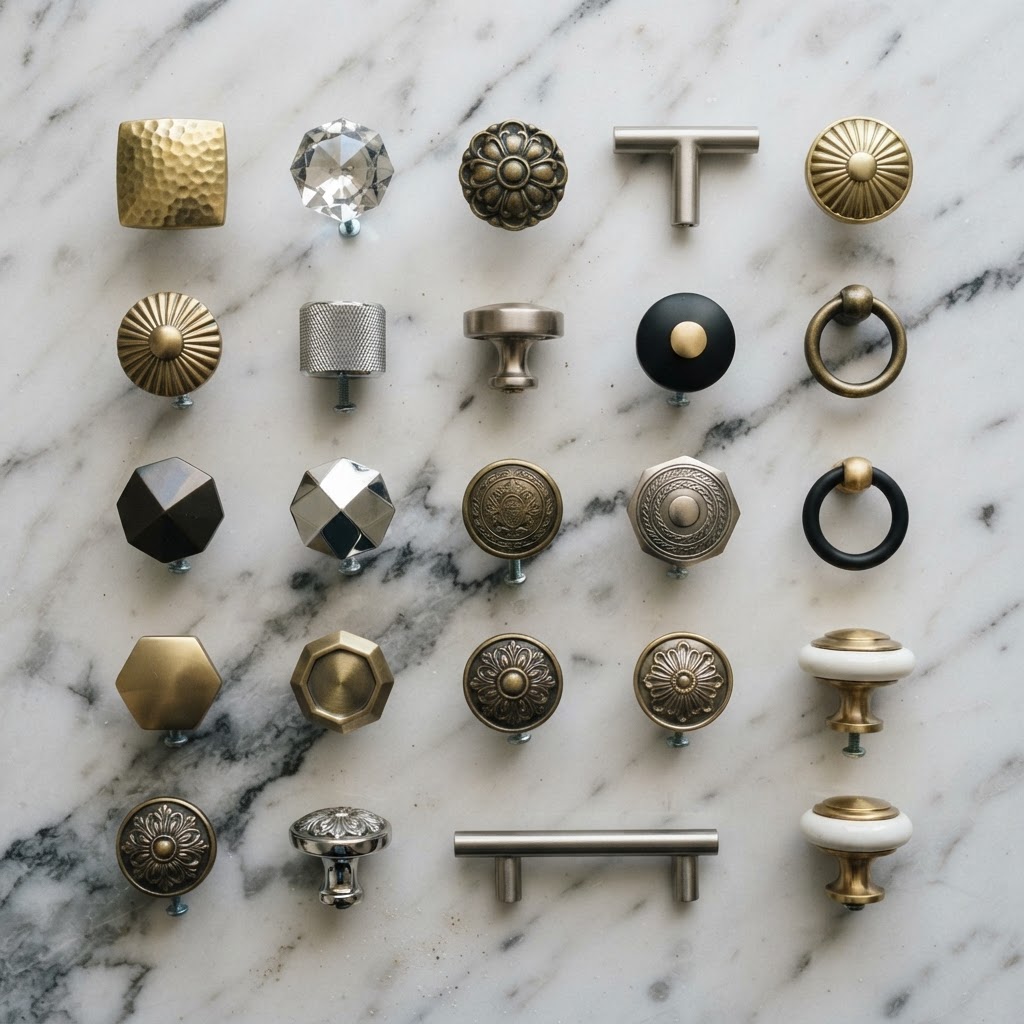
When you're shopping for replacement pulls and knobs, look for options that match the existing hole spacing. Most standard cabinet pulls use a 3-inch or 3.75-inch center-to-center measurement. Measure before you buy, seriously, because returning hardware is a pain. Right now, brushed brass, matte black, and unlacquered bronze are all having a real moment and they work beautifully against white or wood-toned cabinets.
This same principle applies to bathroom fixtures too. That generic towel bar? Gone. The toilet paper holder that wobbles? Replace it. As long as the mounting holes line up and you save the originals, you're golden. Real talk, this single category of upgrades costs under a hundred dollars most of the time and delivers more visual impact per dollar than almost anything else in this list.
- Always measure hole spacing before purchasing new hardware
- Store originals in a labeled bag with the room and location written on it
- Use the same screws that came with the original hardware when reinstalling
- Consider doing the bathroom and kitchen at the same time for a cohesive look throughout
Master the Art of Removable Wallpaper
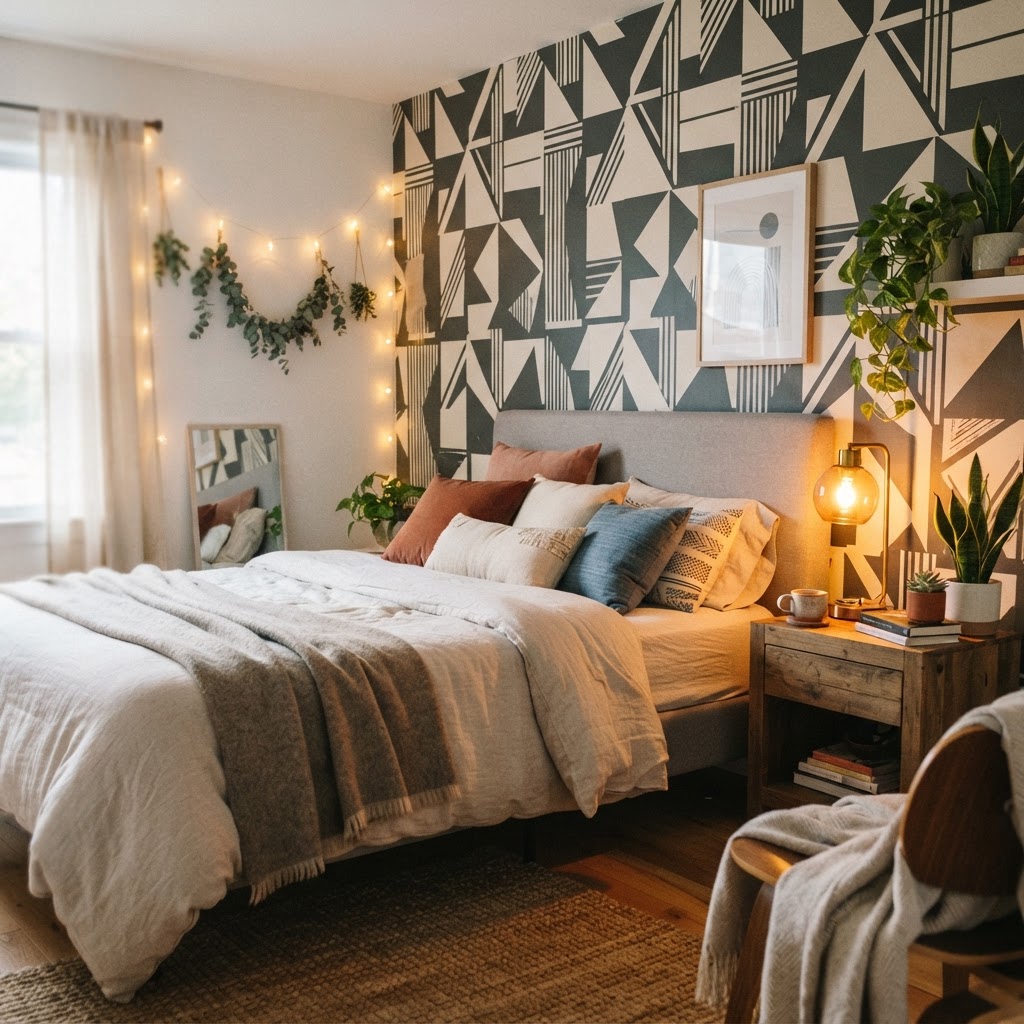
Removable wallpaper has come so far in the last few years. I remember when peel-and-stick options looked cheap and bubbly and peeled off the wall on their own after three weeks. That is not the situation anymore. The current generation of removable wallpaper, especially the fabric-backed or woven versions, looks genuinely indistinguishable from traditional wallpaper in photos and, honestly, in person too.
The key to making it work without destroying your walls is all in the prep and application. Clean the wall thoroughly before you start, let it dry completely, and apply in a room that isn't too humid. Bathrooms can be tricky for this reason. Start from the ceiling and work your way down, smoothing out bubbles as you go with a flat squeegee or even just a credit card wrapped in a soft cloth. Take your time on the first strip because it sets the line for everything that follows.
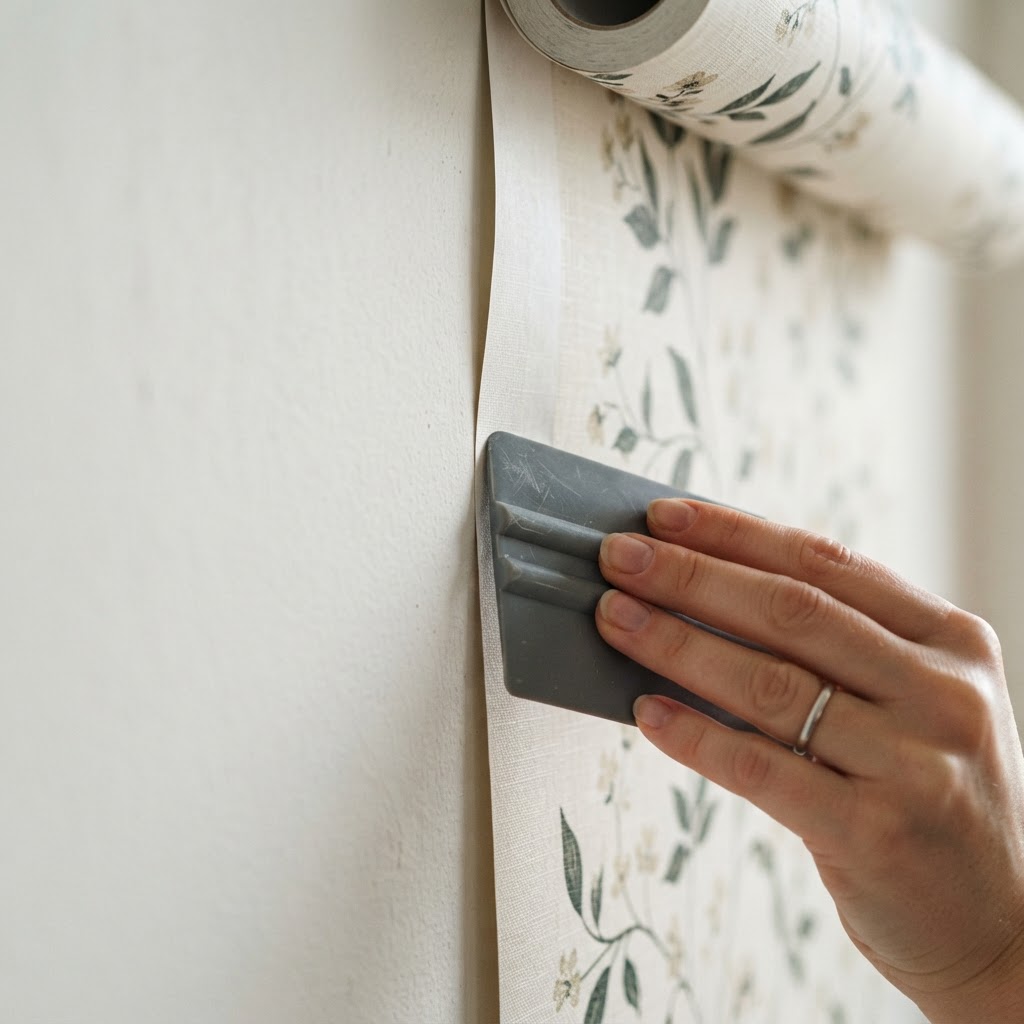
One approach that works really well in rentals is doing a single accent wall rather than the whole room. It's less overwhelming to install, easier to remove, and honestly it can look even more intentional and designed than papered walls on all four sides. A bedroom wall behind the bed, or the wall your dining table sits against, are both perfect candidates.
When it comes time to remove it, go slow and pull at a low angle rather than yanking straight out from the wall. If it's been up for more than a year, warming the adhesive slightly with a hair dryer on low heat can help it come off more cleanly. And look, even if it does leave a tiny bit of residue, that stuff usually wipes off with a damp cloth or a little rubbing alcohol. Your deposit is safe.
"The best removable wallpapers right now come from Chasing Paper, Tempaper, and Rifle Paper Co. They're pricier than Amazon options but the quality difference is very real."
Create Drama With Lighting Fixtures
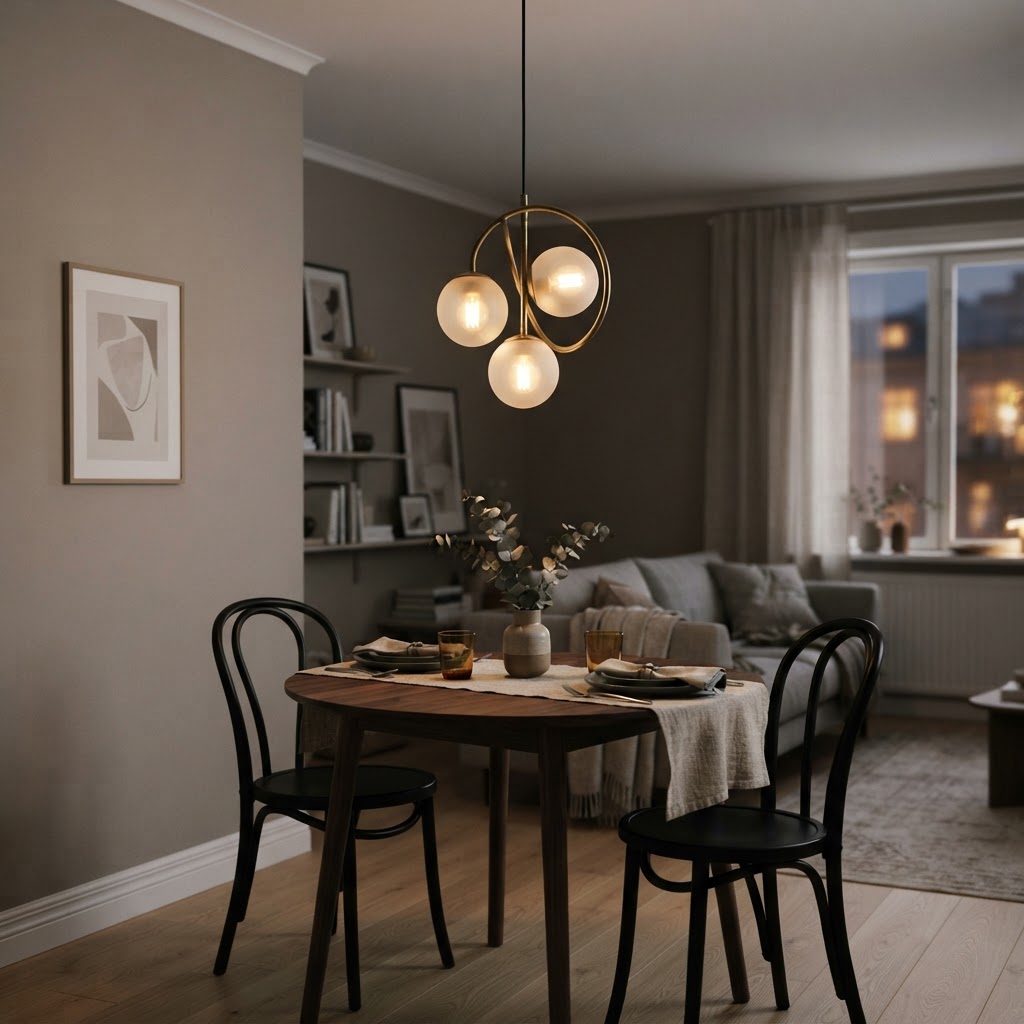
Here's the thing about lighting that most people don't fully appreciate until they've experienced it: it doesn't just illuminate a space, it defines it. The sad boob light on the ceiling of your rental bedroom is not just ugly, it's actively working against you every single day. And the good news is you can swap it out yourself in under an hour, no electrician needed, as long as you turn off the breaker first.
Replacing a ceiling fixture is about as DIY-accessible as home improvement gets. Turn off the power at the breaker box, unscrew the old fixture, connect the wires (match white to white, black to black, and ground to ground), and mount the new one. That's genuinely it. Keep the old fixture in its original box if possible, or wrap it carefully in bubble wrap and store it in a closet. When you move out, swap it back.

If hardwiring makes you nervous or your landlord is finicky, there's a whole world of plug-in pendant lights and battery-operated sconces that have gotten seriously good. Plug-in pendants with fabric cords look intentional and chic rather than like a workaround. You can hang them from a ceiling hook, no wiring involved, and a cord cover kit makes the whole setup look polished.
Beyond the ceiling fixture, think about layering your light sources. A floor lamp in the corner, a table lamp on the nightstand, maybe some LED strip lights tucked behind a shelf or under a bed frame. Overhead lighting alone makes any space feel flat and a little institutional. Multiple light sources at different heights create warmth and depth that honestly transforms how a room feels to be in.
- Always turn off the breaker before touching any wiring, not just the wall switch
- Photograph the original wiring setup before disconnecting anything
- Look for fixtures with a canopy that covers the standard junction box opening
- Warm bulbs in the 2700K to 3000K range are almost always more flattering than cool white
- Plug-in sconces on either side of a bed are a rental-friendly alternative to hardwired bedside lighting
Window Treatments That Make a Statement
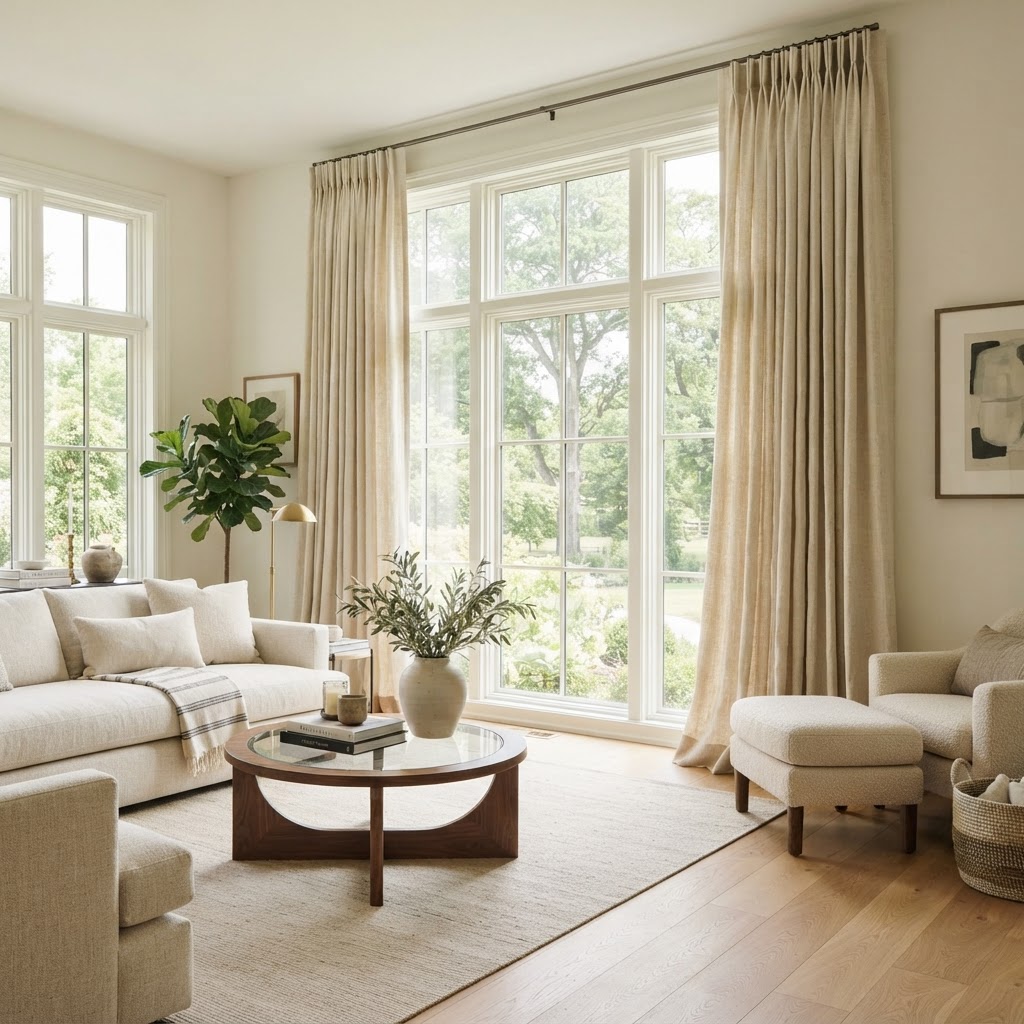
Rental windows are usually in one of two unfortunate states: completely bare, or dressed in those sad vinyl mini blinds that clatter in the breeze and always have at least one broken slat. Either way, the situation needs addressing. And honestly, window treatments are one of the easiest things to change in a rental because you can almost always use tension rods or command hooks to hang them without putting holes in the wall.
The secret to curtains that look expensive and designer rather than dorm-room-y is hanging them high and wide. Mount your curtain rod as close to the ceiling as possible, and extend the rod several inches beyond the window frame on each side. This makes the windows look bigger, the ceilings look taller, and the whole room looks like it was styled by someone who actually knows what they're doing. The curtain panels themselves should just barely brush the floor or have a slight puddle, nothing that bunches up awkwardly mid-wall.
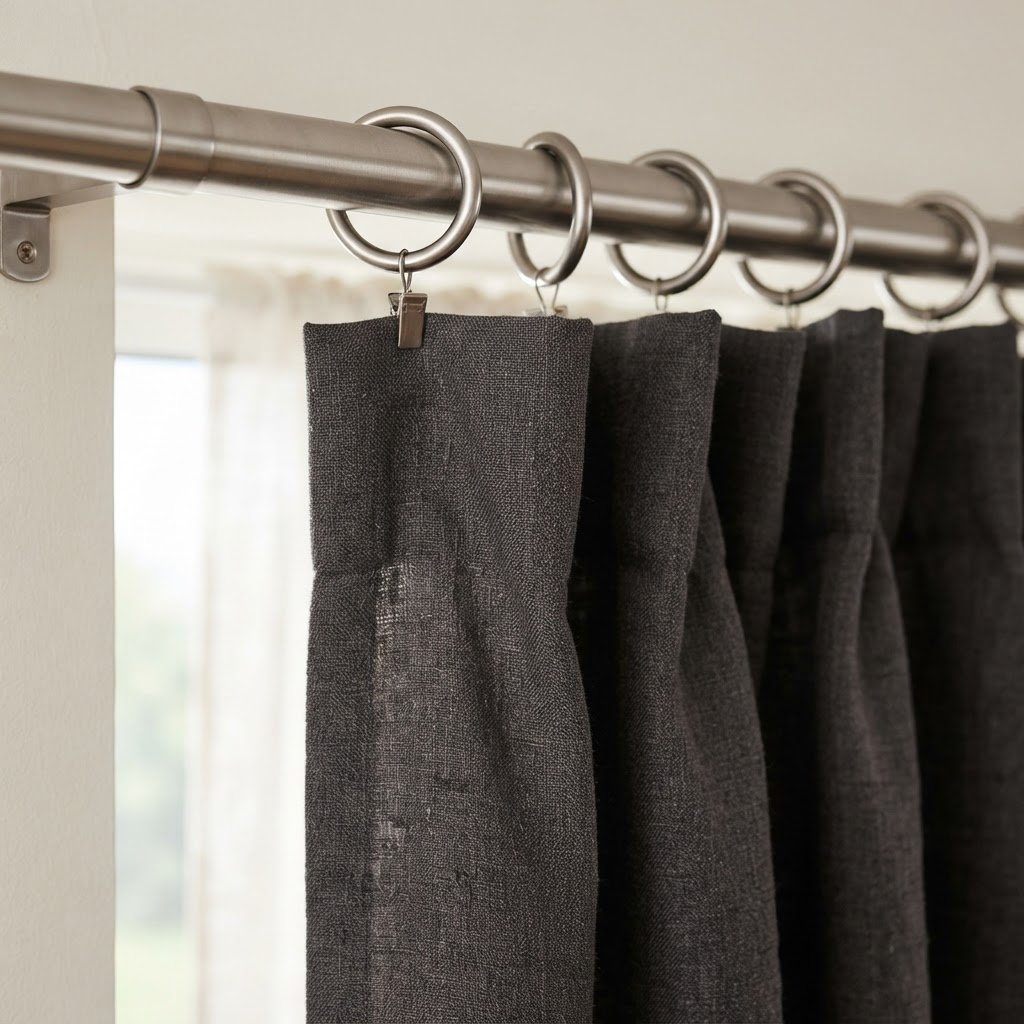
For a rental-friendly mounting solution, tension rods work great for smaller windows like bathrooms and kitchens. For larger windows in living rooms and bedrooms, Command's large picture-hanging strips can hold surprisingly heavy curtain rods when used in multiples and applied correctly. You can also find curtain rod brackets designed specifically to sit on the wall using adhesive rather than screws. Test the weight capacity before you commit.
Layering is your best friend here. A sheer linen panel underneath and a heavier drape on top gives you light control, privacy options, and a sense of depth and texture that a single curtain panel just can't achieve. It looks considered and intentional, and trust me on this, it photographs beautifully too if you ever want to show the place off on Instagram or just feel good about the space you're living in.
Flooring Solutions for Boring Spaces
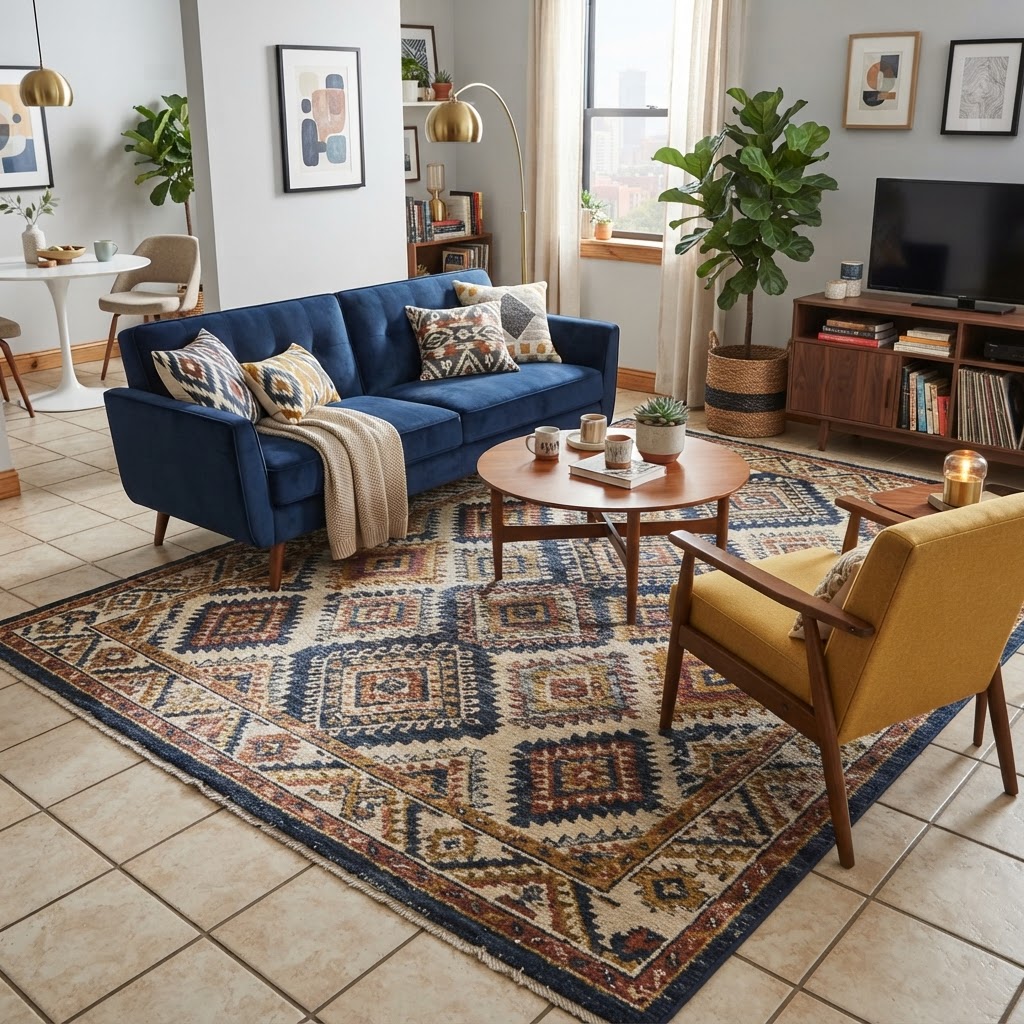
Flooring is the one thing renters almost universally feel stuck with, and look, in most cases you genuinely cannot change the actual floor. But you can cover it, define it, and work with it in ways that make the original flooring almost irrelevant. Whether you're dealing with scratchy beige carpet, cold grey laminate, or scuffed hardwood that's seen better days, there are real solutions here.
Area rugs are the most obvious answer, but the difference between a rug that looks like an afterthought and one that anchors and elevates a room comes down almost entirely to size. Go bigger than you think you need to. In a living room, all the major furniture legs should ideally sit on the rug, or at least the front legs. A rug that's too small floats in the middle of the room and makes the space feel disjointed and cheap, regardless of how nice the rug itself is.
For truly awful flooring that you can't fully cover with rugs, peel-and-stick vinyl tiles have become a genuinely viable option. The newer luxury vinyl options look incredibly realistic and the peel-and-stick application means no adhesive touches your actual floor, just the existing surface. They're best used in smaller spaces like bathrooms, laundry areas, or entryways. Remove them carefully when you leave and the floor underneath should be completely unaffected.
Another underrated move for ugly carpet specifically is to work with it rather than against it. Layer a beautiful flat-weave or natural fiber rug over it, add low-profile furniture that doesn't get swallowed by the pile, and use plenty of warm lighting to shift the overall tone of the room. Sometimes the trick is just to stop fighting the bad stuff and start directing attention toward the good stuff you've brought in.
- Use a rug pad under area rugs on hard floors to prevent sliding and add cushion
- Size up on rugs, almost everyone's instinct is to go too small
- Peel-and-stick tiles work best on smooth, clean, dry surfaces with no texture
- Natural fiber rugs like jute and sisal add warmth and texture without competing with other patterns
Final Thoughts
Living in a rental doesn't mean living in a space that doesn't feel like yours. Honestly, some of the most beautiful, personality-filled homes I've ever seen were rentals, and the people in them had figured out exactly what we've talked about here. The principle running through all of it is the same: make changes that are visible and impactful, but always reversible.
Keep the original hardware. Store the original fixtures. Save the original blinds. A little organization on the front end means you get to enjoy a space that genuinely reflects your taste without the anxiety of losing your deposit. And when you move, you take your curtains, your rugs, your wallpaper, and your hardware with you. The next place gets the same treatment. Over time you build up this collection of pieces that you know work, that you love, and that make any rental feel like a real home almost immediately.
Start with whichever section felt most relevant to your current situation and go from there. You don't have to do it all at once. Even one good swap, a new light fixture, a well-sized rug, a little removable wallpaper, can shift the whole energy of a place. That's the fun part.
More in Interior
Stay Inspired
Subscribe for new essays on architecture, design, and the spaces that shape us.